")
")
")
")
")


 Review – The Best Name In The Air Rifle Game")


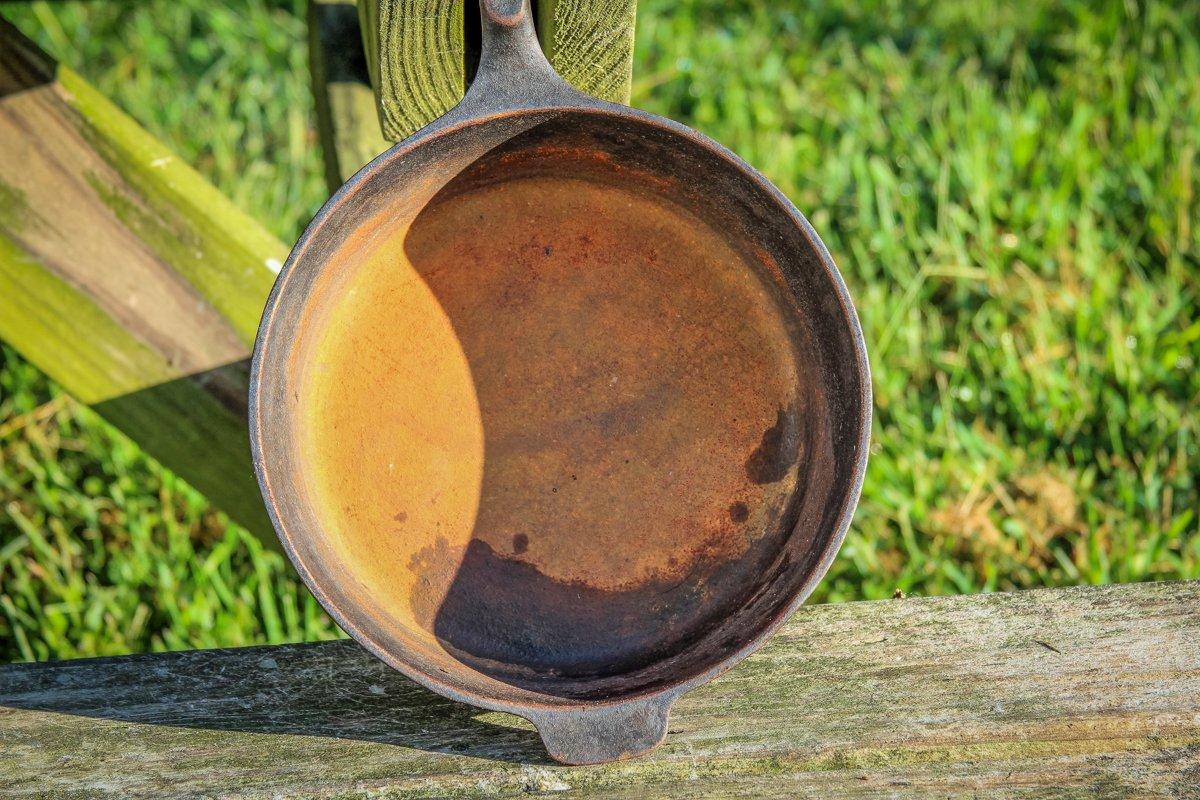
One of the great things about cast-iron cookware is that it is nearly indestructible. Short of dropping one on the floor and cracking it or breaking off a handle, a cast-iron pan in just about any condition can be restored to better-than-new condition with some work.
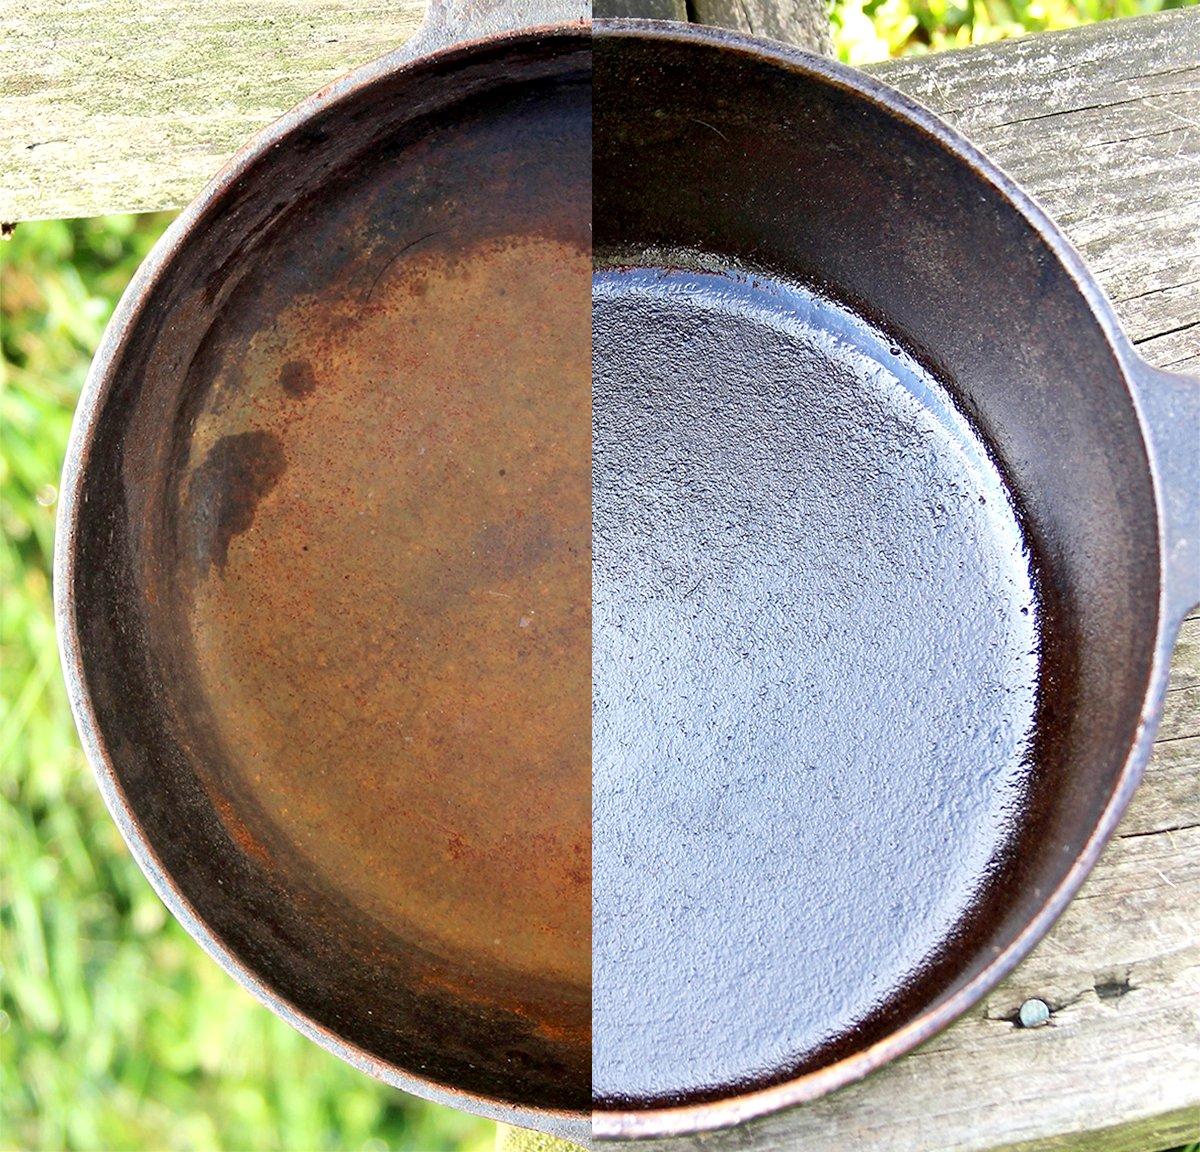
How much work? Quite a bit if you try to scrub away the rust, and a little less if you use oven cleaner and let the pan set in a garbage bag for a few days. But who has time to scrub a layer of rust away, and who wants to mess with caustic chemicals if you don’t have to?
Making and using an electrolysis tank (E-tank for short) is much easier. An E-tank will clean even the rustiest and most neglected pan in a matter of days without any work on your end. An E-tank works by using electrical current to transfer the rust from the pan to a sacrificial piece of metal submerged in water. The electrical current comes from a battery charger. The positive clamp gets clamped to the sacrificial piece of metal, while the negative clamp gets clamped to the piece of cast iron you are trying to restore. The current flows through water, pulling the rust particles from the negatively charged cast iron to the positively charged sacrificial metal.
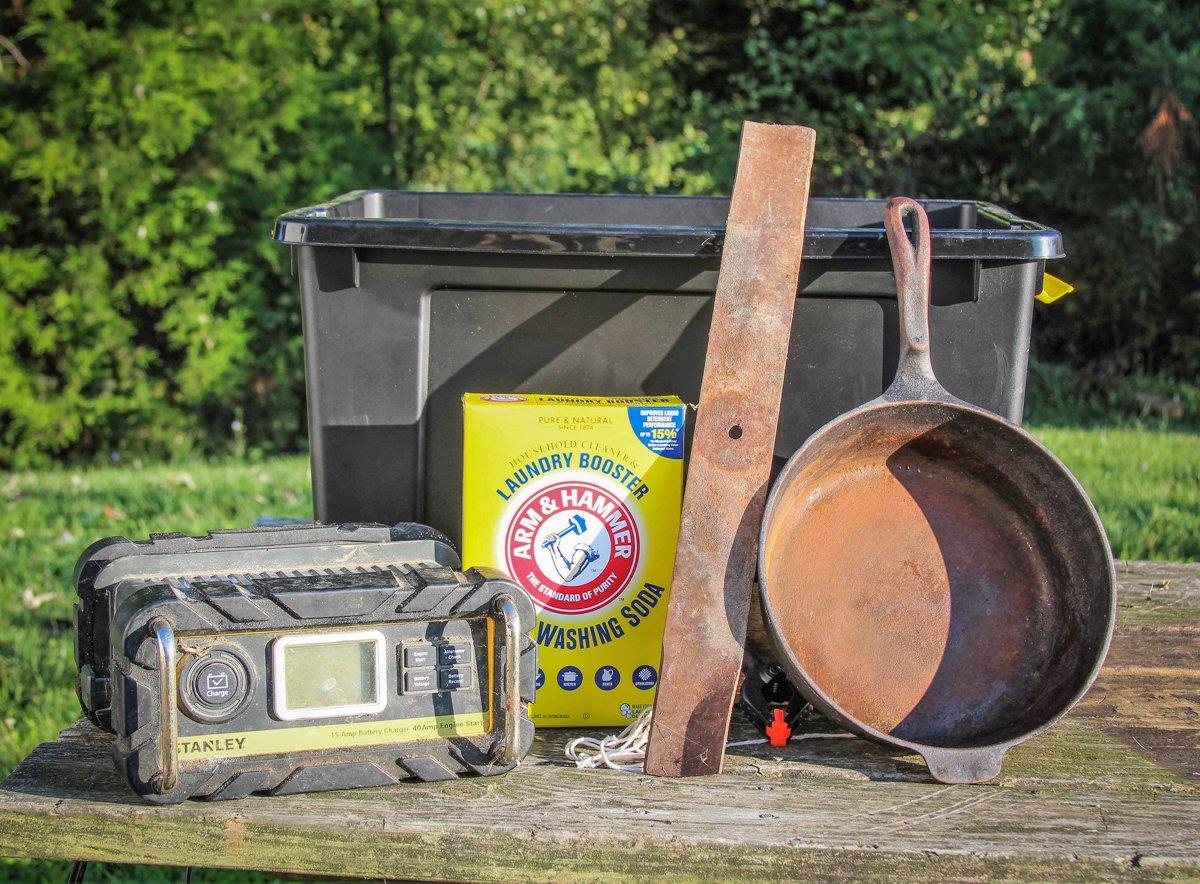
The list of materials needed to build the tank is simple. You probably have most of them laying around the garage already.
You’ll need:
- A plastic 20- to 25-gallon tote
- A 12-volt battery charger
- Water
- A sacrificial piece of metal. Stainless steel works best, but any scrap steel or iron will work. It could be piece of angle iron, an old brake hub, a piece of sheet metal, or an old lawnmower blade, as long as it’s metal. The larger the surface area of the sacrificial metal, the faster the tank will work.
- Sodium Carbonate: The easiest source for this is Arm and Hammer Washing Soda (not baking soda) found in the laundry detergent section of your local grocery.
- String
- A clamp
- A stick or section of pvc pipe to extend over the tote to suspend the cast iron with string
Get Started
First some safety notes. It goes without saying that you need to take care when working with electricity around water. Don’t place the charger above the tote so that it might accidently get knocked into the water. Never touch the water without unplugging the charger first.
The gas that escapes from the tank is flammable. Do this outdoors or in a garage with great ventilation. Don’t set your tank up next to a pilot light or any other possible ignition sources.
- Fill the tote 2/3 or so with water, making sure the water level is deep enough to submerge your cast iron.
- Add 1/2 cup of the washing soda per 5 gallons of water. This isn’t a crucial measurement. Just get close. Mix well to dissolve.
- Place the sacrificial metal into the tank. I like to leave a corner up out of the water to clamp the charger to, but it can be submerged if you like. I use the clamp to hold the metal in position to one side of the tank.
- Extend the stick or pvc pipe across the tote, and tie a section of string to the center of it. Attach your rusty pot to the string and let it sink into the water with only a small amount of metal exposed above the water level.
- Clamp the negative clamp from your battery charger to the piece of cast iron you are cleaning just above the water’s surface. Clamp the positive clamp to the sacrificial metal.
- Set your charger to a manual, 12-volt setting. (Don’t use the quick-start setting if your charger has one; just the standard 12-volt setting.)
- Plug in the charger and go about your daily business. In a day or two, depending on the rust level, your pan will be cleaned and ready to season. You should see tiny foam bubbles start to form around your cast iron after a bit. Foamy rust will rise to the surface after several hours.

If you are like me, you are probably going to be curious about the progress and want to check on your pot from time to time. Always remember to unplug the charger before touching the water. The 12-volt current won’t hurt you, but you don’t want to take a chance on the charger falling into the tank while you are contacting the water.
Once the pan has soaked for 24 to 48 hours, remove it from the tank and and check to see if the rust has loosened to the point that you can wipe it away with your finger. If so, wash well with soapy water. If the pan still looks and feels rusty, return it to the tank for another 24 hours or so.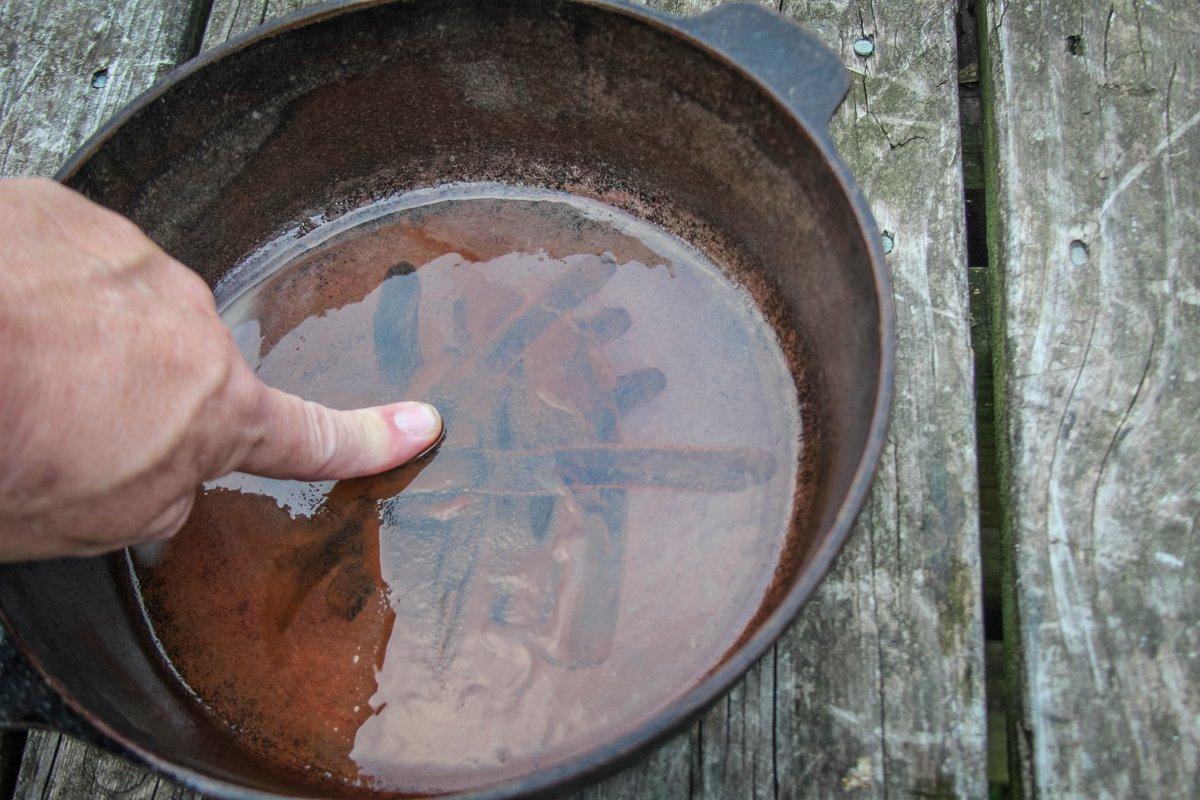

The water in the tank may look nasty after a use or two, but it never goes bad. Simply refill your water level when you need to due to evaporation loss. If the water gets to the point that it looks too funky to use, just dump it and start fresh.


