")
")
")
")
")


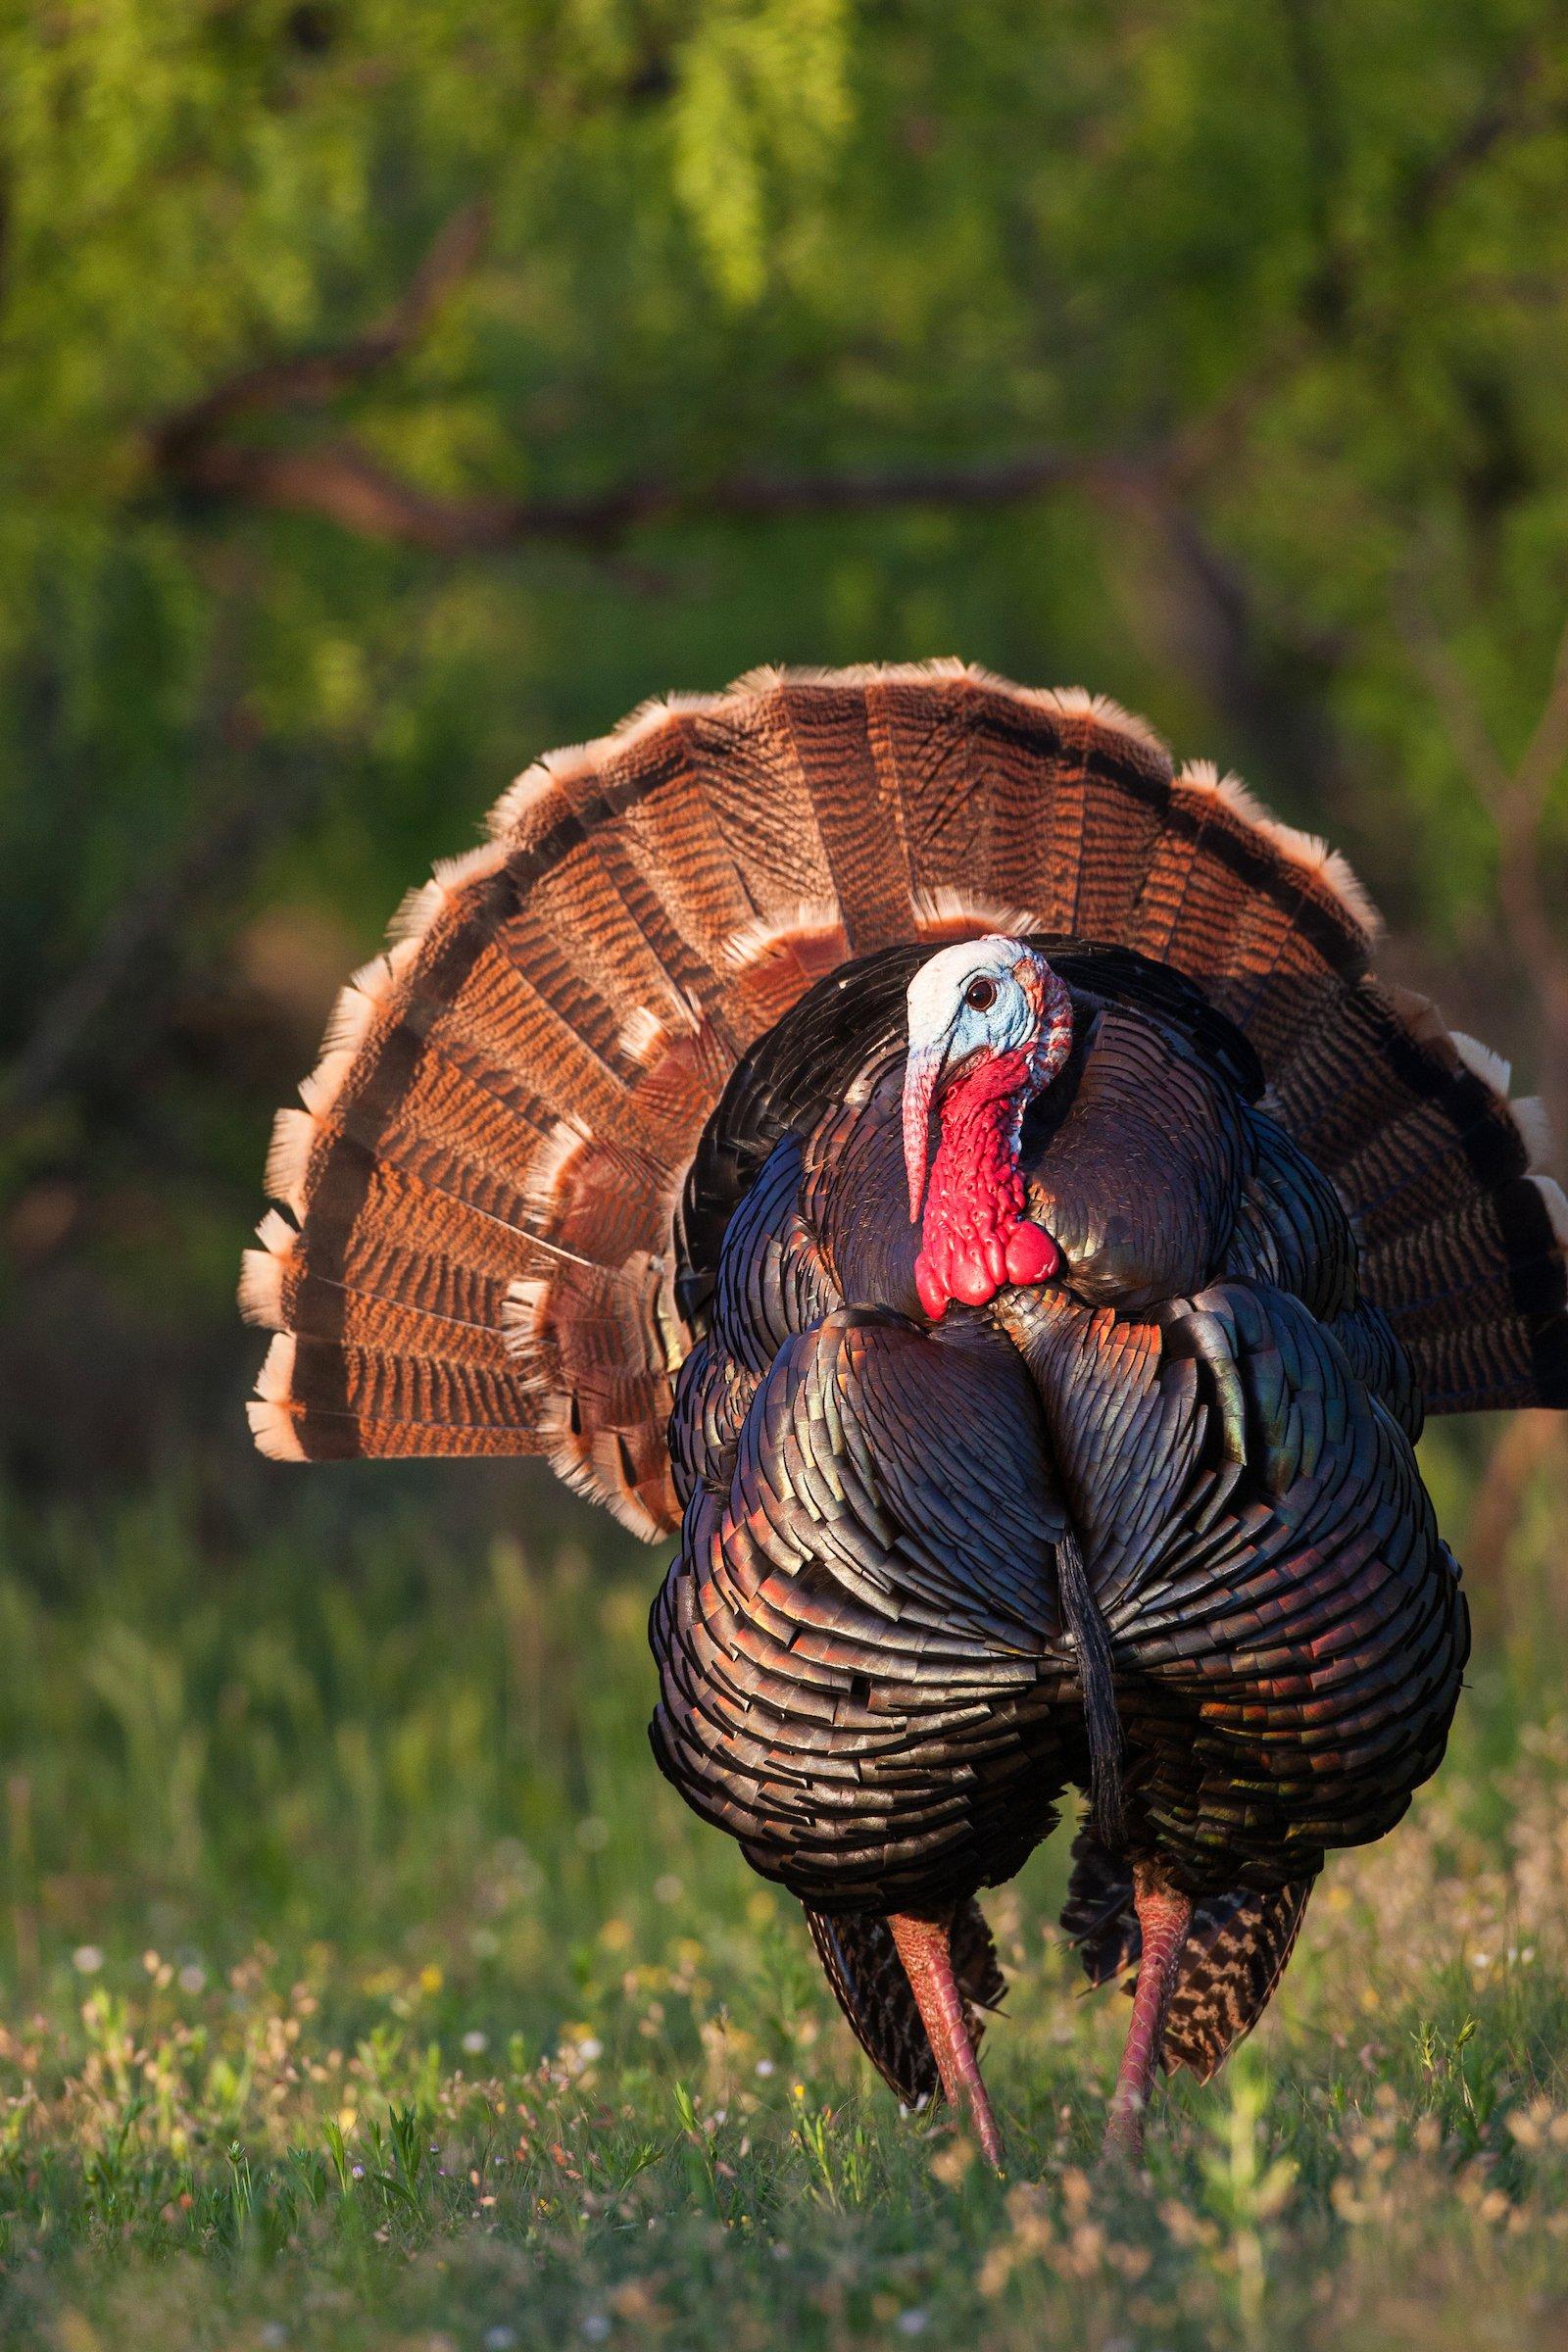
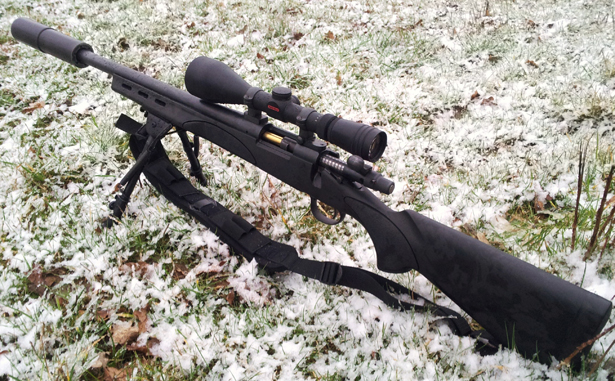
Conventional wisdom holds that many gobblers are alone and seeking hens late in the season, and that’s true many days — but not always. Image by Russell Graves
Pity the poor late-season turkey hunter, as he often doesn’t know who to believe.
On one hand, barstool wisdom holds that most seasons starts too late and birds are done gobbling by the late season, so it doesn’t pay to hunt. Conversely, every outdoor writer with a degree in cliché-ology maintains that the late season is truly prime time — a period when sharp-spurred gobblers that have been henned-up most of spring are suddenly lonely and will run to the call.
Many folks wonder who’s right. And that question seems to ring louder nowadays, especially as many states are opening seasons later and running them through weeks previously reserved for fishing. So what should hunters who have traditionally quit before Mother’s Day expect from the extreme late season? After a few decades of hunting through May and even into June, I’ve learned that the late turkey season can be a glorious mosh-up of heart-pounding action and confounding questions. Here’s what you need to know.
The Stories Are True — Sometimes
Biology and anecdotal evidence suggest that many hens are incubating nests late in the season, leaving gobblers alone, on the prowl, and susceptible to calling. And in fact, I’ve witnessed some incredible late-May, strike-’em-up, run-to-the-call hunts. The largest-spurred gobbler I’ve ever taken sprinted in like a 2-year-old one late-May morning.
But that doesn’t mean such scenarios are the daily norm. Consider these examples: On May 29, 2017 — the next-to-last day of Wisconsin’s spring season — I sat in ambush along a brushy fence line and watched a gobbler breed a hen soon after fly-down and then follow about 10 girls as they fed just out of range in a stubble field. After two hours, I finally managed to irritate a nearby hen, which then attracted the flock into range, and I shot the longbeard.
On May 29, 2018 — the final day of that campaign — I struck a gobbler across a town road, probably 500 yards distant. After my next calling series, it became obvious the bird was coming, and I barely had time to find a tree and ready my gun before the longbeard half-sprinted into range. Which turkey is typical of the extreme late season? Both.
True, many hens are on nests during the late season. However, many other hens have lost nests to predation, and non-breeding jennies also dot the landscape, leaving ample single ladies for gobblers to chase. I’ve found that it’s just as common to encounter henned-up late-season birds as it is to find solo longbeards.
Also, expect some moodiness with late-season gobblers. I’ve experienced mornings when, despite seemingly ideal conditions, nothing gobbled anywhere. Songbirds and waterfowl sounded off in typical fashion, but turkeys remained so tight-lipped it was as though they’d vanished. I don’t know why. Then again, I cannot explain why turkeys tear it up one day during the gobbling peak but then gobble perhaps half as much the next day. It’s just a turkey thing.
Those quiet mornings don’t spell doom. Turkeys haven’t gone anywhere, and you can often fire up previously silent hens and gobblers later in the morning.
(DON’T MISS: 3 GREAT TURKEY CALLING SETUPS)
Don’t Buy the BS
As mentioned, some amateur biologists often claim that turkeys are “gobbled out” or done breeding when the late season rolls around. As evidence, they’ll mention seeing gobblers strutting during late winter.
Hogwash. Sure, many hens have been bred and are sitting on nests or building clutches when the late season rolls around. But gobblers don’t simply turn off their testosterone taps. Their breeding urge might wane a bit, but most remain eager and willing to tend to hens well into the late season and often after the campaign closes. A friend in Minnesota often runs during early mornings and keeps track of gobbling activity. The best gobbling day he’s witnessed? June 17.
During the late season, you might experience some days when gobblers act like they want to drift back into summer bachelor groups. They seem more interested in gobbling at each other and hooking up than in chasing hens. However, that’s a small sample size, and it usually changes daily. When that happens, don’t assume those gobblers are done with hens. They’re just not interested at the time — just like a longbeard you encounter at midseason might appear disinterested for whatever reason. (On another note, if gobblers act like they prefer a boys’ club, give them one with jake and gobbler yelping, and maybe jake gobbling and gobbling.)
Many other late-season detractors point to harvest statistics — in states that keep such records — which typically show steadily declining success as the season progresses. That makes sense. As more gobblers — and likely, relatively easy or eager gobblers — are killed, hunting prospects become more difficult statistically. In addition, any hunter knows that many surviving birds have probably been bumped, boogered and spooked, making them tougher customers. Further, hunter effort typically declines as the season wanes. Many folks kill a turkey early and are then happy to start fishing or playing golf. Those numbers don’t lie, but they shouldn’t dissuade you from hunting. You might encounter more birds earlier in the season. However, your odds of encountering the right turkey are often better than ever.
Some other folks eschew the late season because they don’t see as many big groups of turkeys or find them at spots they frequented through most of spring. That’s often true, but it doesn’t affect much. Remember, during late spring, turkeys are the most dispersed they’ll be during the year. Those hen and gobbler flocks you saw in late winter have long since busted up, with hens making nests in secluded spots with thick cover, and gobblers often running solo or with a buddy. Likewise, food sources have sprung up everywhere, and turkeys can find good eats at many spots, not just pastures, crop fields or oak flats. During that time, turkeys, as the cliché holds, are where you find them.
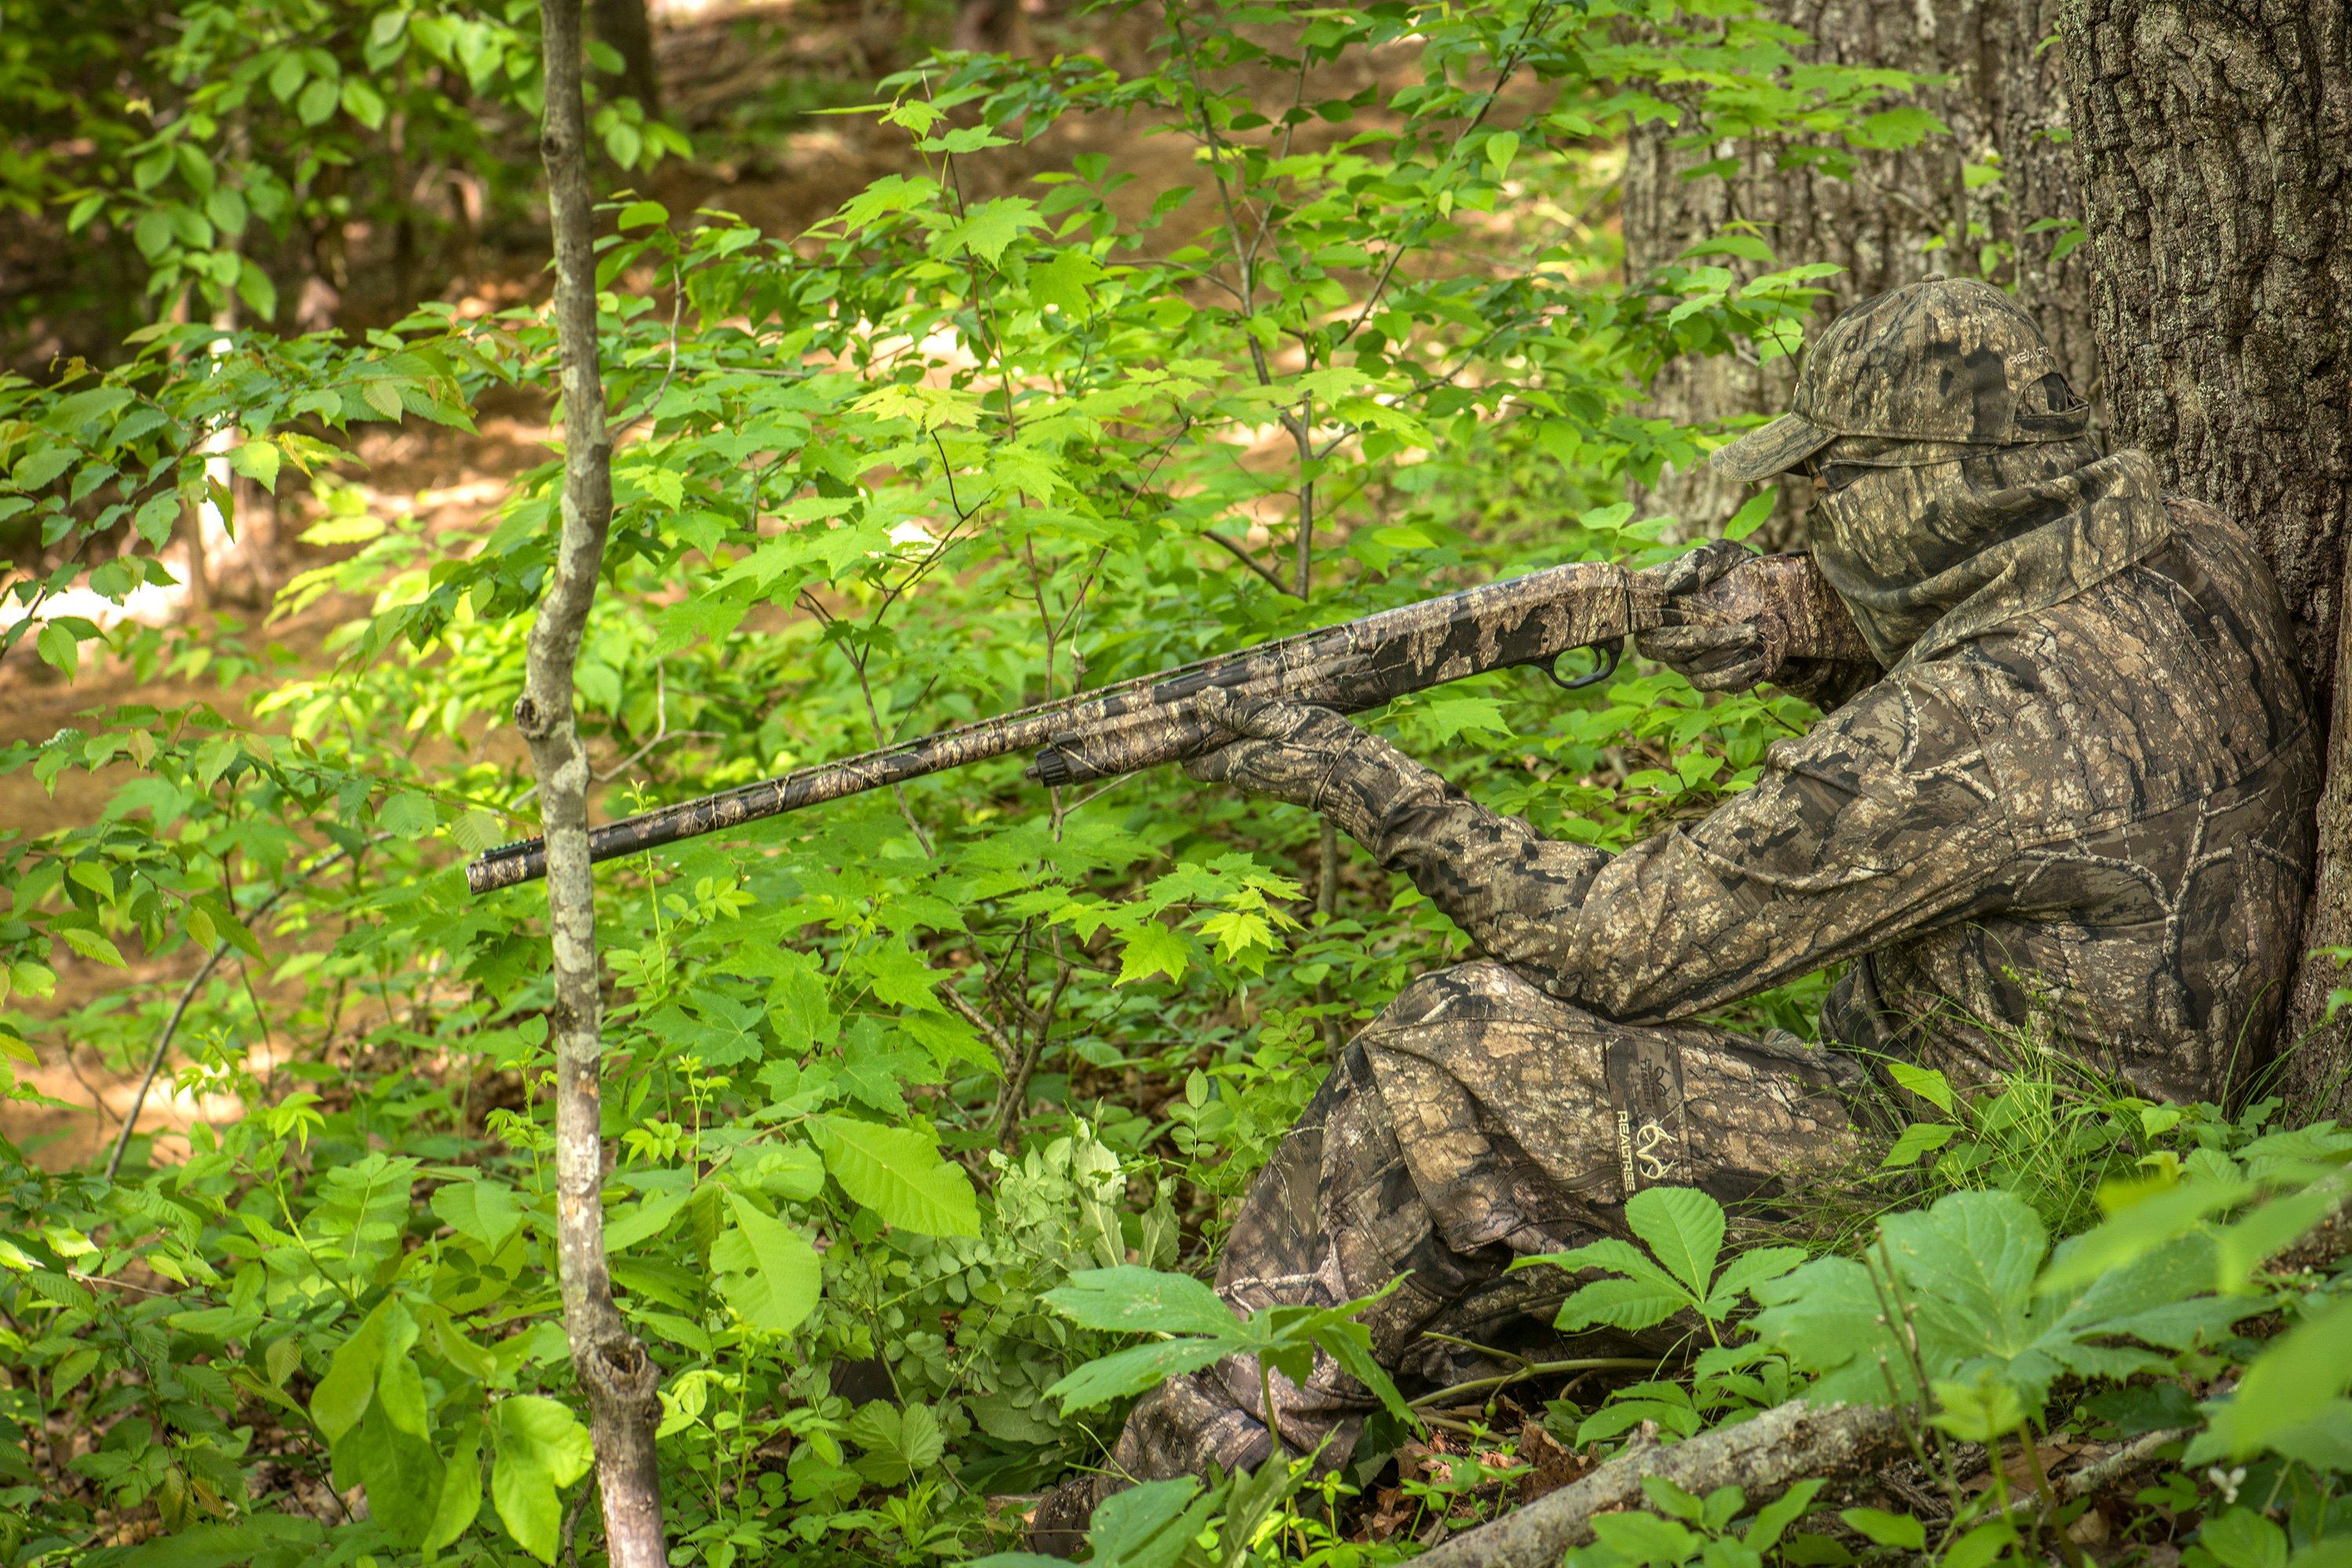
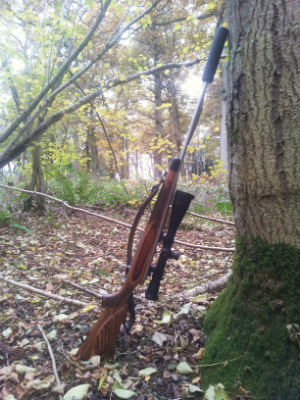
Thick late-season foliage can help but also hinder your efforts. It provides cover to hide your movement but can make shooting more difficult. Image by Bill Konway
Mind the Weather and Foliage
No one can argue that late season conditions differ greatly from those weeks earlier. Temperatures are typically warm — even hot — and the foliage has grown tall and thick. Those factors greatly affect hunting.
Watch the weather, and hunt accordingly. Heat shuts down gobbling as quick as any other factor. When temperatures reach a specific level — often about 70 in the North but warmer elsewhere — those big black birds with heavy plumage get hot and won’t expend much energy gobbling. As a result, you’ll want to make the most of opportunities during relatively cooler conditions during early mornings and evenings.
During warm, sunny midday lulls, turkeys often seek cool, shady areas to loaf. Out West, those might include cedar groves or pine-rimmed canyons. In the Midwest and Northeast, they could be shaded creek bottoms or heavily timbered hollows. Focus on these spots at midday. Sit and call at likely spots for an hour or more. If you can’t sit still, use a turkey chair to boost comfort or a blind to hide your fidgeting. Many folks dislike this style of hunting, but it’s darned effective. And remember, if you hear a distant bird gobble, you can always move.
Foliage can also throw you changeups, good and bad. On one hand, cover provided by understory plants and leafed-out trees lets you move through the woods easier without being seen. In many cases, you can slither tight to turkeys you wouldn’t dare have approached in the open woods of March and April. Further, thick stuff such as gooseberry creates edges turkeys must navigate, much like terrain rises and bends in logging roads. When you set up within gun range of those obstacles and make a turkey search for your calling, you can often shoot him the instant he pops into view and cranes his neck to look for the “hen.”
On the down side, foliage can make shooting more difficult. Find setups where you have clear, distinct lanes that allow sure shots. You’ll often have to shoot through a bit of brush or similar cover, but don’t force the issue, as even a few branches or leaves can blow up your pattern.
Likewise, thick foliage can also affect your perception of a turkey’s location, as gobbling will sound a bit muted and muffled amid all that greenery. Just be mindful about when you need to sit down and set up. One step too far is all it takes to send a gobbler out of your life.
Some folks wonder about late-season decoys and calling tactics. I’ve found that decoy basics still apply, but don’t be afraid to pare things down a bit. Single hens work great, especially if you’re near potential nesting cover. Likewise, single jakes work great, too, with the theory being that the gobbler searches for the hen it hears but then encounters a jake. The largest late-season decoy setup I use is a jake and hen combo.
Calling? Don’t change a thing. You must yelp a bit differently to every turkey you work, and the late season is no different. Take his temperature. See what makes him gobble and, more important, come toward you. Get aggressive if he likes it, but pare things down as needed. Basically, work that late-season turkey like you would any other gobbler.
Keep Perspective
The extreme late season carries challenges, but it’s a great time to hunt. Bottom line: During the extreme late season, your odds of finding a lonely gobbler willing to work to calling are likely never better.
And hey, it’s your last chance to hunt turkeys until autumn. That alone should prompt you to get out of bed and greet the dawn.
(DON’T MISS: IS A HUNTING TRIP FOR 1 TURKEY WORTH IT?)


 The action of the 700 itself is designed with this mass production in mind and has two forward dual opposing lugs. The bolt is made from three pieces forged together (body, head, and bolt handle) and the ejector is constructed as a C clip sitting within the bolt face.
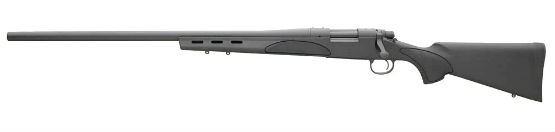 (Above: The Remington SPS Varminth)


