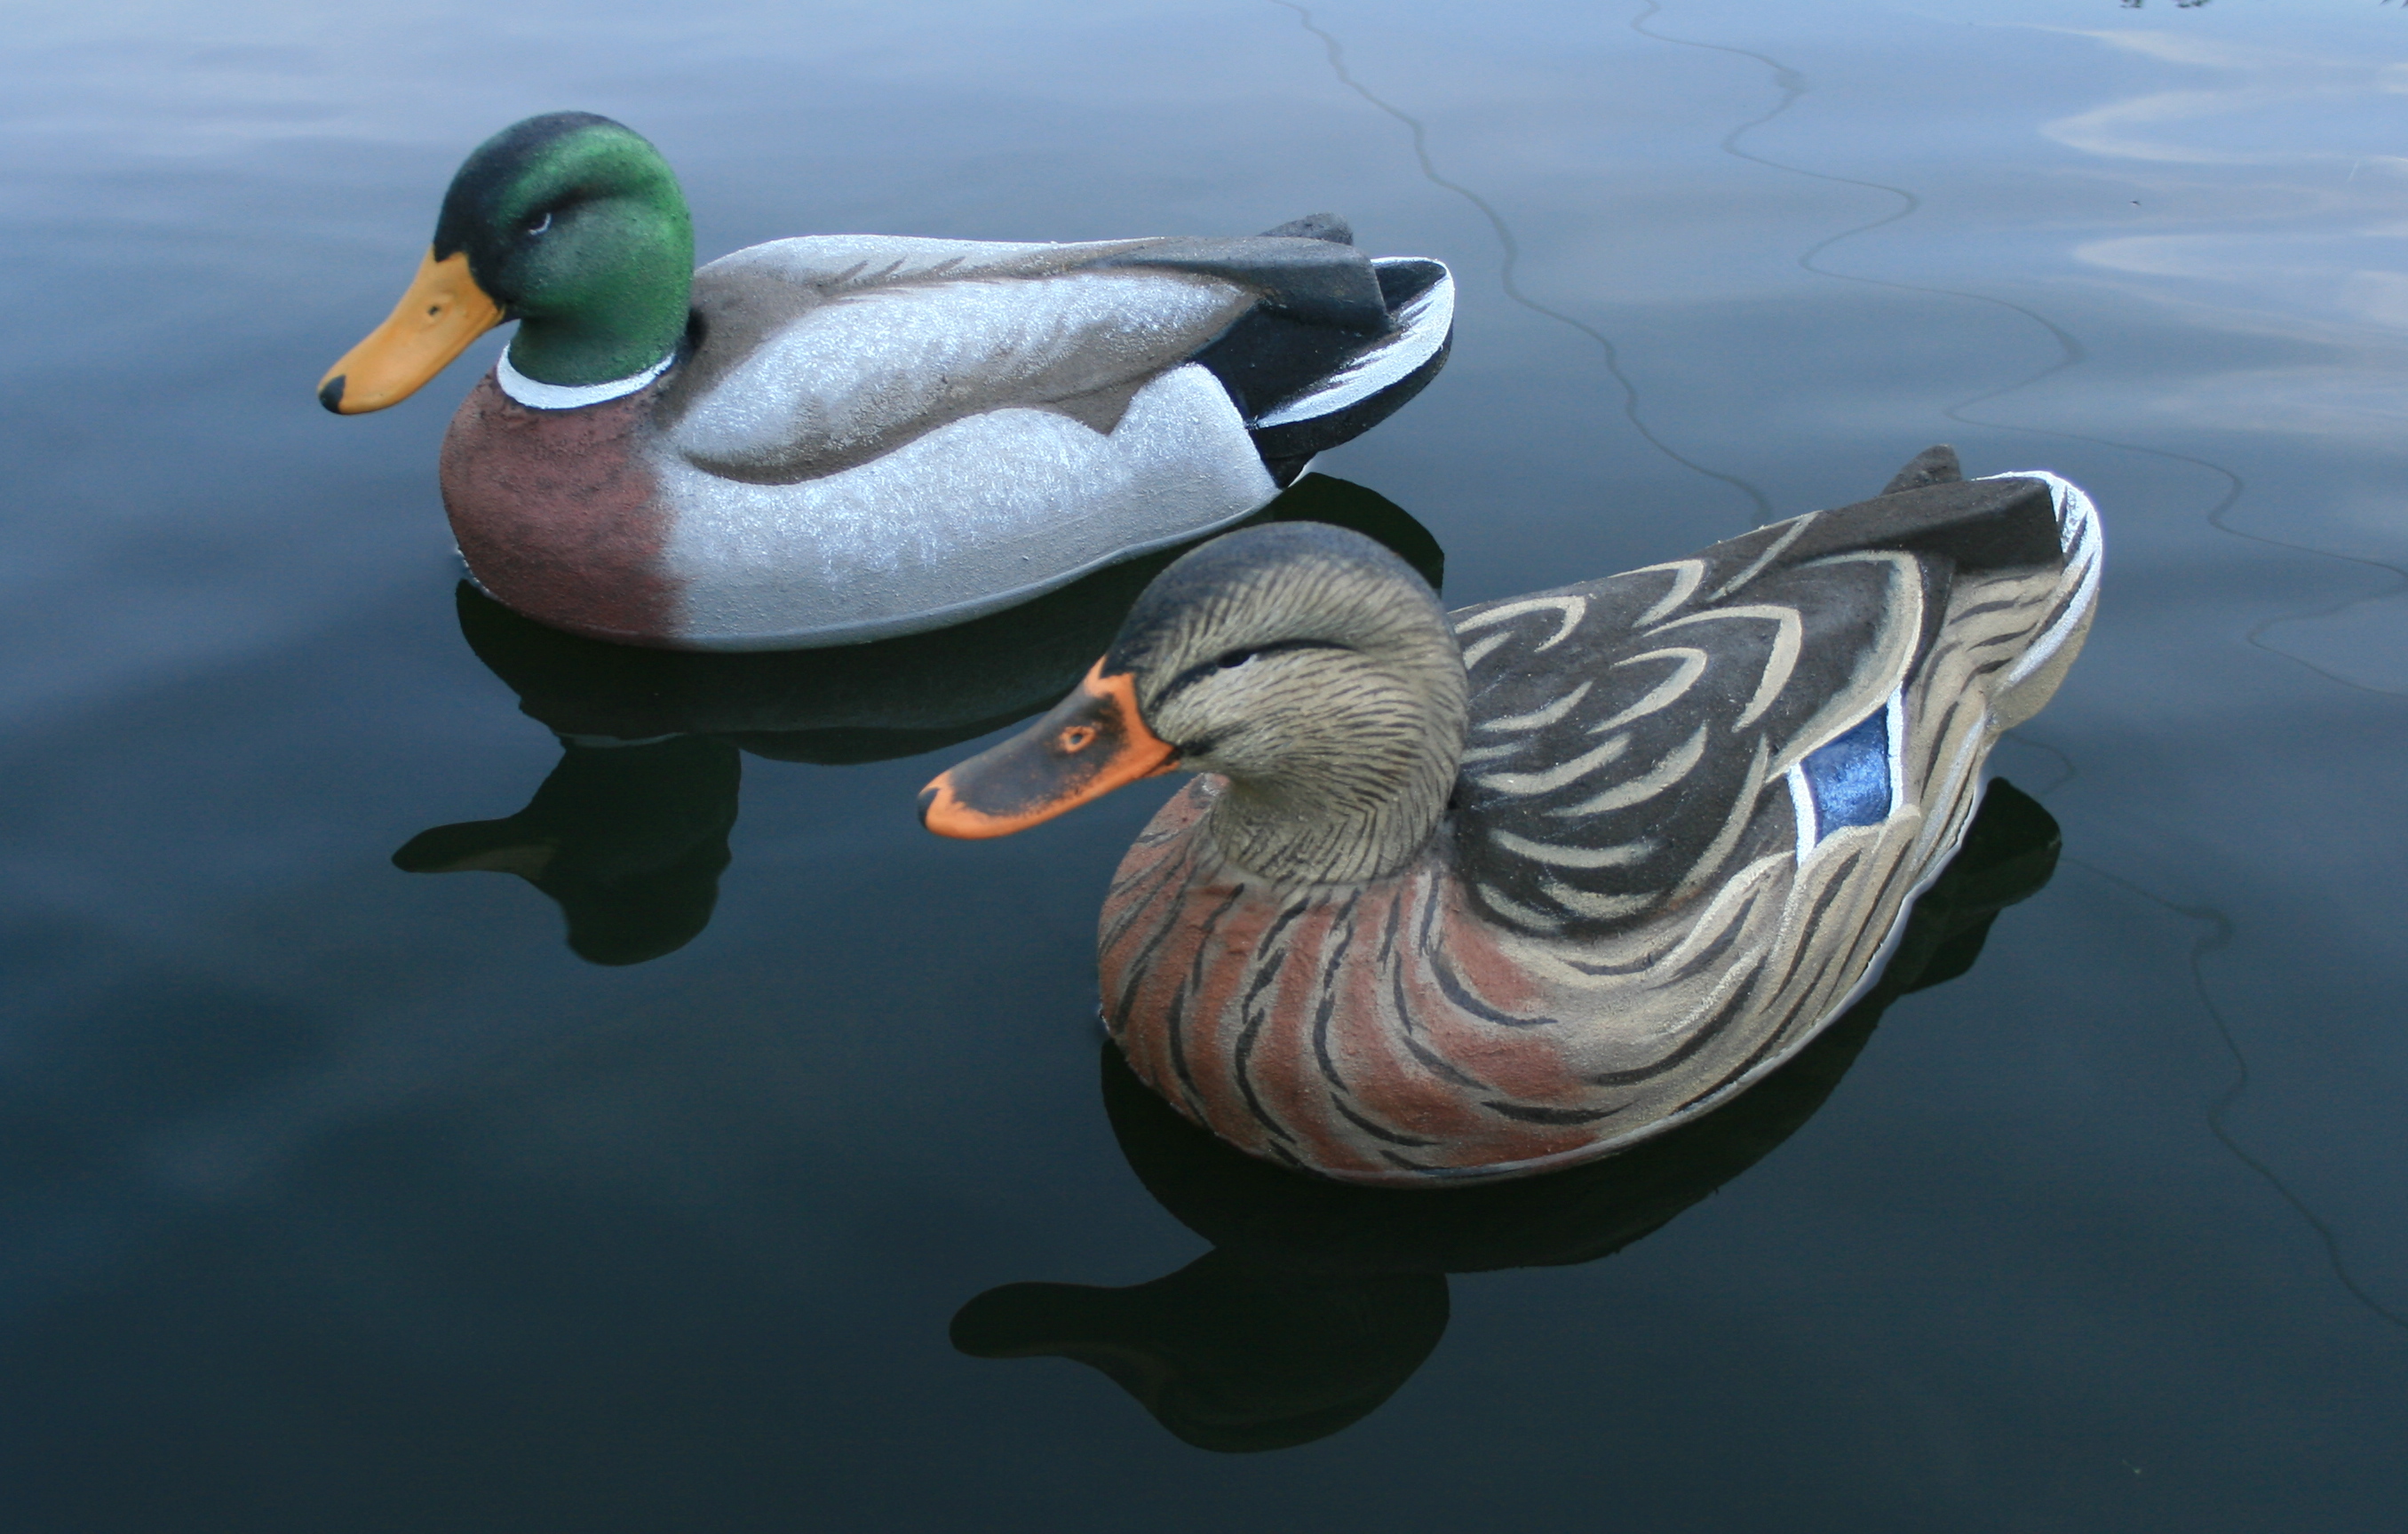
Painting Homer (and other) Mallards

Almost every duck hunter owns some Mallard decoys. There are lots of choices in the marketplace and many factory decoys have been offered for a long time. For those of us who like to keep and use older gear, we probably have some Mallards that could stand some fresh paint. This Tutorial focuses on a newcomer to the world of factory decoys – Homer Decoys from Ohio. To those of us of a certain age, these foam birds fill the niche occupied for most of our gunning lives by Herter’s – originally from Minnesota but no longer in the decoy business. These Homer birds are big, have bullet-proof heads, and are a very nice replica of the live Mallard.
As it happens, I have painted and re-painted scores of Mallards over the past year or so. All use the same approach. So, while most of the photos will show a pair of Homer Mallards I painted in September of 2016, I also show here birds from several other makers.
Coating
Regular followers of my site will notice two regular practices of mine. First is that I have coated these decoys with marine epoxy and fine sawdust. I do this to both put a hard shell over the foam – for long-term durability – and to start my painting on a rough surface – to avoid shine on the finished decoy. I should mention that I have not tried painting or gunning over Homer decoys without this coating; you may find it unnecessary. Having grown up with Herter’s Durlon foam Model 72s and 63s (and 81s and 92s), I know that bodies can take a beating under gunning conditions – usually from anchors. So, I brush on a coat of epoxy from U. S. Composites (www.uscomposites.com) – their 3:1 Medium cure, with a bit of Cabosil to slow running) – and then sprinkle on some fine sawdust from my bandsaw. I have been very happy with the results. The wood particles appear to absorb the epoxy as it cures and so the finish is very much like a coarse sandpaper. It certain provides a great base for the paint; the birds look great on the water, with no shine and rich colors. The only downside I have found in use is that fine muds can be impossible to scrub off, once they find their way into the surface texture. I am experimenting with other particles – ground walnut shells on some Oldsquaw and some ground corncob on my next experiment.
Painting
My other regular practice is to paint with Behr Ultra latex paints from Home Depot. I chose them because 1) I can buy any color in small, sample jar amounts, and 2) I can refer others to the proper colors simply by providing the color name and the code. I buy a bunch of colors in the 8-ounce sample jars but my more-commonly used colors in quarts. The samples come in matte finish but the quarts are available in true flat finish.
I use mostly square, stiff-bristled brushes – which are especially helpful on rough textures. The smaller brushes are used only when needed. As a General Rule: Use the biggest brush you can.

Here is the list of Behr Ultra paints I use on Mallards. It is a long list – because Mallards are the most challenging decoys to paint – but rest assured that many of these colors can be used on other species.

Priming and sealing ?
Finally, you will notice that I do not prime the Homer birds shown here. I believe the epoxy-saturated sawdust particles require no further sealing. However, on other birds, I may seal with spar varnish, oil primer, or latex primer. One thing I always like to do if priming is to approximate the final tones and/or colors in the prime coat. This helps when wear occurs. When the topcoat is scuffed or scratched away, it will reveal no jarring color beneath. Of course, grey primer on the entire bird is also a safe way to go.
Painting the Drakes
Although not a hard and fast rule, it is generally a good idea to begin painting decoys from the aft end – and working forward from there. This is helpful because feathers overlap from the front of any bird, so it is easy to brush forward color patches over aft patches already done.
So, we begin with the Black on the tail section.
The Finished Drake – on the photo bench


Painting the Hens
Now that you are all warmed up, time to tackle the hens. Puddle duck hens always present a challenge because of their mottled plumage. Solid patches of color do not fool my eye – even at the “half-gunshot away” distance – but it is impractical to paint in every feather on gunning stool. So, an Impressionist approach is needed. The suggestion of a streaked and mottled bird – with the correct areas of light, dark and color, becomes the goal.
The Finished Hen – on the photo bench


On the Water – where they belong
A pair of Homers….
Some other gunners….
Hope this is helpful!
SJS


![Air gun 101: The differences between .177 & .22 – Which jobs they do best ? [Infographic]](https://airgunmaniac.com/wp-content/uploads/2020/09/g44-150x150.jpg)


