")
")
")
")
")


If you have a pest problem in your backyard
And are looking for an inexpensive air gun in the $100 range to solve the problem
You have to dig very deep as there is only a small number of quality guns that pack a heavy punch at this price range.

The Crosman Optimus is one of them.
This economical rifle has a quality beyond its cheap price tag, and you will find out why in this review.
Table of Contents
Crosman Optimus – Guntype
This is a spring-piston gun.
For more on the 5 types of air rifles, you need to know before buying, see this post.

The Crosman Optimus is a break barrel gun which means that you have to cock it each time you want to shoot.
Break barrel guns are the easiest of all air guns to load because the breach is exposed when it breaks open.
Besides, it gives you an unlimited shooting capacity and is easy to repair because of its simple mechanism.
Finally, a break barrel gun is easy to clean since you have direct access to the barrel .
This is a single-shot gun.
Single-shot guns give you control over ammunition and make you a better shooter because you know you have to make your first shot count.
The rifled barrel has a caliber (the internal diameter of the bore, measured in inches) of .177 (4.5 millimeters) and .22 (5.5 millimeters).
While .177 is popular for target shooting, .22 is a go-to caliber for hunters and pest eliminators because it delivers lethal knockdown power for small game, something that .177 cannot guarantee.
(For more on how to choose the right air gun caliber for your game, see this post.)
Stock

The stock is made of hardwood so it can withstand stress, shocks, load, impact, and abrasion in daily life.
For more on the in-depth comparison between synthetic and wood stock, see this post.
Moreover, the stock is ambidextrous so you will have the same shooting experience whether you are left-handed or right-handed.
Additionally, this stock has a rubber recoil pad to absorb recoil when you shoot.
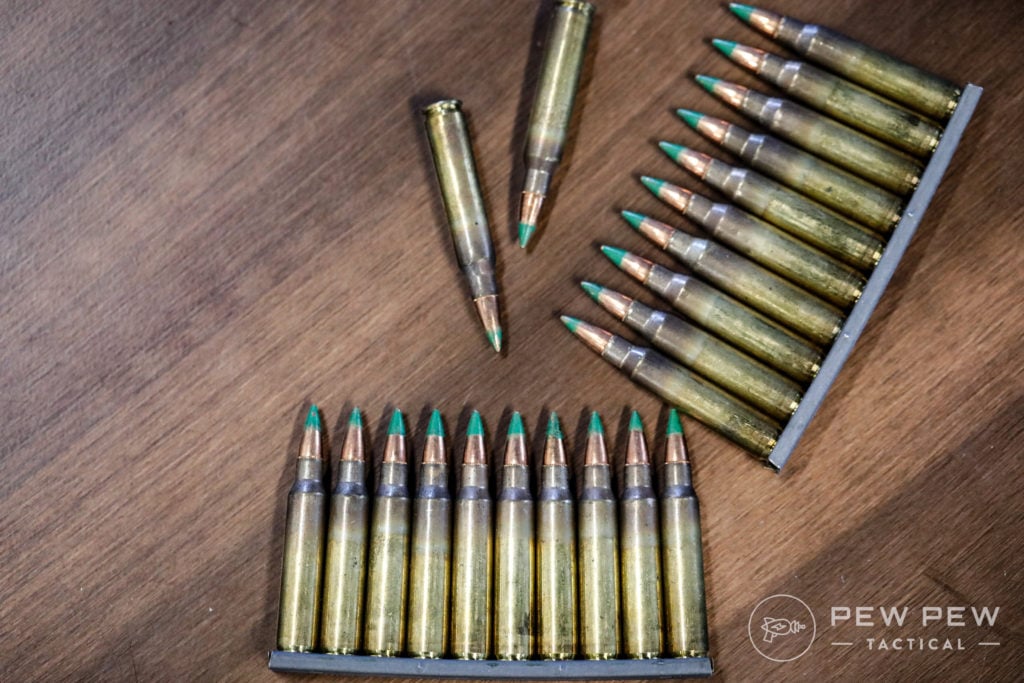
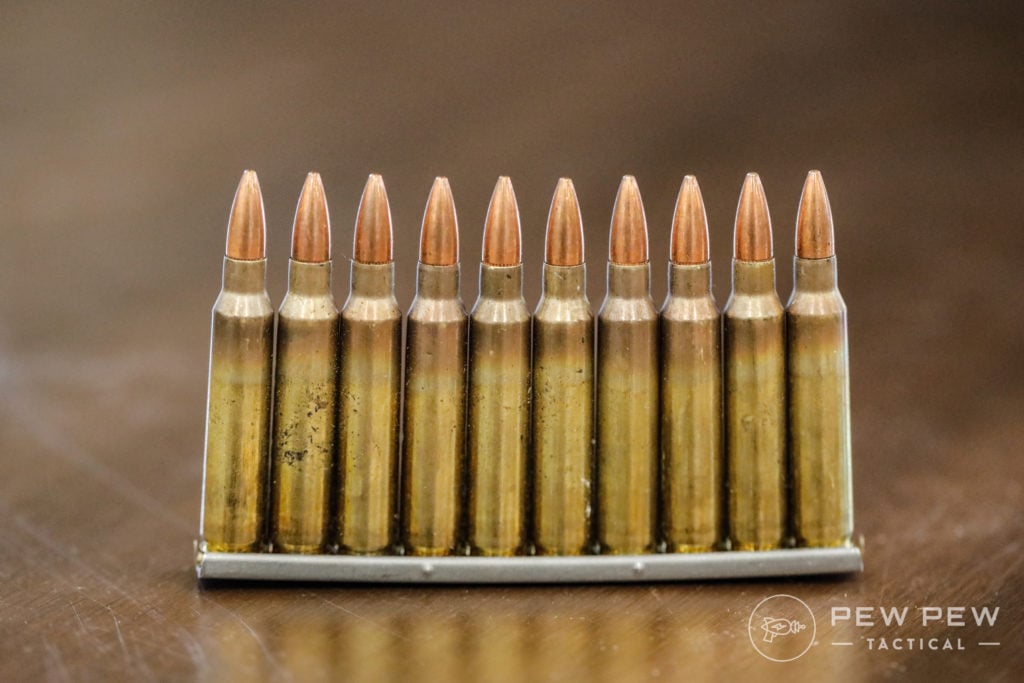
Ammo
The Crosman Optimus uses .177 and .22 pellets as its source of ammunition.
.22 pellets are heavier and have a larger diameter than .177.
It doesn’t have as much velocity as the .177 pellet but it is more stable in its direction.
Besides, it also has lots of takedown power to finish an animal in one quick, clean shot, so .22 is your best choice to protect your garden from pests.
(For more on the differences between .177 & .22 and which jobs they do best, see this post)
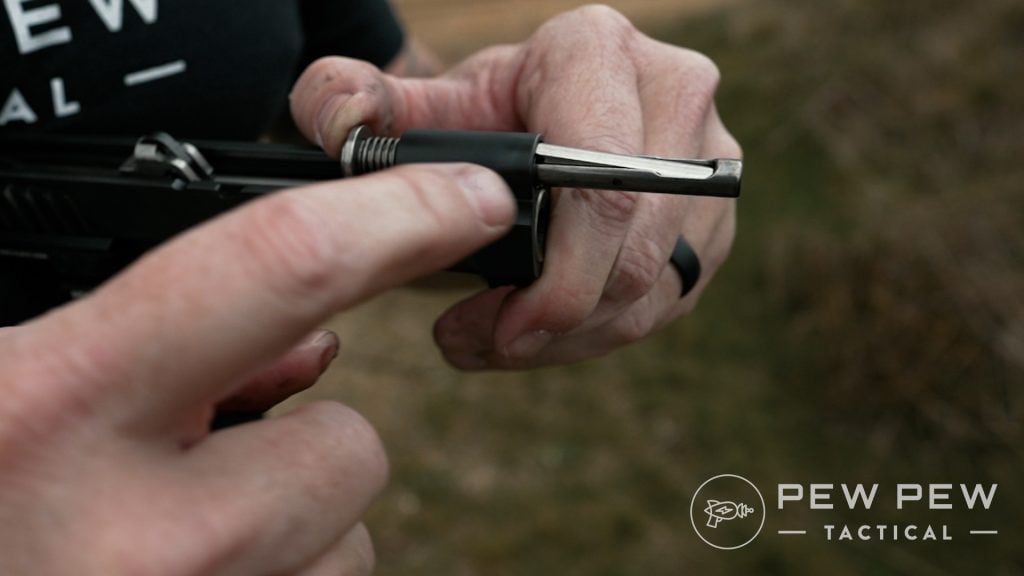
Cocking and loading
Cocking the gun: Hold the pistol grip with one hand, place the stock on your hip, and break the barrel all the way down to its limit.
Loading the pellet:
- With the breech open after you cock the gun,
- Put the pellet into the chamber (with the pellet’s nose lying forward)
- Pull the barrel up to its original position and you are ready to shoot.
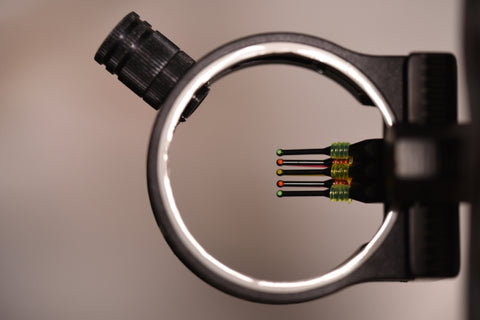
Sight

If you are a fan of open sights you’re going to love the Optimus’s sight.
The front sight is fiber optic and the rear sight is fiber optic, too. It is fully adjustable for windage and elevation.

As if the fiber optic sight is not enough, Crosman has installed 4×32 scope in case you grow bored of shooting with iron sights.
32 is the diameter of the front lens, measured in millimeters.
4 is the magnification ability of the scope: It magnifies the real picture 4 times.
This scope is good enough for backyard shooting or for pest control but I suggest you upgrade to a better one if you want to go hunting.

Velocity, accuracy and power
The manufacturer claims that the Crosman Optimus 0.177 air rifle achieves a velocity of 1,200 feet per second (FPS) with an alloy pellet and 1,000 FPS with a traditional lead pellet.
And the .22 Crosman Optimus can deliver up to 950 FPS with alloy pellets.
This is a high velocity compared with other .177 – .22 air guns on the market and we can expect a serious hitting power at this level of velocity.
Chrony tests give us results as follows:
In .177:
| .177 Pellets | FPS | FPE |
|---|---|---|
| 8.3 grains RWS superdome | 930 | 15.94 |
| 10.2 grains JSB Exact dome pellet | 807 | 14.75 |
| 8.4 grains JSB exact dome | 877 | 14.35 |
| Crosman premier 7.9 grains | 923 | 14.95 |
| 10.5 grains Crosman Priemier | 759 | 13.43 |
In .22:
| .22 Pellet | FPS | FPE |
|---|---|---|
| Gamo PBA 9.8 gr | 854 | 15.91 |
| RWS Hobby 11.9 gr | 707 | 13.23 |
| Crosman Premiere Hollow Point 14.3 gr | 718 | 16.37 |
The actual velocities are nowhere near the advertised number,
But remember that the average muzzle energy is more than 13 FPE which is more than enough to deal with birds, ducks, squirrels, chipmunks, rats, etc.
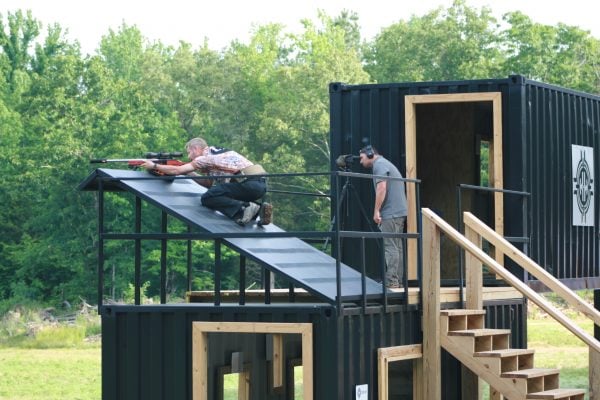
Bro Wild Outdoors took out the Crosman Optimus .22 Pellet Gun for some Crow Hunting pest control here:

Accuracy for Crosman Optimus .177:
| Distance in yards: | < 30 | 30 | 50 | 60 | 100 |
| 1 | ? | ||||
| 2 | ? | ||||
| 3 | ? | ||||
| A quarter | ? | ||||
| Tin Can (open sight) | ? | ? | |||
| Woodpecker | ? |
For Optimus .22, the common shooting groups are:
- 0.509” at 10 yards with RWS Super H-point 14.2 grains
- 0.44” at 10 yards with RWS Super H-point 142. gr
- hit bull’s eye at 10 meters
- dime size at 25 yards
- quarter size at 15 yards
- 1” at 25 meters
- 1” at 50 meters with Crosman Premiere Hollow Point pellet
- 1.25” at 20 yards
- 2” at 50 yards.
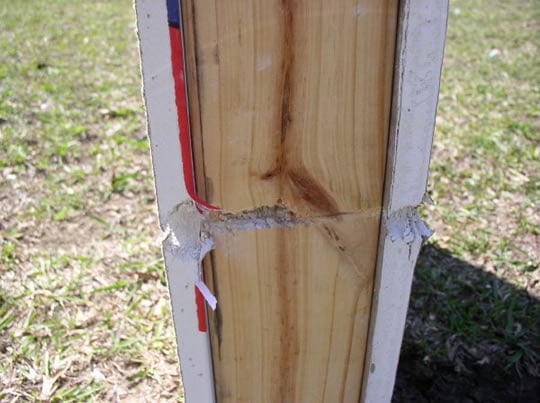
Furthermore, it can:
- pack a good punch clearing through 6/8” plywood at 20 yards
- kill pigeon in 30 yards
- shoot bird at 60-70 yards
- kill bird at 75 yards
- shoot through 1/2″ plybacker
- put the pellet through 1” wood board
- kill a crow at 25 yards with the pellet exit animal’s body completely,
- penetrate a piece of a quarter inch plywood
- penetrate a 55-gallon barrel at 27 yards
- kill duck at 40 yards
- punch through a license plate at 100 feet
- shoot through 5/8” plywood at 50 feet.
To sum up, this air rifle is extremely accurate up to 50 yards and gives you lethal stopping power to solve pest problems in your garden.
(For more on everything you need to know about air rifle accuracy, see this post)
Loudness
The audibility test shows that this gun has 100 Decibels of noise output, making it a relatively loud break barrel gun compared to other Nitro Piston guns.
Some customers say this gun is loud, too.
One shooter asked a local law enforcement officer if there would be a problem shooting it in his fence in the backyard and was told it would not be a problem.
Therefore, you ought not to get into any trouble with the police.
For the neighbors, it depends on how sensitive they are
If they are easy-going and kind then you can take it outside and have fun on your property.
Trigger

With the pull weight of 4 lbs 10 oz., the trigger of Optimus is quite heavy and there is a long pull required in the second stage.
However, given the price of this gun, it’s adequate.
Specifications
- Caliber: .177 – .22
- Velocity: 1200 (.177) – 950 FPS (.22)
- Loudness : 3- Medium
- Overall Length: 43.0”
- Shot Capacity:
- Cocking Effort: 30 lbs
- Barrel: Rifled
- Front Sight: Fiber Optic
- Rear Sight: Adjustable for windage and elevation
- Scopeable: 11mm dovetail
- Buttplate: Rubber
- Suggested for: Small game hunting/plinking
- Action: Break barrel
- Safety: Manual
- Powerplant: Spring-piston
- Function: Single-shot
- Body Type: Rifle
- Weight: 6.5 lbs
- One thing I found interesting is this gun only weights 6.5 lbs, a lot lighter than other adult-size guns so you can carry it around all day long without feeling fatigue.
Customer review
There are lots of customer reviews on this Optimus.
Positive reviews show that people love its cheap price, say its great value for a solid break barrel rifle, accurate and hard-hitting.
The main problem with this gun is the scope: plenty of negative reviews complain that the scope is junk and not screwed tightly.
The manual is very specific about mounting the scope, so make sure you mount the scope properly and use Locktite on the screw to stabilize the gun.
The only complaint that this gun deserves is the trigger.
There are so many guns at this price range that have better triggers like the Beeman series with RS2 trigger or Ruger Air Hawk.
Overall, customers find that this gun is a great gun for the price.
The scope and the trigger could be better but for the price range, they couldn’t ask for a better gun.
Many buyers believe this is one of the best guns under $150.

Pros and Cons
| Pros | Cons |
|---|---|
|
|
Price
The price for Crosman Optimus is just slightly more than 100 dollars.
It’s a damn cheap price for a gun that gives you small shooting groups, hits very hard, and can handle common pests such as squirrels, crows, chipmunks, etc.
Conclusion
The Crosman Optimus is a straightforward air rifle.
It doesn’t have anything fancy, but it wasn’t built to be fancy – it’s built for high quality at the lowest price possible.
This rifle is the best solution for your backyard problem. And don’t forget to have fun in the varmint-controlling process!


 Mike Swingle
 Mike Swingle
  Jeff Antell
 Jeff Antell
  John Cook
  Joe Kreylin
  Will Hazimof Kevin Carr
  Greg Edwards