")
")
")
")
")


So many online ammo websites, right?
Find out the best places to buy ammunition online from our own positive experiences and fails.
We’ll also cover recommended brands, types of bullets to buy, what is a “good” price, and unfortunately…restrictions based on your state.
And the current best deals for popular calibers.
October 2024 Update: Ammo prices are pretty stabilized for popular cartridges such as 9mm, .22LR, and 5.56/.223. However the Israel/Palestine conflict has added some extra demand. Also added Ammunition Depot into the mix.
AAC, Blazer, & PMC seem to be the most in-stock varieties.
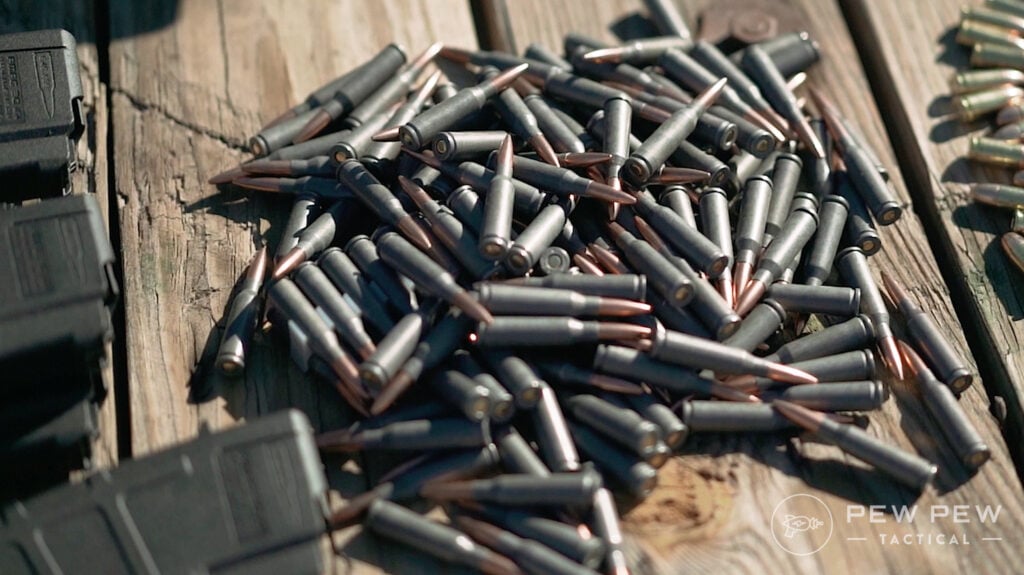
Table of Contents
THE QUICK LIST
Show more (2 items)
Best Places to Buy Ammo Online
1. Palmetto State Armory (PSA)
My go-to online place for buying BULK ammo is Palmetto State Armory.
They will usually be one of the best prices for cases (1,000) rounds of popular calibers…like .223/5.56, 9mm, and .45 ACP.
And they usually do a good job of keeping the essentials in stock…especially with AAC 9mm.
And sometimes you’ll even find free shipping for cases…otherwise, it may be about $20 to 30 bucks.
Their shipping used to be excruciating slow about ~5 years ago, but now with their in-house firearms selling like hotcakes…they’ve got their ammo shipping down as well.
- AR-15 Ammo (.223/5.56)
- 9mm Ammo
- All Ammo
- Daily Deals
What’s your take on PSA for ammo and guns?
2. Ammunition Depot
New on the list starting Summer 2024 is Ammunition Depot due to their free shipping over $149.
And just $5.99 for orders under.
You know when you’re buying ammo it’s pretty easy to go over $149.
And I know what you’re thinking…their prices must be higher to justify it. But amazingly they aren’t and can rival PSA prices for popular calibers.
My most recent order with them as been for 6 cent per round .22LR and as of right now their 9mm is 27 cents per round shipped.
They’ve been quick to ship and actual shipping time will depend on how far you are from Florida.
So if you’re buying a few boxes and love free shipping of popular calibers…check them out.
3. LuckyGunner
My go-to place to buy ammo online is Lucky Gunner for their selection, real-time inventory, and fast shipping, and shipping estimator. I’ve been a customer of theirs for over 6 years.
I find a lot of other retailers skimp in website tech or their shipping departments. There have been too many times where the following has happened:
- I find a great price, order, my credit card is charged, and then I get an email a couple days later that they are out of stock. Now I can either wait for a backorder or get a refund which ties up my credit card for a week.
- I order and it takes a week or two to ship out my order.
- I try to see my shipping costs and I have to create a login and enter all my details first.
LuckyGunner is great since they take care of the three problems above. You get to see their live inventory next to each product, they have a 110% guarantee that your stuff will be shipped the next business day, and you can easily calculate shipping without creating a login.
4. Bereli
My go-to for 9mm for the past few months. Bereli has some GREAT deals for some items such as their Blazer Brass 9mm with free shipping and tax only if you’re from Florida.
They’ve shipped out within 24 hours for all my orders but then it’s down to whatever ground transportation does.
Check out all their ammo deals.
5. True Shot Gun Club
A relative newcomer to the list…but in the most recent dark times of ammo (2020 onwards), True Shot Gun Club has been steadily stocking 9mm and more.
Their claim to fame is being the largest ammo dealer in Arizona and top 10 in the entire US. I’ve been ordering from them steadily this past year and it always arrives.
And often at the best price too.
6. Optics Planet
Optics Planet is one of my go-to optics and accessories shops. They now have a decent selection of popular ammo calibers.
They have all the major calibers in plinking ammo plus more speciality selections like self-defense hollow points and hunting loads.
Be sure to double-check that the ammo you’re looking at is in stock!
7. Brownells
Brownells is where I get most of my specialty tools and gun parts. They also have unparalleled customer service, reasonable shipping, and some good ammo deals.
They are caught up in all the website technology which I love, so you can add all the ammo to your cart, input your zip code, and see the shipping. Makes it much easier to compare across websites.
They stand behind their products and I’ve found it really easy to return stuff. However, I’m pretty sure you can’t return ammo for safety reasons. But for parts and tools, they are the best!
See their All Ammo In Stock section.
8. Cabela’s
Hunters and fishermen know and love their local Cabela’s and since their acquisition by Bass Pro, Cabela’s ammo prices have dropped even further!
Best of all, they almost always have the best hunting ammo you can find in almost every caliber you can think of.
Don’t forget to look at the Cabela’s branded gear also, everything from optics to rifle bags to jackets can be found with their brand name on it and so far I’ve never been disappointed with the quality or price!
9. Sportsman’s Guide
From power tools to guns and ammo, Sportsman’s Guide has almost everything under their roof – kind of like a Cabela’s and Harbor freight mixed into one!
While their standard deals are good, their deals with a Sportsmen’s Guide membership are even better! 10% off of gear and 5% off of guns and ammo, those savings can add up huge in a year of shooting.
Plus they offer ammo back-ordering.
Other Suggestions
These didn’t make our regular list but desperate times call for desperate measures and they might have some stuff left…
- Gorilla Ammunition (niche manufacturer with subsonic loads and 8.6 BLK)
- Sportsman’s Warehouse
- Kentucky Gun Company
- Cheaper Than Dirt (Extreme Price Gouging)
Why Buy Ammo Online?
A survey of gun owners conducted by the NSSF found that 53% of gun owners bought ammo online and that 86% of those cited lower prices and quantity discounts.
I’ve only bought ammo a couple of times at gun stores or the range because I forgot to bring my online bought ammo.
But every time I go, it’s not surprising to see prices 50% higher than what you’ll find online…even after factoring in shipping!
I’d like to also add in variety and tax savings.
Without the restraint of a physical location, online sellers can have tons of selection.
Some guns just like different ammo better than others. I like to order a couple of types to see what shoots best in a new gun, and then later put in a bulk order. Plus, our suggestions will likely be out of state for you…so no sales tax!
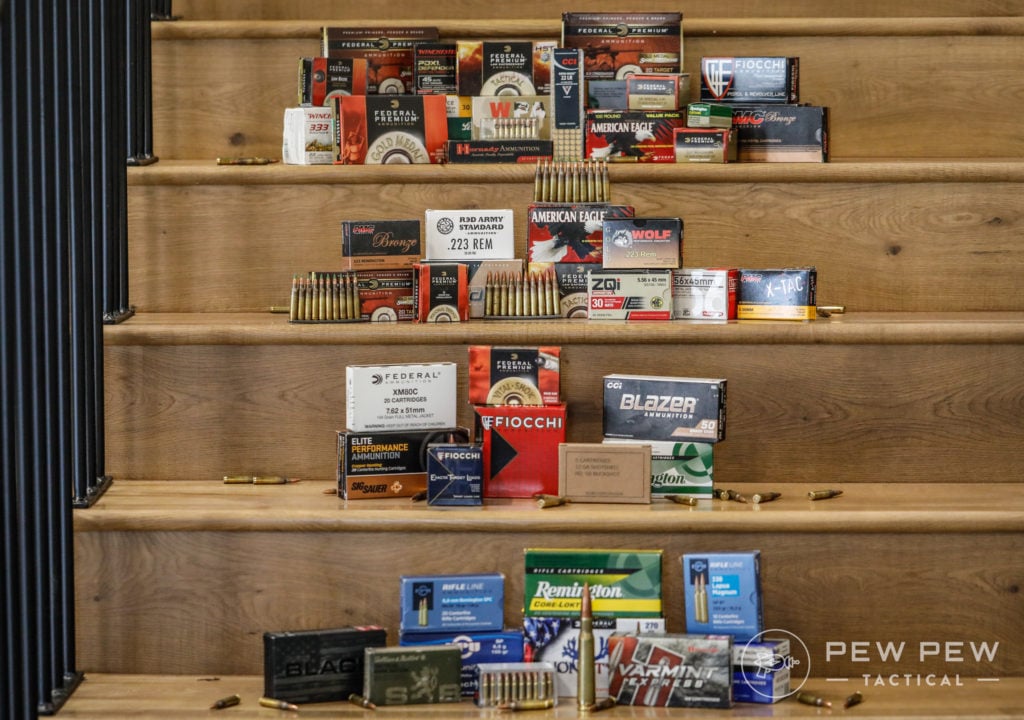
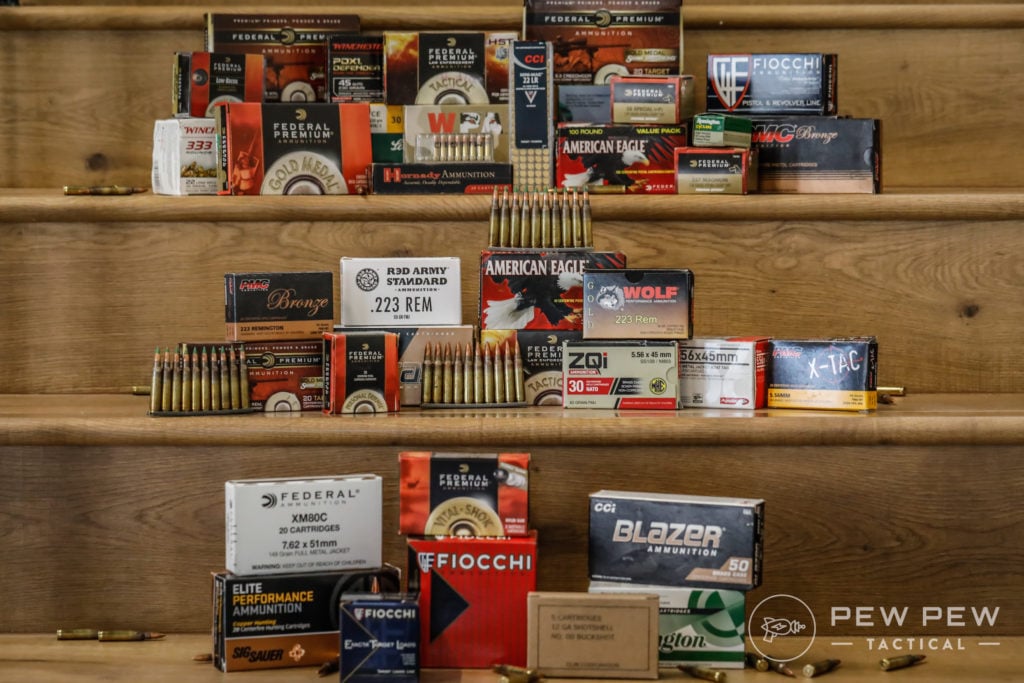
Recommended Ammo Brands
These are just my recommended ammo brands based on price, availability, and what worked in my guns.
I shoot a decent amount so I usually go for the budget brands. I haven’t had a problem with any of the below.

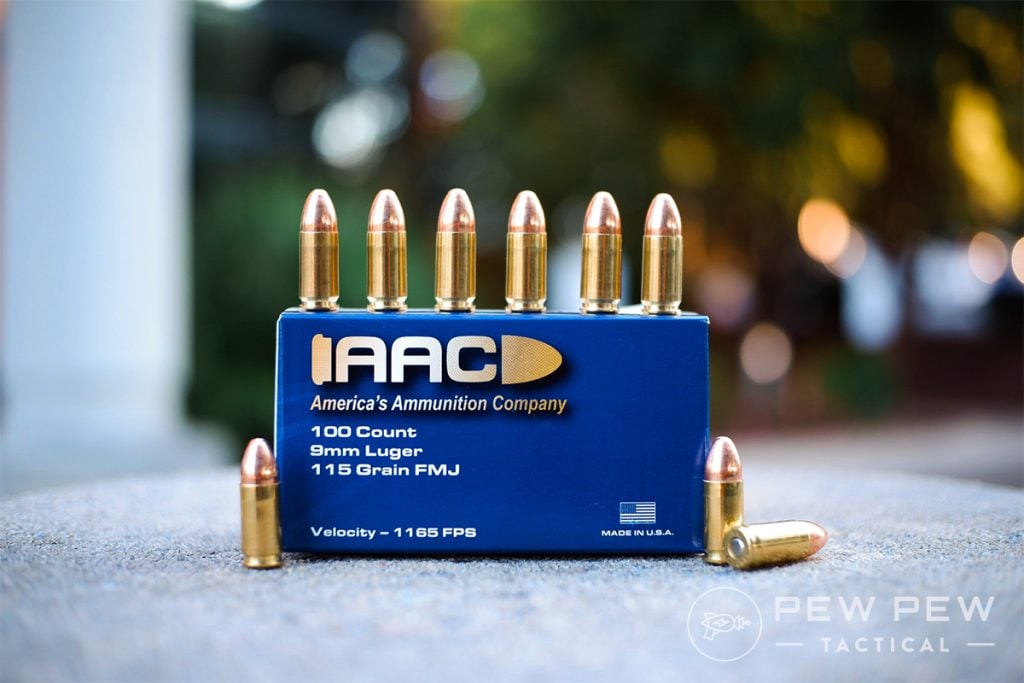
- AAC: Currently the most affordable (and available) for 9mm and 5.56. Good stuff that has always gone bang.
- PMC: Cheap and plentiful rounds that I have used in almost all my calibers. Made in South Korea.
- Federal/American Eagle: Also cheap and plentiful rounds made in the USA. I use them interchangeably but word on the street is that AE is Federal’s line that is sold online and in gunshops. Federal Champion is their budget line usually found at Walmart.
- Blazer: Another budget brand that sometimes seems too good to be true. Be aware that the super cheap one might be aluminum cased instead of regular brass. I’ve never tried aluminum casings in pistols since I wanted to keep my brass for eventual reloading, but my buddies and I have had no problems in handguns running Blazer Brass.
- Tula: My go-to AK round brand. Super cheap with polymer coated steel cases. Who cares…it’s an AK!
- Lake City: While US government-owned, Lake City also sells surplus ammo and brass through a lot of vendors. They also sell parts and supplies to other brands so it’s not uncommon to find ammo from Federal with brass or bullets made by Lake City. All of it is quality stuff!
- Others: I’ve also had good success with Sellier & Bellot, and Fiocchi, but they are normally a little higher in price. And if in doubt, just Google the brand and caliber to see if there’s any complains in online gun forums.
Recommended Ammo for Common Calibers
A quick overview of the different calibers and types of bullets out there so you’ll know all the useful acronyms such as FMJ for full metal jacket or JHP for jacket hollow point.
We’ll also have some suggestions for choosing a self-defense gun as well.
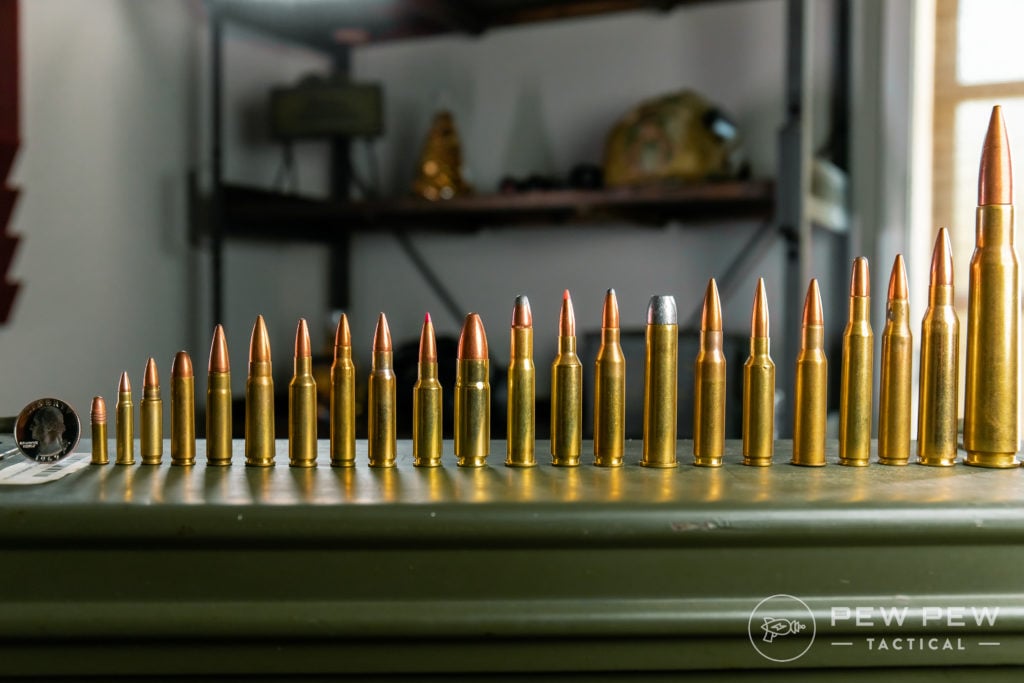
Even though we go through 18 calibers in the article above, you’ll probably only see/need a handful of the most common ones. So we’ll start with those first.
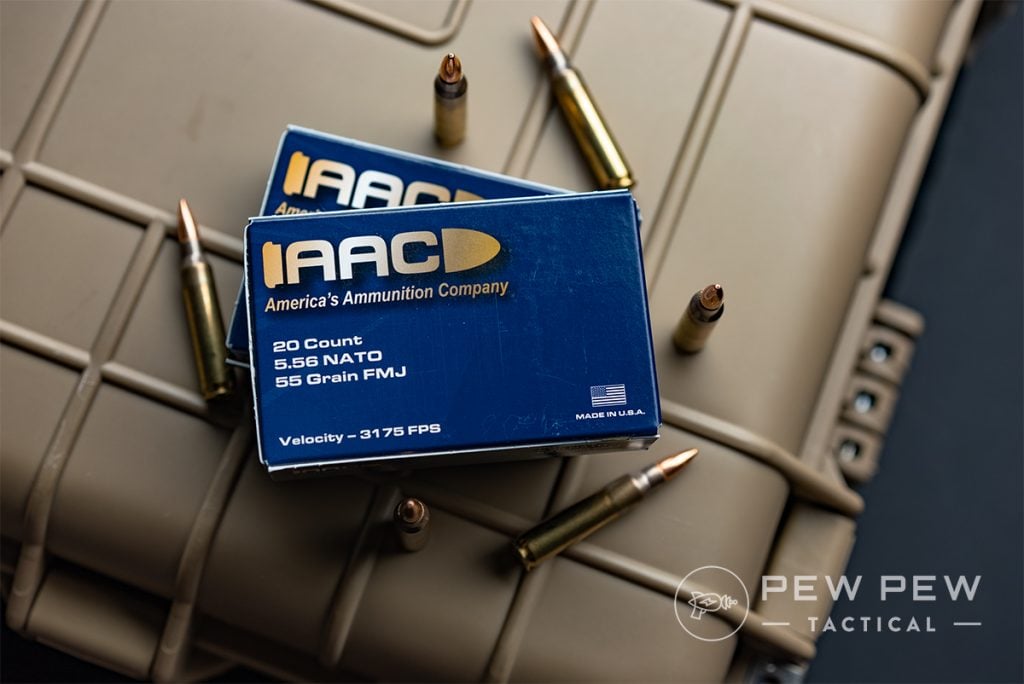
223/5.56 Ammo
The round of the super-popular AR-15.
Haven’t gotten one yet? Check out our Definitive Guide to the AR-15.
You can shoot .223 ammo in a 5.56 barrel, but since 5.56 may have higher pressures, you should not shoot them in a .223 barrel.
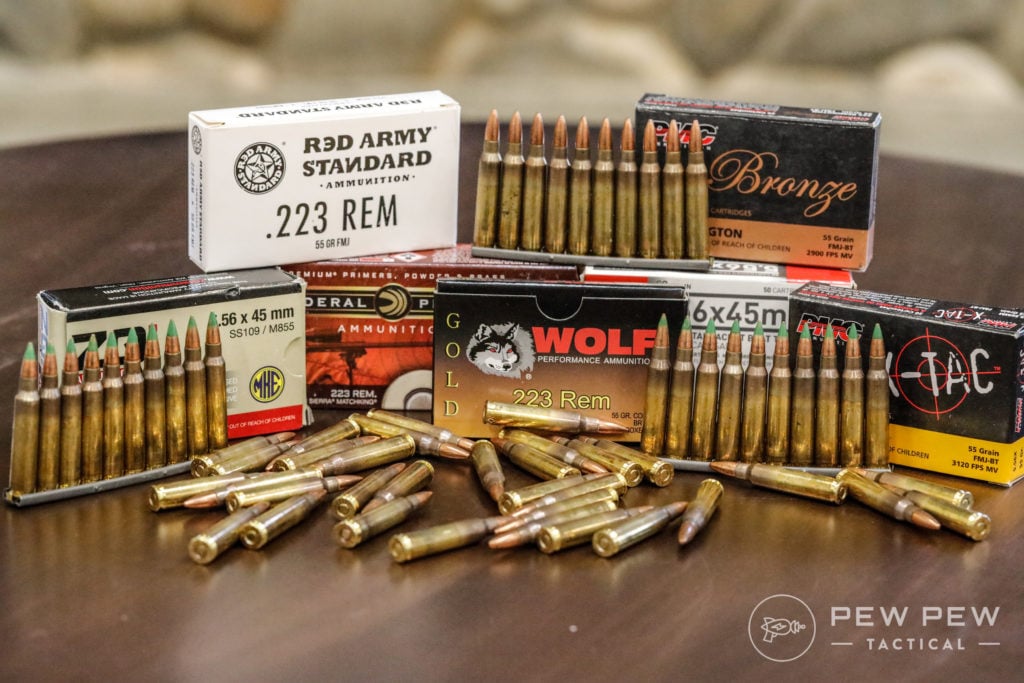
I always get my barrels in 5.56 so there is no problem. Ammo is around 25-40 cents each at the most standard 55 gr bullet.
You’ll also see some designations of XM and M followed by 193 or 855 for Federal & American Eagle.
XM means it was rejected from military use for some reason but still meets commercial specifications. M means it meets mil-spec. 193 means it is a 55-grain FMJ-BT (boat tail) while 855 is 62-grain FMJ-BT with a steel penetrator for added penetration against hardened targets.
We cover everything in even more detail in Best AR-15 Ammo for Self-Defense & Range. But here are some of our picks.
Our favorite XM193 and XM855 ammo!
And our favorite range plinking round goes to PMC Bronze since the brass is great for reloading and it’s a little softer shooting than the others (perfect for competition).
If you don’t care about reloading…Wolf Gold is the best bang-for-the-buck .223 ammo.
9mm Ammo
I’ve shot over 10,000 rounds of 9mm before I started reloading for competitions.
Price is around 30 cents a round. I prefer 124-grain instead of 115-grain which seems snappier in recoil, but I recommend trying out both to see which one you like better.
I also recommend sticking with brass cartridges instead of cheaper aluminum/steel.
We cover everything in Best 9mm Ammo for Self-Defense & Range. But here’s a couple of our favorites…
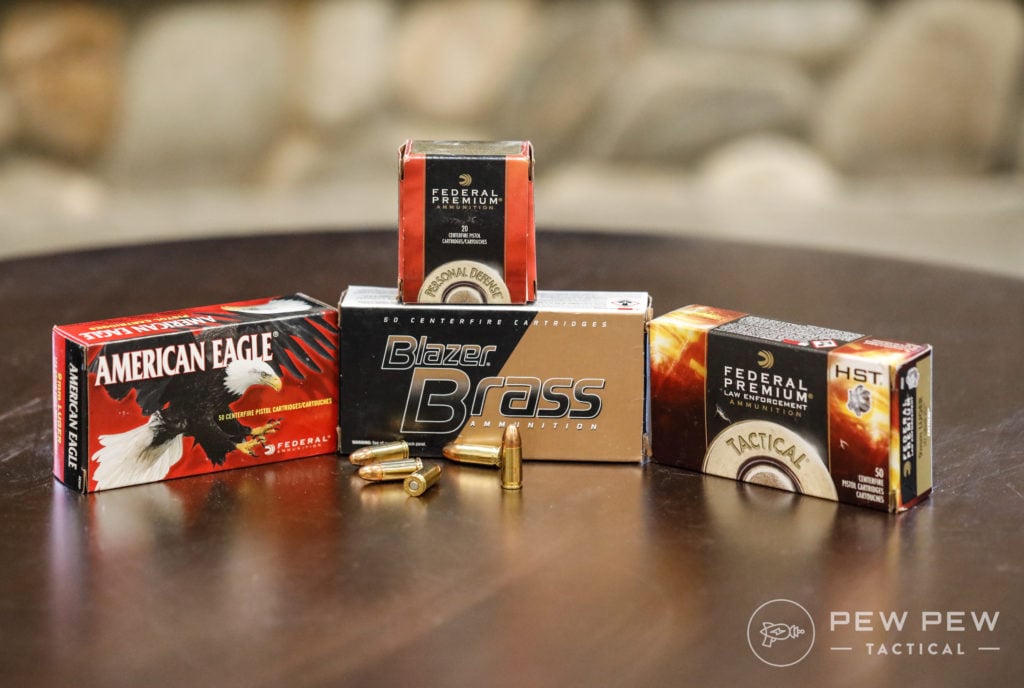
For general purpose self-defense…we like the 124-grain Federal HST.
And for those who like heavier bullets…
For plinking…go with AAC 9mm in either 115gr or 124gr.
I also really like CCI Blazer 9mm that is brass cased.
.45 ACP Ammo
I’ve shot over 2,500 rounds of 45 ACP and also go with my standard budget list of manufacturers. Price is around 40-50 cents a round.
There’s not too much variation in weight so I stick with the standard 230-grain.
The extensive list is at Best .45 ACP Ammo for Home Defense & Target Practice but here is our main pick.
For self-defense, the HST passed the FBI ballistics gelatin test with flying colors…dominating in penetration and expansion.
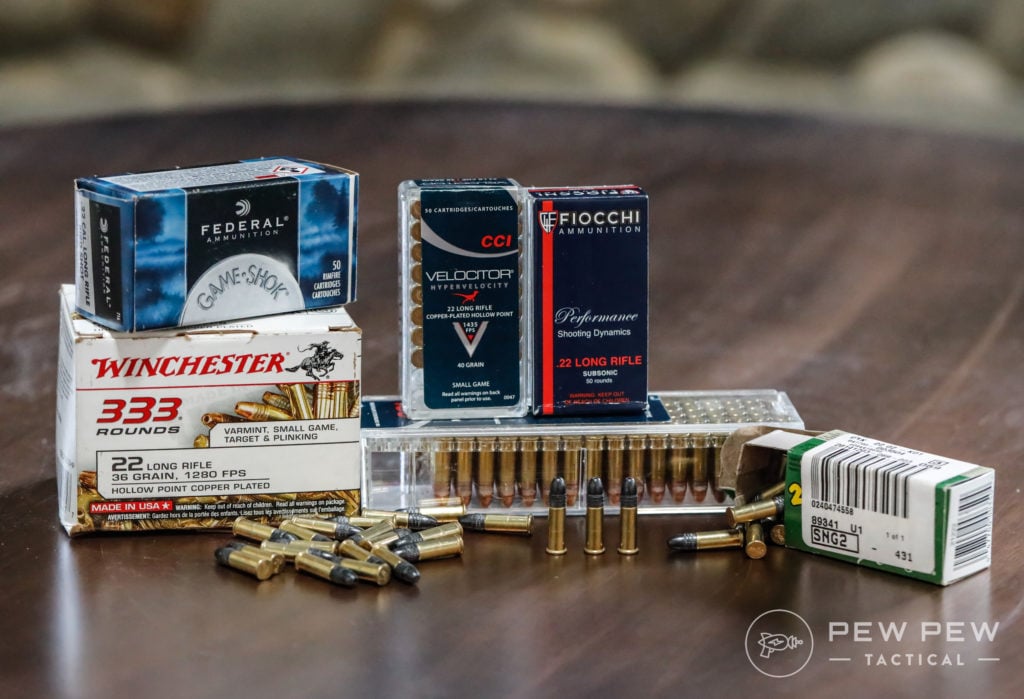
.22 LR Ammo
Reasonably priced .22 LR ammo is getting easier to find at <8 cents a round.
So what is out there (and in stock) is much more expensive.
We’ve compiled an extensive list in Best .22 LR Ammo for Accuracy, Plinking, & Hunting.
But…the CCI at 40-grain is my go-to for .22 LR in my Ruger 10/22.
- CCI – 40 gr (Likely in stock but expensive)
- Federal Automatch Target – 325 Rounds – 40 gr
- Sellier & Bellot – 500 Rounds – 38 gr
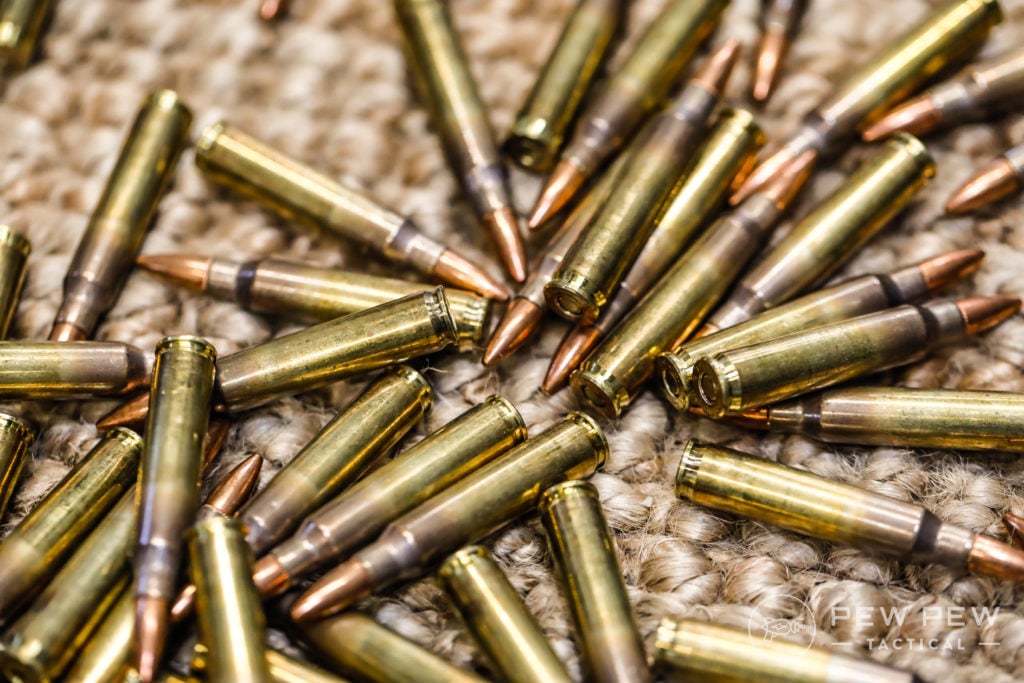
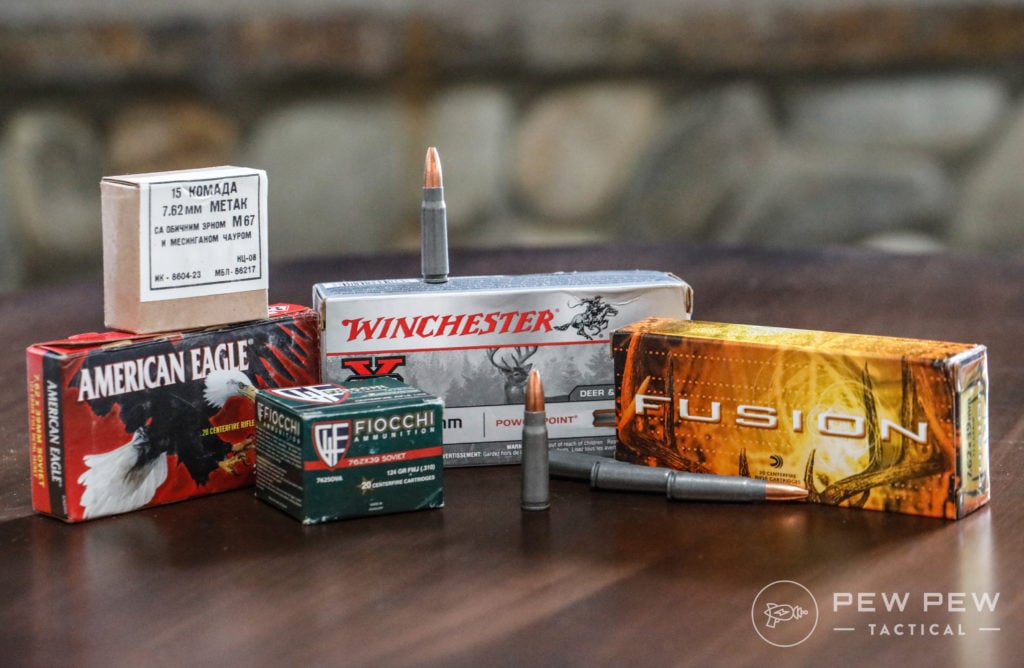
7.62×39 Ammo
The good ole AK-47 rounds. My rule is to go with ammo from countries that used the AK but to watch out for corrosive ammunition (which is pretty good shooting stuff, you just need to put more effort in cleaning afterward).
You also need to check with your shooting range rules to see if they allow magnetic (bi-metal) or non-brass ammunition such as Wolf/Tula.
If they don’t, you will have to go with more expensive brands or corrosive ammunition. The general weight is around 122-grain and costs from 25 to 35 cents each. Brass cartridges will be more.
- Tula – Assorted – 122 gr FMJ (Magnetic + Steel, my favorite if the range doesn’t care)
- Wolf – Assorted – 123gr FMJ (Magnetic + Steel, WPA Polyformance is the cheapest)
- PMC – 20 Rounds – 123 gr FMJ (Non-Magnetic + Brass, if the range cares)
7.62×39 Self Defense Ammo
- Sellier & Bellot – 20 Rounds – 123 gr SP
- Hornady SST – 50 Rounds – 123 gr SST
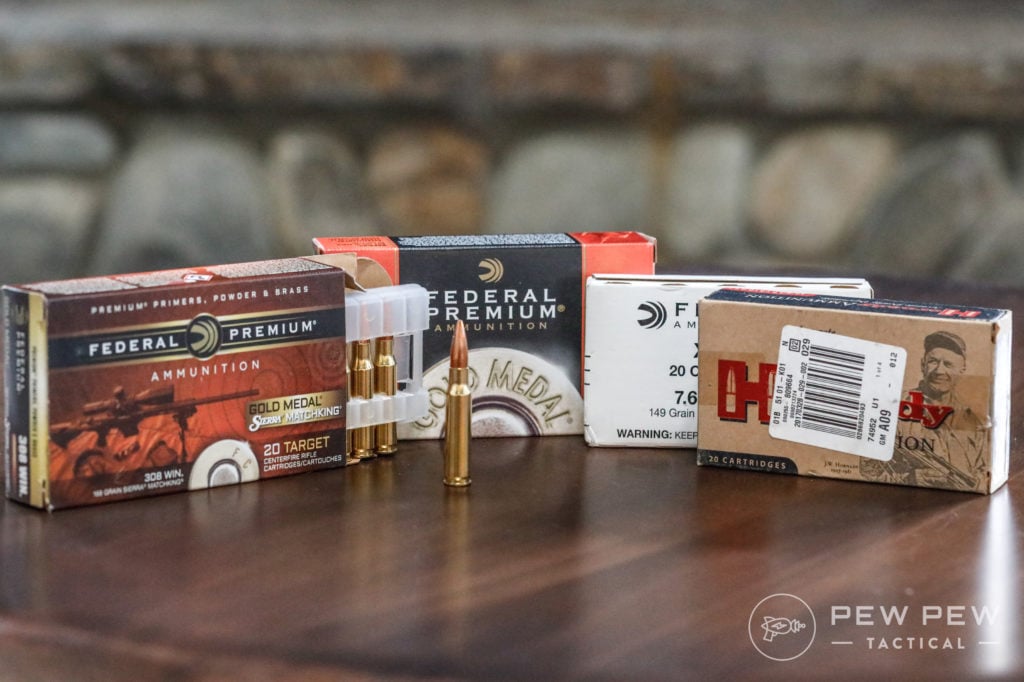
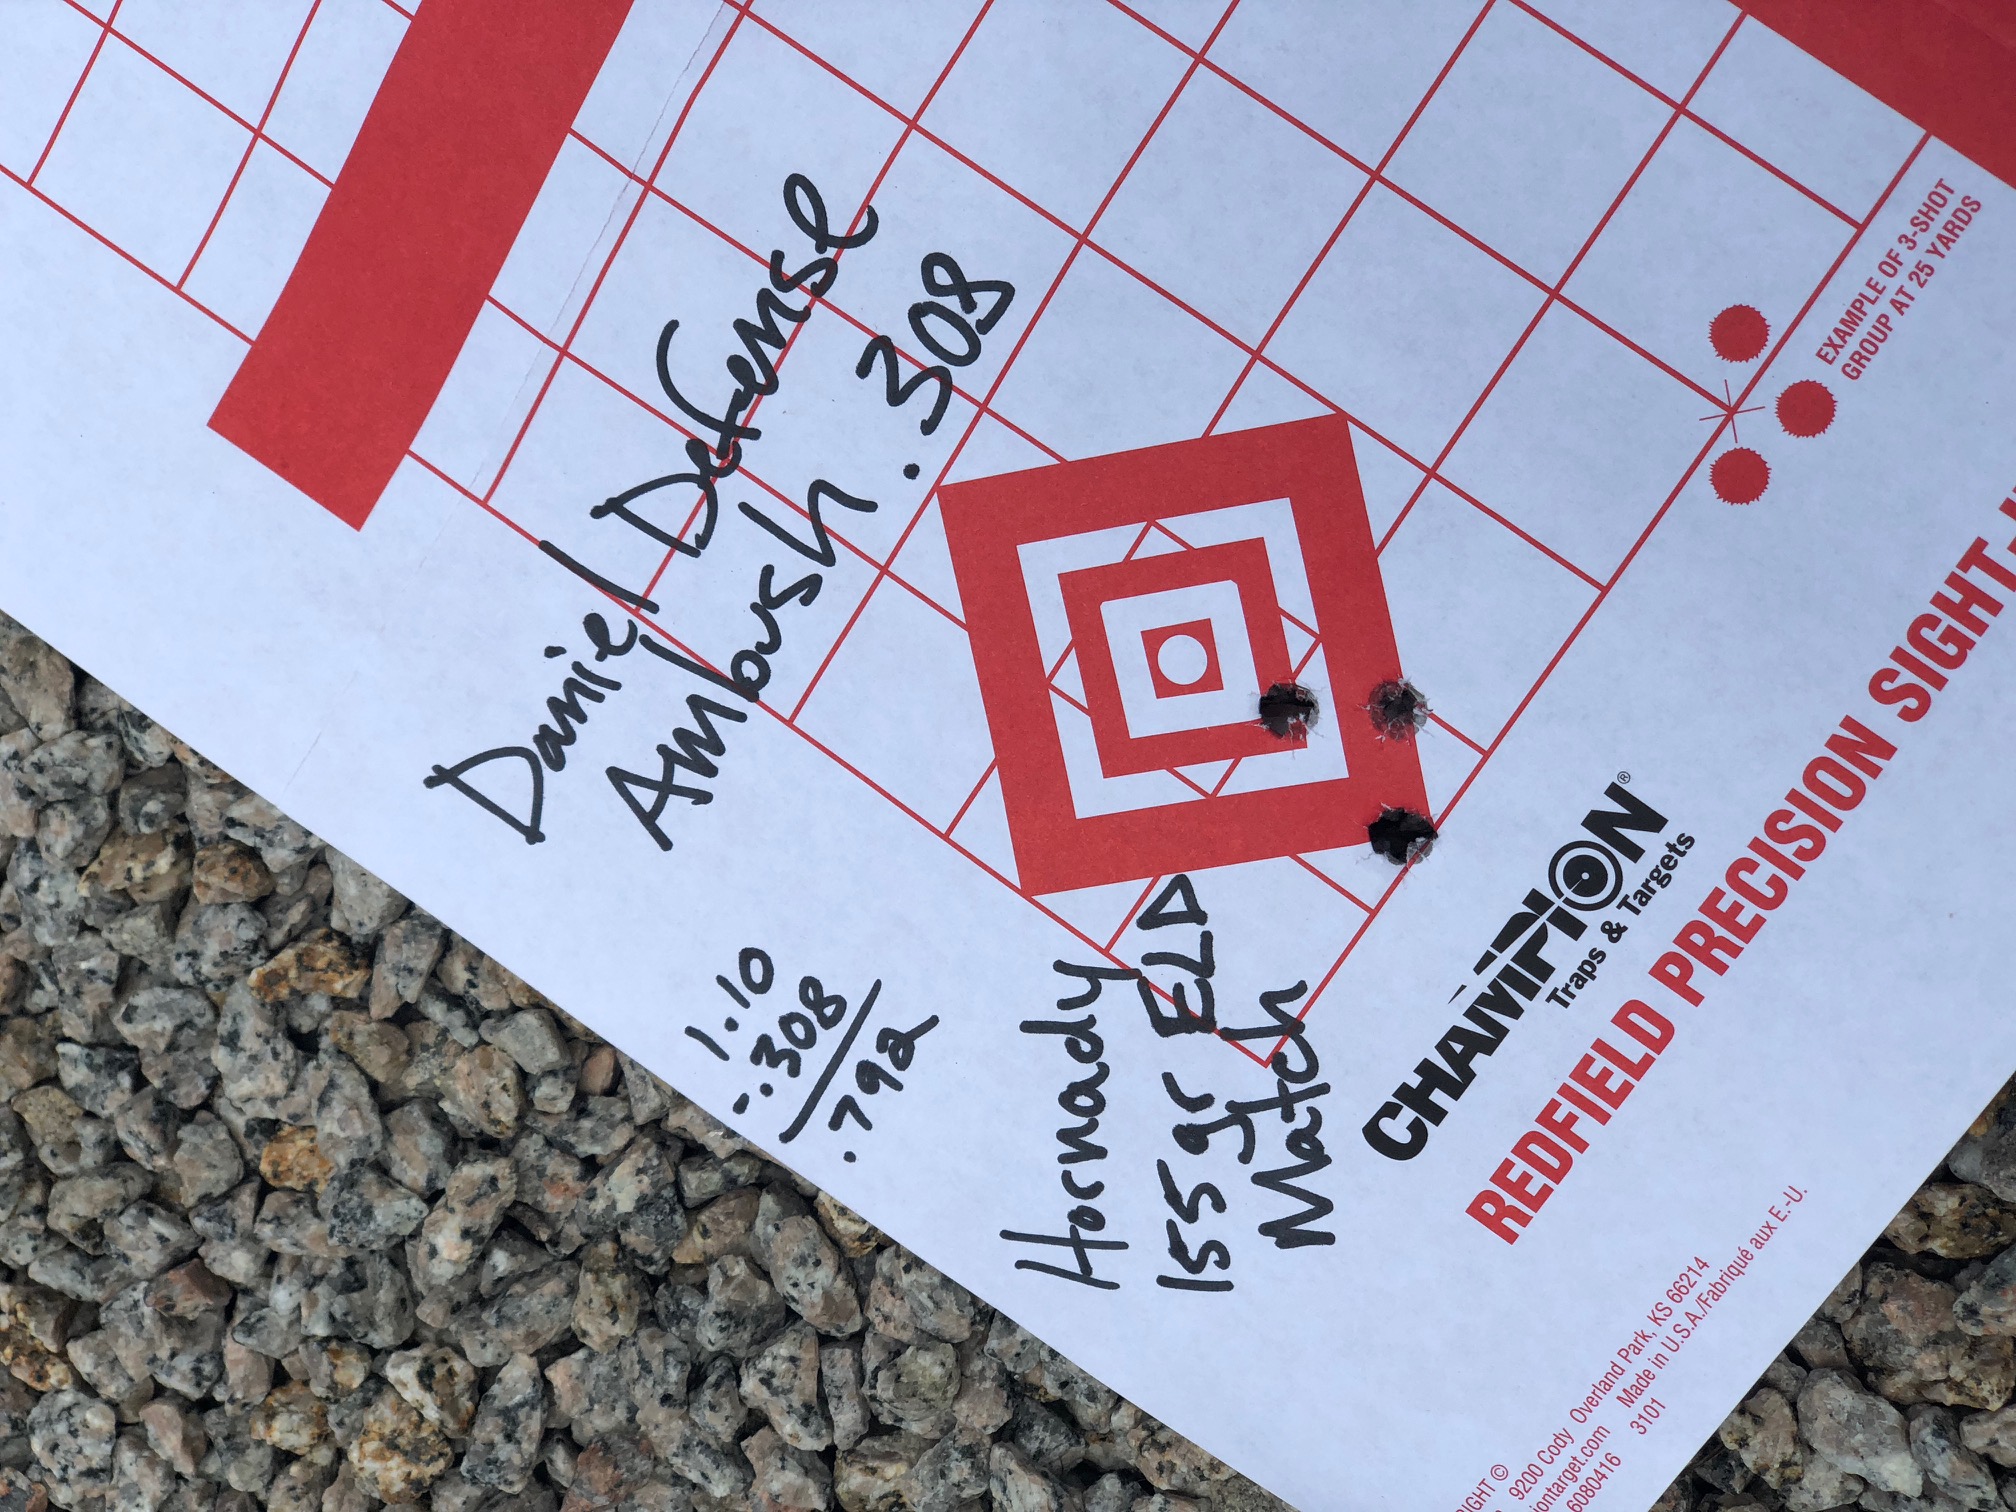
.308/7.62x51mm Ammo
Another of those rounds that are almost identical but with some differences in pressure and dimensions.
Unless you really know what you are doing, keep using the round intended for your rifle.
Since most 308/7.62x51mm ammo will be in long-range (sniper) rifles, we’ll also include some Match ammo.
Most commercial ammo will be around 147-grains and around 60 to 70 cents each while match ammo is around 168-grains and $1.50 per round. I went almost straight into reloading to get the max accuracy out of my guns so take my suggestions with a grain of salt.
All .308/7.62 ammo (Lucky, Brownells).
.308 Ammo
- PMC – 20 Rounds – 147 gr FMJ-BT (Shot my first hundred with this)
- Fiocchi – 20 Rounds – 150 gr FMJ-BT
- Federal Match King – 20 Rounds – 168 HP-BT (For precision shooting)
7.62x51mm Ammo
- Federal – 20 Rounds – 149 gr FMJ XM80C
- Federal – 20 Rounds – 168 gr Open Tip Match (For precision shooting)
308/7.62x51mm Self Defense
- Federal Power Shok – 20 Rounds – 150 gr SP
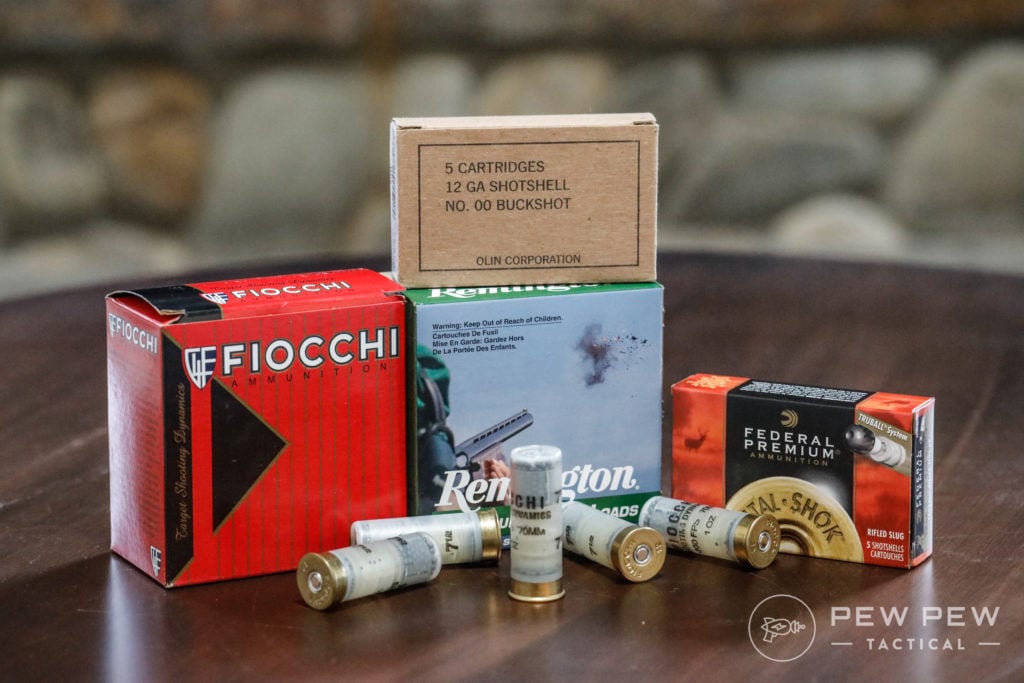
Shotgun Ammo
The shotgun is unique since there are so many different types of ammunition.
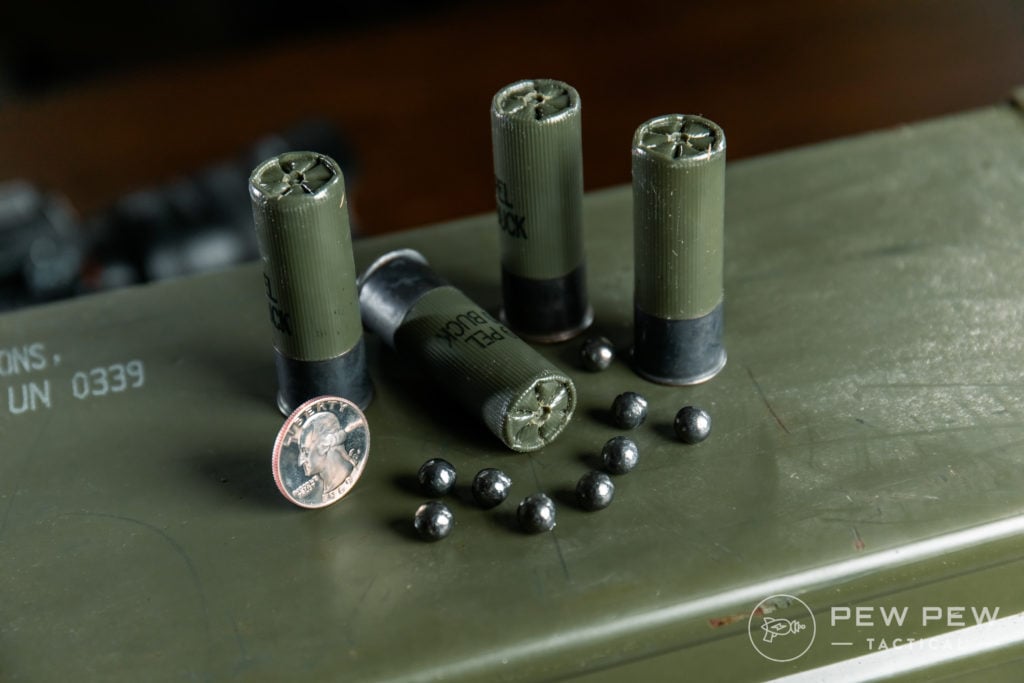
We’ll cover basic target birdshot (#8-#9 is great for clay shooting), buckshot, and slugs. Remember for birdshot, the larger the #, the smaller the pellets. And that 00 (double-aught) buckshot is great for self-defense while slugs are one solid piece of lead.
2-3/4 inch refers to the length of the shell which will fit almost all 12ga shotguns. The problem arises from 3 inch magnum shells.
Prices will vary from 25 cents for target shots to around 50 cents — $1 for buckshot and slugs. I’ve shot tons of Fiocchi and Estate birdshot, and love the Winchester Military Buckshot.
Check out the full list at Best Shotgun Ammo for Home Defense & Range Shooting. But here are some of our picks:
Want to see more of our favorite ammo, guns, and gear? Check out Editor’s Picks.


 This classic fly fishing instructional text is one of the best books for learning the ins and outs of the sport. The Essence of Flycasting shows you in photographs and diagrams exactly how to perform the intricate movements needed to create the perfect cast.
 As a company, Orvis knows fly fishing better than almost anybody else. Their fly fishing guide is no exception to this rule. The author has been tying flies commercially since he was fourteen, and his four decades of fly fishing experience are distilled in these pages. A must have for any fly fishing enthusiast.
 The Little Red Book of Fly Fishing is essentially a pocket guide to the sport of fly fishing, written by two veteran anglers who came together to demystify their passion. Featuring 240 tips that don’t require any advanced physics lessons or innate understanding of how fish think, this is a straightforward guide to the basics of fly fishing.
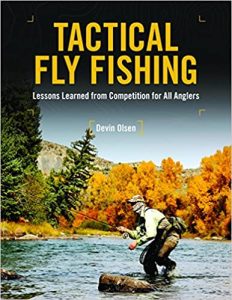 Most of us will never be professional fly fishers, but that doesn’t mean we can’t learn a lot from the pros. Devin Olsen is a repeat medalist in global fly fishing competitions, and his techniques for winning are explained in this volume. He does a good job of taking what he knows and applying it to everyday situations, allowing anyone to fish more successfully on rivers, small streams, and still waters.
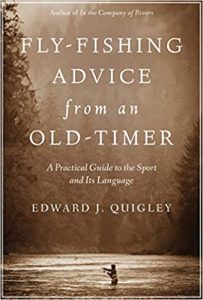 Take some advice from a veteran of the sport and sit down with Ed Quigley’s book on fly fishing. Quigley’s straightforward explanation of the basics and detailed discussions of advanced topics are easy to understand, and his ingenious tips and compelling anecdotes from his own years of experience fly fishing streams from Labrador to Costa Rica and beyond make the book very enjoyable.
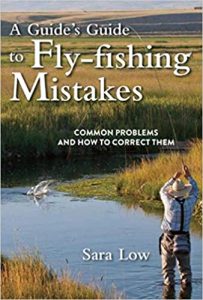 As a licensed fly fishing guide, Sara Low has seen it all. If it can go wrong on the water, she’s seen it- and has some good ideas about how to correct these problems. This book offers solutions for fly fishers on many topics, including approaching fish, fly selection, proper fly presentation, consistent and accurate casting, and techniques for hooking and landing of fish, as well as pointers for fishing in spring, summer, fall, and winter. This isn’t a book you’d typically sit down with and read cover to cover (although you can do that if you want); instead, it’s the book you pull out when you have a problem you want to fix. It’s an invaluable guide for any angler who wants to up their game.
 Fly tying is one of many challenging aspects of fly fishing, and this book is a great introduction to it. It features photographs and illustrated diagrams to help you get the knack of the basic fly components. It illustrates every phase of the tying process, from clamping the hook in the vise to executing the final whip finish, and everything in between. You’ll learn seven of the most effective and foundational patterns for nymphs, streamers, and dry flies.
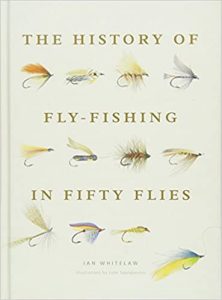 The History of Fly-Fishing in Fifty Flies recounts the history of a sport that dates back 2,000 years, focusing on milestone flies from the first feathered hook to contemporary patterns using cutting-edge materials. While it might seem impossible to choose only 50 flies among the countless fly patterns dating back two millennia, these flies represent the development of the very sport itself. They chart the spread from its modern origins on the chalk streams of England and Scottish rivers to every country in the world. Filled with profiles of the key people involved, tying tips, photographs and illustrations of the flies, The History of Fly-Fishing in Fifty Flies is a fascinating look at the history of this fascinating sport.
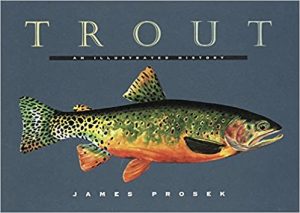 If you want to catch a trout, you need to know as much as you can about it- how it looks, where it eats, what part of the water it likes, and much more about its behavior and evolutionary history. Prosek’s lavishly illustrated book features original watercolors alongside a fascinating natural history of the fish themselves.
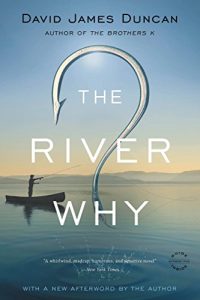 One of the classics of the unofficial fly fishing book canon, The River Why has been popular since its publication in 1983. The novel is a coming-of-age comedy about love, nature, and the quest for self-discovery, set in the Pacific Northwest and featuring one man’s quest for steelhead salmon. The story’s protagonist, Gus Orviston, seeks function in a remote cabin away from his dysfunctional family. For Gus, fly fishing isn’t just a physical experience; it’s a spiritual one as well, as his quest for self-knowledge tests him with unpredictable experiences.
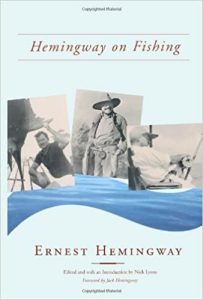 It shouldn’t come as a surprise that the author of The Old Man and the Sea was a passionate angler himself. From his Michigan childhood to his twilight years in Florida, Hemingway was never far from a river or ocean. Fly fishing was a constant feature of his life, and this book collects his short stories and articles that revolve around the pursuit of fulfillment on the open water.
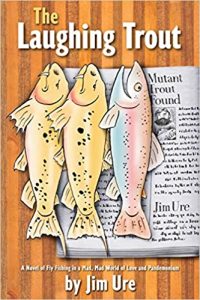 If you’ve ever been on a group fishing trip, you know the mayhem and hilarity that often follow. This story is the story of a professional fishing guide who tricks his annoying game warden cousin- and by extension, most of the world. He watches as his little corner of the river descends into bedlam- but coming clean might mean wrecking his best chance at finding true love. What’s a fly fisher to do when the world descends on his river in search of a fish that doesn’t exist? In this case, he just has to laugh about it.
 The Reel Sisters is the story of five women who would otherwise never be friends, were it not for their devotion to fly fishing. It’s a powerful novel about how anyone, no matter who they are or where they come from, can find themselves through fly fishing and learn a little bit more about how they work in the world each time they step into the river.
 In the same spirit as Garrison Keillor’s A Prairie Home Companion, Scott Waldie’s Travers Corners takes you to a rural town where “nothing much has happened since Herbert Hoover stopped for gas.” What Travers Corners lacks in modern media and conveniences, it makes up for with the quality of the local fishing. You’ll fall in love with the cast of characters in this quirky little community- it’s just a shame they’re all fictional!


 The most common questions I get from first time hunters and from out of state DIY elk hunters is about how to find the “best” hunting units.


 When you purchase products from our links, we earn commissions from qualifying purchases


