")
")
")
")
")


 Review – The Best Name In The Air Rifle Game")


There is a clear winner when we compare the 260 Remington vs 6.5 Creedmoor, but it’s not for the reasons you might think.
Both rounds have similar ballistics and fulfill a similar purpose, but there’s an important reason why the 6.5 Creedmoor is the caliber, so many hunters and shooters choose.
Table of Contents
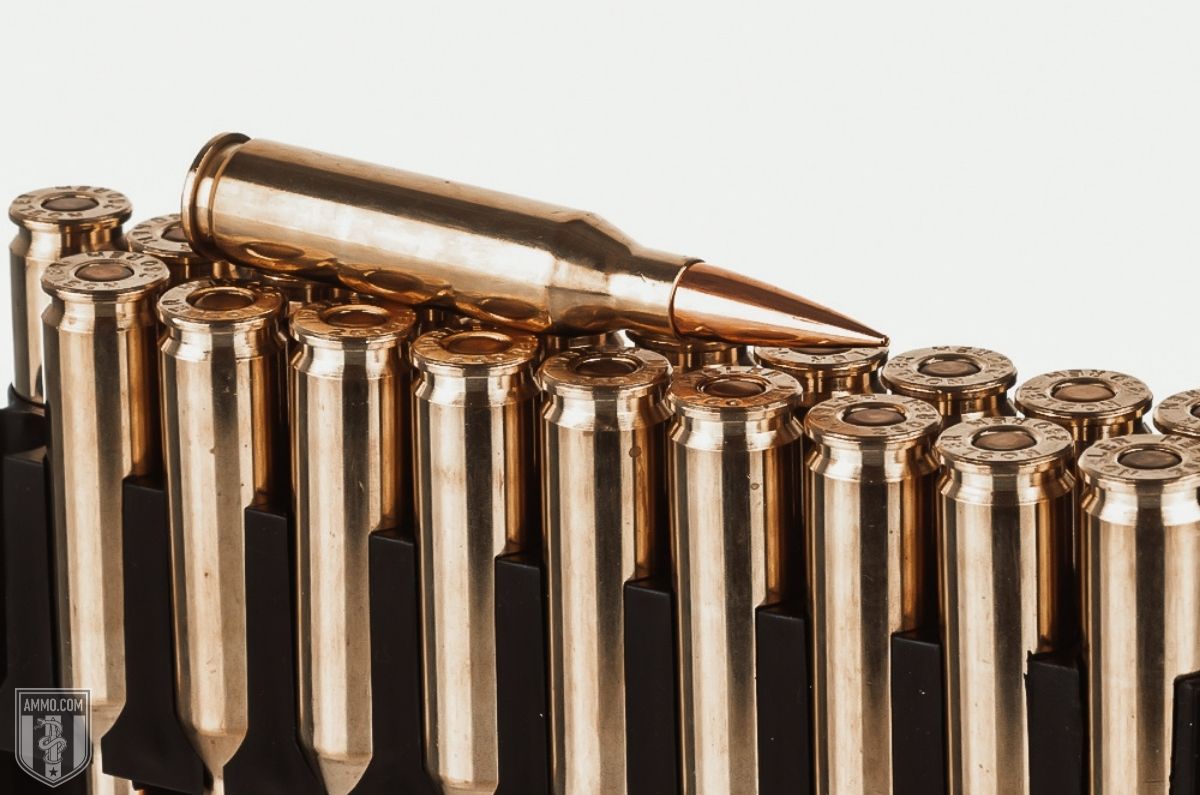
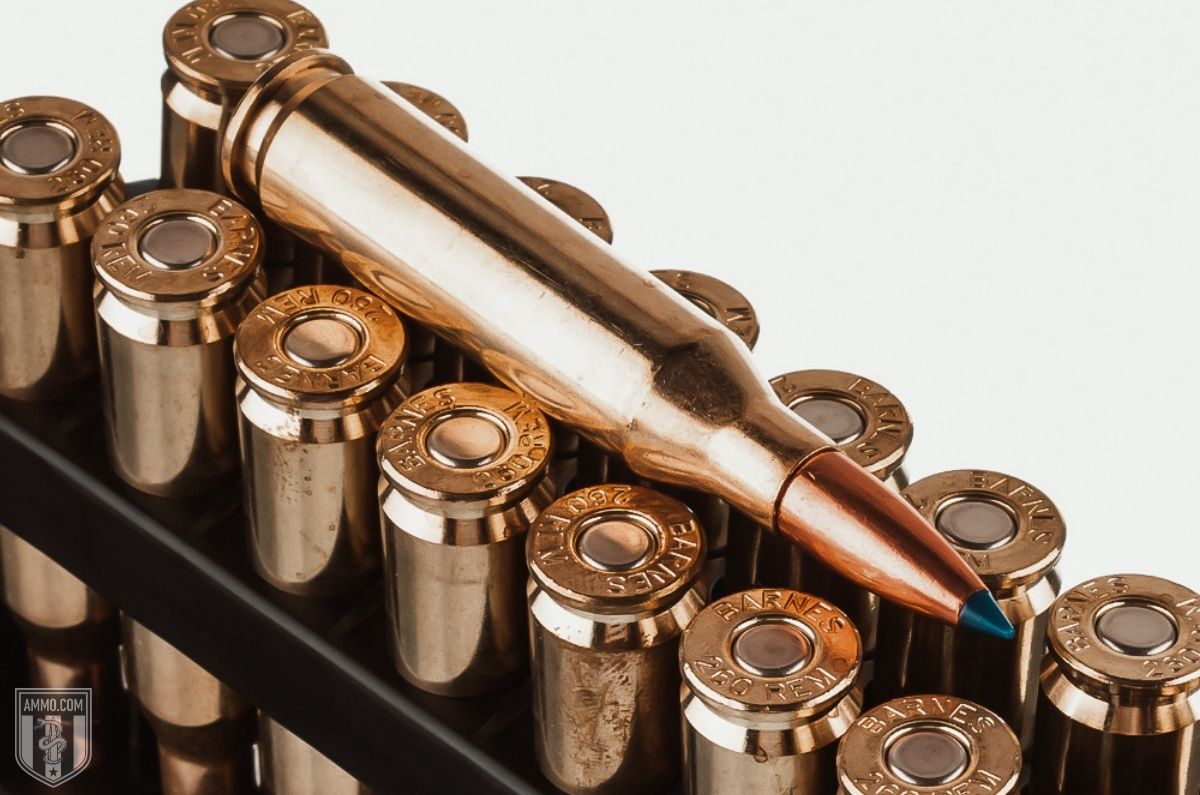
260 Remington vs 6.5 Creedmoor
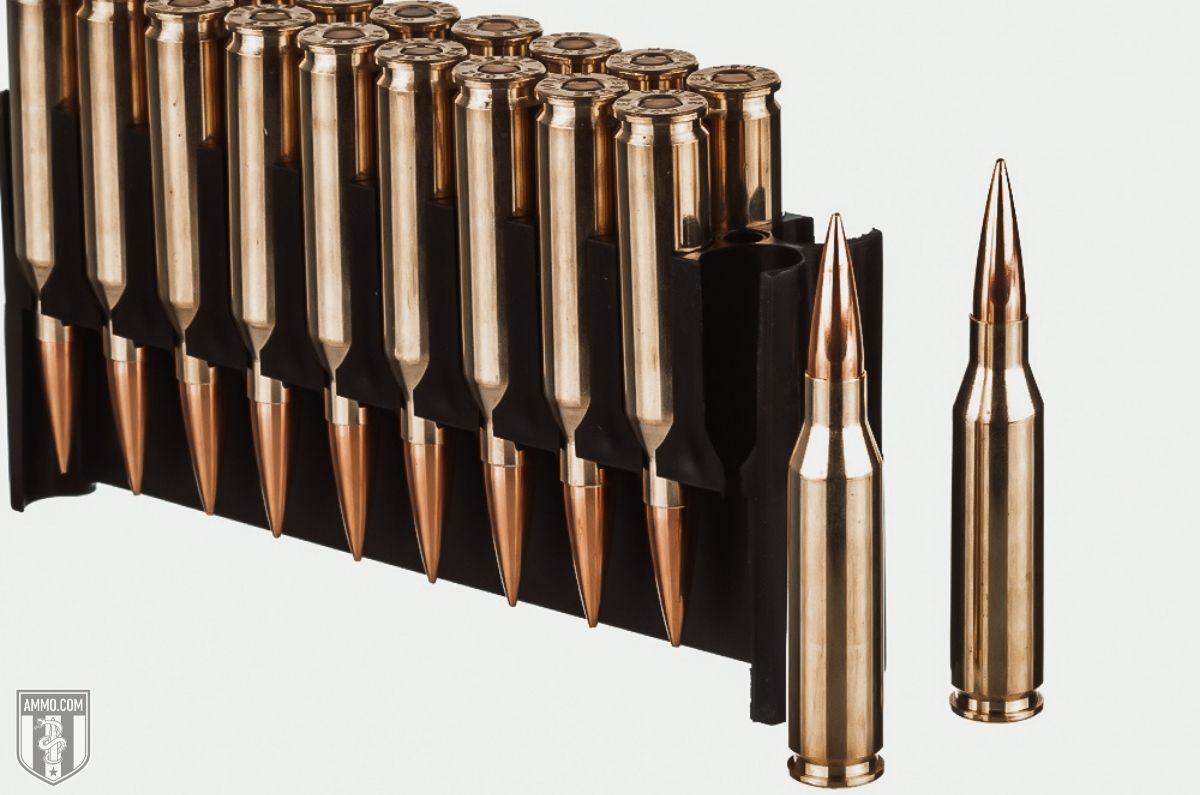
Few other calibers are as close to comparing apples to apples as these two because the cartridges have minute differences in size and shoot the same diameter bullet.
Cartridge Specs
The bullet diameter for both rounds is .264″, and the rim diameter of the cartridge is the same at .473″.
The difference lies in the case. The 260 Rem has a case length of 2.035″. The 6.5 Creedmoor is slightly shorter at 1.92″.
One might conclude that the 260 has a longer maximum overall length; however, that’s not the case.
The 6.5 Creedmoor has an overall length of 2.825″, and the 260 Reming has an overall length of 2.80″.
The 260 Remington has a 20-degree shoulder angle, and the 6.5 Creedmoor has a 30-degree shoulder angle.
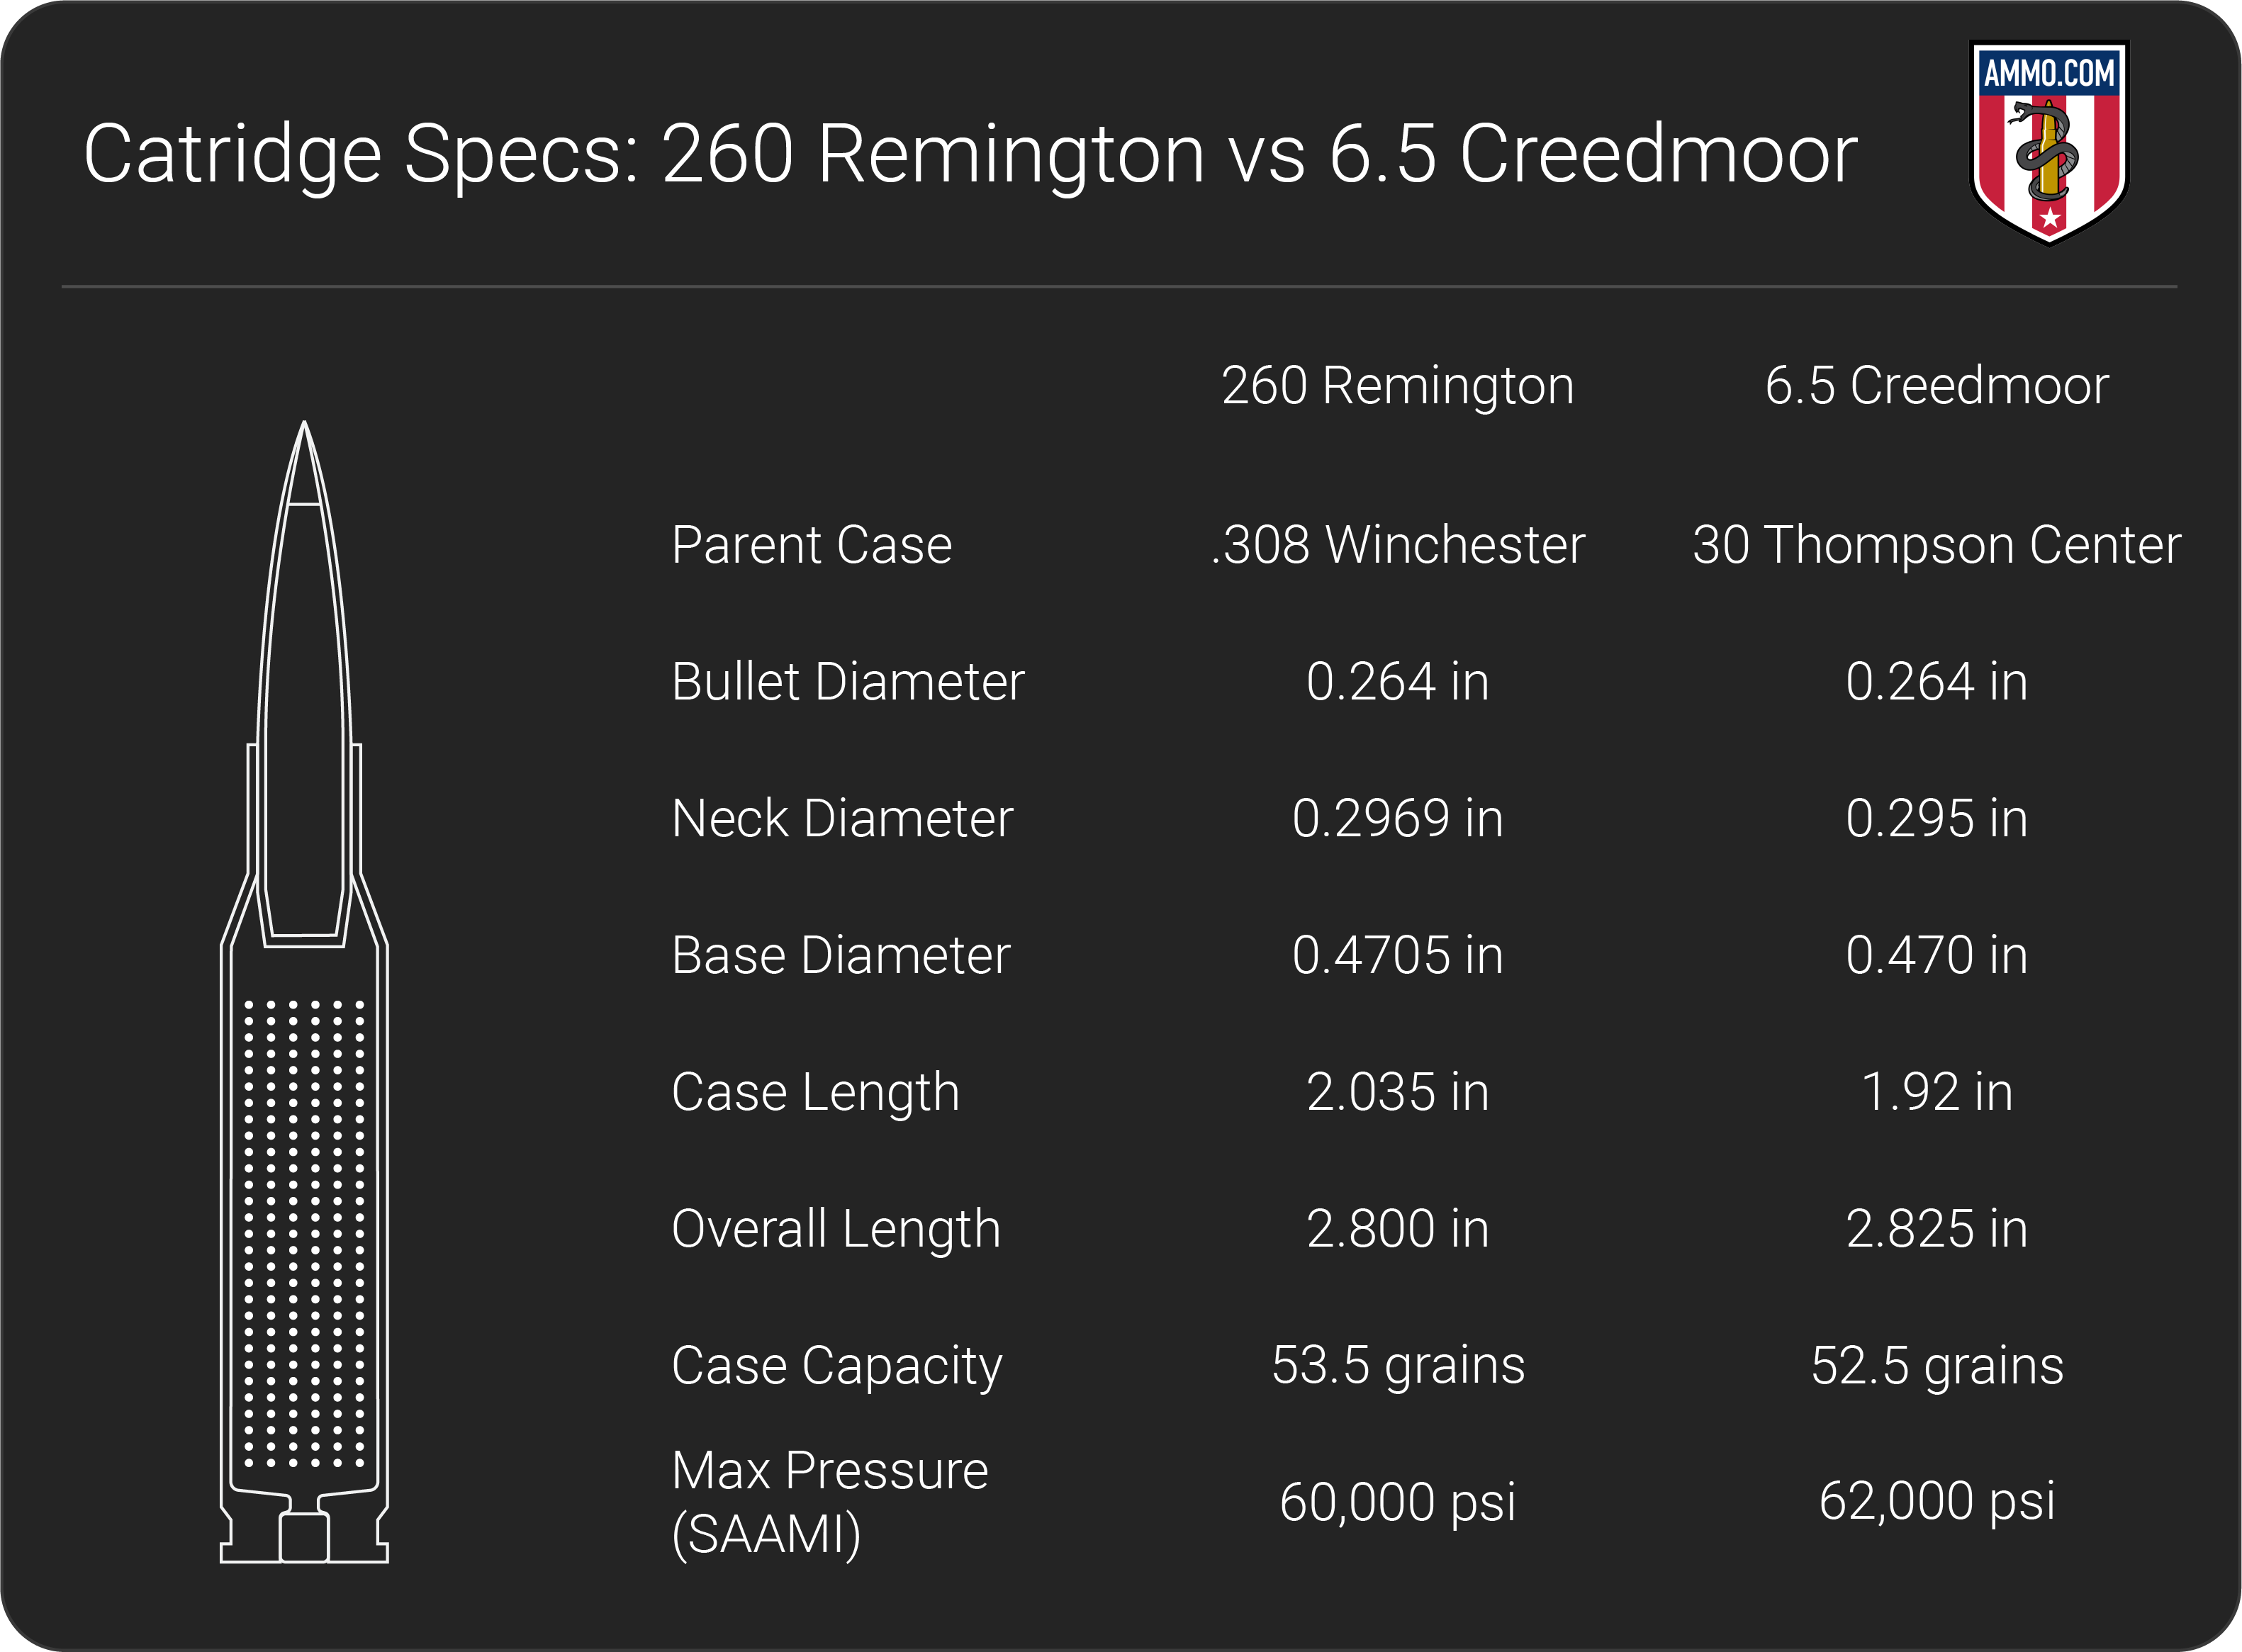
The 260 Remington has a max pressure (SAAMI) of 60,00 psi that stems from a powder capacity of 53.5 gr H2O.
The 6.5 Creedmoor has a higher max pressure of 62,000 psi with a case capacity of 52.5 gr H20.
6.5 Creedmoor vs 260 Remington: Recoil
Unless you’re a young buck trying to prove yourself to the world, you would agree less recoil is better.
It’s much easier to be accurate with a lower recoil round.
Many factors go into calculating recoil, such as the gun weight, shooter, bullet size, and amount of powder in the case.
For the sake of the comparison, we’re going to assume all things are as equal as possible.
When we do this, we see that these rounds have similar amounts of recoil.
The 260 Rem has 15.65 ft-lbs of felt recoil, and the 6.5 Creedmoor has 15.03 ft-lbs of recoil.
The difference is so minimal the average person won’t be able to tell the difference.
Technically, the 6.5 Creedmoor has less recoil, so it wins this section.
Trajectory
Due to gravity, the path it takes when we fire a bullet is an arch. Otherwise known as the bullet trajectory.
It’s much easier to be accurate with a flat shooting bullet, especially at long ranges.
This is why the 6.5 Creedmoor is a favorite amongst long-range shooters.
A 120gr bullet zeroed in at 200 yards has a bullet drop of 7.5″ at 300yds and 44.4″ of drop at 500yds.
A 140gr 6.5 Creedmoor bullet has 9″ of drop at 300 yards and 53.7″ of bullet drop at 500yds when zeroed in at 200 yards.
It might surprise you that the 260 Remington has a flatter trajectory.
A 120gr 260 Rem bullet, zeroed in at 200 yards, only drops 7.2″ at 300 yards and 42.8″ at 500yds.
A 140-grain bullet drops 8.2″ at 300yds and 48.7″ at 500 yards when zeroed in at 200 yards.
The winner is the 260 Remington.
260 Rem vs 6.5 Creedmoor: Accuracy
Accuracy is another section that many factors play a role in determining.
The rifle, recoil, shooter, trajectory, barrel length, and factory loads vs hand loads all play a part in determining the accuracy of a round.
We will do the same as we did with the recoil category, considering all things as equal as possible.
Since the 6.5 narrowly won the recoil section and the 260 Rem won the trajectory category, we can consider them canceled out.
Both rounds are very accurate at longer ranges, so this section is a tie.
Ballistic Coefficient
The ballistic coefficient (BC) represents how well a bullet resists air.
It’s a measure of bullet aerodynamics. High B.C. bullets are preferred because they will better resist the wind.
Calculating BC is rather complicated and irrelevant for this article; however, heavier, longer projectiles typically have a higher ballistic coefficient than lighter, shorter bullets.
If you’re like me, you would assume the bullets for each caliber have the same ballistic coefficient; however, that’s incorrect.
The 6.5 Creedmoor is better suited for shooting high BC match grade bullets because of its longer neck and shorter case length.
The 6.5 Creedmoor 140gr ELD Match grade bullets have a .646 BC, the 143gr ELD-X have a .625 BC, and the 147gr ELD Match bullet has a BC of .697 BC.
The 260 Remington doesn’t have as many options, which we will discuss later. The 130gr ELD Match bullet has a .506 ballistic coefficient.
The winner for this category is the 6.5 Creedmoor.
260 vs 6.5 Creedmoor: Stopping Power
Many argue stopping power is a relative term that doesn’t matter if you have a well-placed shot.
I agree it matters less for well-placed shots.
However, no matter how prepared we are as shooters, not every pull of the trigger is a well-placed shot.
That’s why stopping power still matters.
Stopping power can be measured in several ways, such as the size of the hole the bullet leaves and how deep it penetrates the target.
Sectional Density (SD) measures how well a bullet penetrates a target.
This is important when big game hunting because you need a bullet to punch through tough hide, bone, and sinew.
Sectional density is calculated by comparing the bullet weight and the bullet diameter.
The higher the number, the better it will penetrate the target.
Since both calibers shoot the same diameter bullet in varying weights, the sectional densities will be identical.
A 120gr .264″ diameter bullet has an SD of .246. The 140-grain .264″ diameter bullet has a sectional density of .287.
A 160gr .264″ diameter bullet has a sectional density of .328. A 156gr .264″ diameter bullet has an SD of .320.
However, other factors exist in terms of SD outside the shape of the bullet: velocity and bullet design.
Two bullets weighing the same but traveling at different velocities have differing stopping power or penetration amounts.
The higher velocity bullet will penetrate deeper.
The 260 Remington typically has a higher muzzle velocity of 2,941fps for a 120gr bullet and 2,793fps for a 140-grain bullet.
The 6.5 Creedmoor has a muzzle velocity of 2,892 feet per second for a 120-grain bullet and 2,678fps for a 140gr bullet.
Bullet design also plays a role. Non-expanding bullets penetrate deeper but won’t leave as large of a wound channel.
While expanding bullets cause a large wound channel but don’t penetrate as deep.
This section is a tie because the 260 Remington has a slightly higher muzzle velocity, and the 6.5 Creedmoor has more options for different bullet types.
Hunting
Both calibers offer many hunters an excellent option for whitetail deer hunting, mule deer, pronghorn, coyotes, and varmint hunting to 500 yards.
They can also take elk and bear out to 300 yards; however, I strongly recommend using a larger caliber for elk hunting and moose hunting.
These calibers don’t pack enough punch to harvest big game ethically at longer distances.
The .308 Winchester would be my hunting cartridge choice above the 260 Rem and the 6.5 Creedmoor when big game hunting.
With these rounds being so similar, neither has a distinct advantage in hunting, so this category is a tie.
.260 Remington vs 6.5 Creedmoor Home Defense
I don’t recommend using a rifle for home defense because they’re known for overpenetration.
Rifle rounds tend to go through multiple walls, which could unintentionally endanger your family and neighbors.
Instead of putting your family and friends at risk, I recommend using a 12-gauge or 20-gauge shotgun or a 45 ACP or 40 S&W.
Now, if it’s the apocalypse and you’ve got a zombie horde approaching, by all means, bust out the 6.5 Creedmoor or 260 Remington and protect your home.
However, for close-quarter combat, they’re not going to be my first choice despite both calibers being available in the AR-10 platform.
This section is a tie because the 6.5 Creedmoor and 260 Remington were designed for long-range shooting, not close quarters.
Ammo Cost & Availability
This is one area where the 6.5 Creedmoor begins to stand out.
Not so much in price because a cheap 6.5 Creedmoor round will cost anywhere from $1.75-$2.75 per round, depending on the brand and whether or not it’s FMJ or ELD ammunition.
Many brands manufacture 6.5 Creedmoor, such as Hornady, Sellier & Bellot, Winchester, Browning, and Aguila.
Since so many brands make ammo in this caliber, it’s relatively easy to find, considering the times.
The .260 Rem is different. Not as many companies manufacture ammo in this caliber, so it’s much more difficult to find.
However, once you find it, it’s similarly priced to 6.5 Creedmoor.
If you’re looking to save money, I suggest buying bulk 6.5 Creedmoor ammo because most companies offer steeper discounts when you buy in bulk.
The 6.5 Creedmoor wins because of the availability of the factory ammunition at a similar price.
Rifle Cost & Availability
The cost for rifles chambered in both calibers will be about the same.
For instance, a Savage Arms 110 Engage Hunter XP Rifle chambered in .260 Remington will cost about $540, and the same hunting rifles chambered in 6.5 Creedmoor will cost about $580.
However, most bolt-action rifles chambered in 260 Rem are out of stock. So though the prices are similar, very few guns are available compared to rifles chambered in 6.5 Creedmoor.
You can get around this by getting a custom gun made, but that comes at a custom price, which is always much higher than a factory rifle.
For example, a Tikka 260 Remington Ss starts at $1,150, which is on the cheap end, whereas a Ruger M77 Hawkeye starts at around $830.
The winner is the 6.5 Creedmoor because of the abundance of rifles available.
Reloading
Reloading is another way to save money on ammo. It also gives you more control over the final product than factory ammo.
You can control all the controllable variables and craft the perfect round for your rifle.
Most serious shooters love handloading because of the increased control of the entire process.
Both calibers are capable of being reloaded. There are plenty of information and supplies available to successfully handload either round.
This category is a draw.
260 Remington vs 6.5 Creedmoor Ballistics
If you’re a ballistics nut, then you’ll love this section. I will say there is very little difference in the ballistics of each caliber.
260 Remington Ballistics
As I mentioned earlier, the muzzle velocity of the .260 Remington varies from 2,941 fps with a 120-grain bullet to 2,793 with a 140-grain bullet.
As far as muzzle energy goes, the 260 Remington has 2,305 ft-lbs to 2,425 ft-lbs depending on the weight of the bullet.
As the distance from the muzzle increases, the difference in energy decreases. At 500 yards, a 120gr bullet has 975 ft-lbs of energy, and a 140gr bullet has 979 ft-lbs of energy.
6.5 Creedmoor Ballistics
Note: This information comes from the manufacturer and is for informational purposes only. The actual ballistics obtained with your firearm can vary considerably from the advertised ballistics. Also, ballistics can vary from lot to lot with the same brand and type load.
260 Remington Development
The 260 Remington was a wildcat cartridge until Remington standardized it in 1997, but they weren’t the first to try to standardize it.
A-Square LLC first submitted the proposal and drawings to SAAMI, but in the end, the cartridge was named after Remington.
It was created by necking down a .308 Winchester cartridge.
This round is most popular in the tactical and competitive shooter realms but is an effective hunting cartridge in a short-action rifle.
This round has been unsuccessful commercially in the US, but that’s not the case in Europe due to the popularity of 6.5mm bullets.
6.5 Creedmoor Development
Hornady debuted the 6.5 Creedmoor in 2007 as a “do anything” cartridge. Competition shooters were the first to jump on board and had immediate success using the caliber.
Big game hunters were more skeptical because the round lacks the weight often needed to bring down big game ethically. Though it has proved capable of bringing down some of the biggest game in the world, many hunters have other preferences.
The 6.5x55mm Swedish is the cartridge that Dennis DeMille based the 6.5 Creedmoor on.
Parting Shots
By now, you see that there is little difference between the 260 Remington vs 6.5 Creedmoor, yet the 6.5 Creedmoor is much more popular because of the greater availability of the rifles and ammo.
The .260 Remington won 1/10 categories. At the same time, the Creedmoor won 4/10 categories.
That means they tied in 5/10 sections due to their similarities.
The average shooter won’t notice the minute differences but should go with a 6.5 Creedmoor because of its availability.