")
")
")
")
")


Discover the dates for deer hunting season in Texas, ensuring you never miss out on this thrilling opportunity to pursue this majestic game.
Table of Contents
- Mark Your Calendar: Texas Deer Hunting Season Dates for 2024-2024
- Planning Your Hunt: Key Dates for Texas Deer Hunting Season
- Unlocking the Dates: When to Gear Up for Deer Hunting in Texas
- Texas Deer Hunting Season 2024-2024: Don’t Miss Out on These Dates!
- Stay in the Know: Important Dates for Texas Deer Hunting Season Revealed
- Hunting Time Approaching: Find Out When Deer Season Begins in Texas
Mark Your Calendar: Texas Deer Hunting Season Dates for 2024-2024
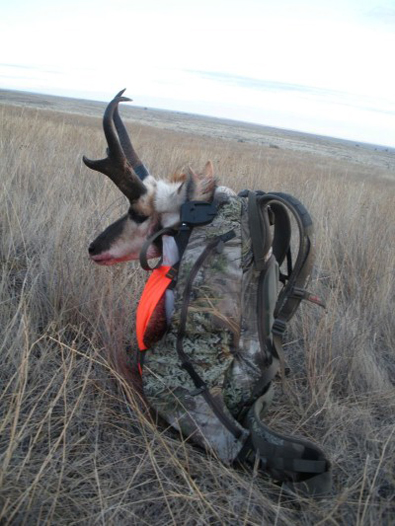
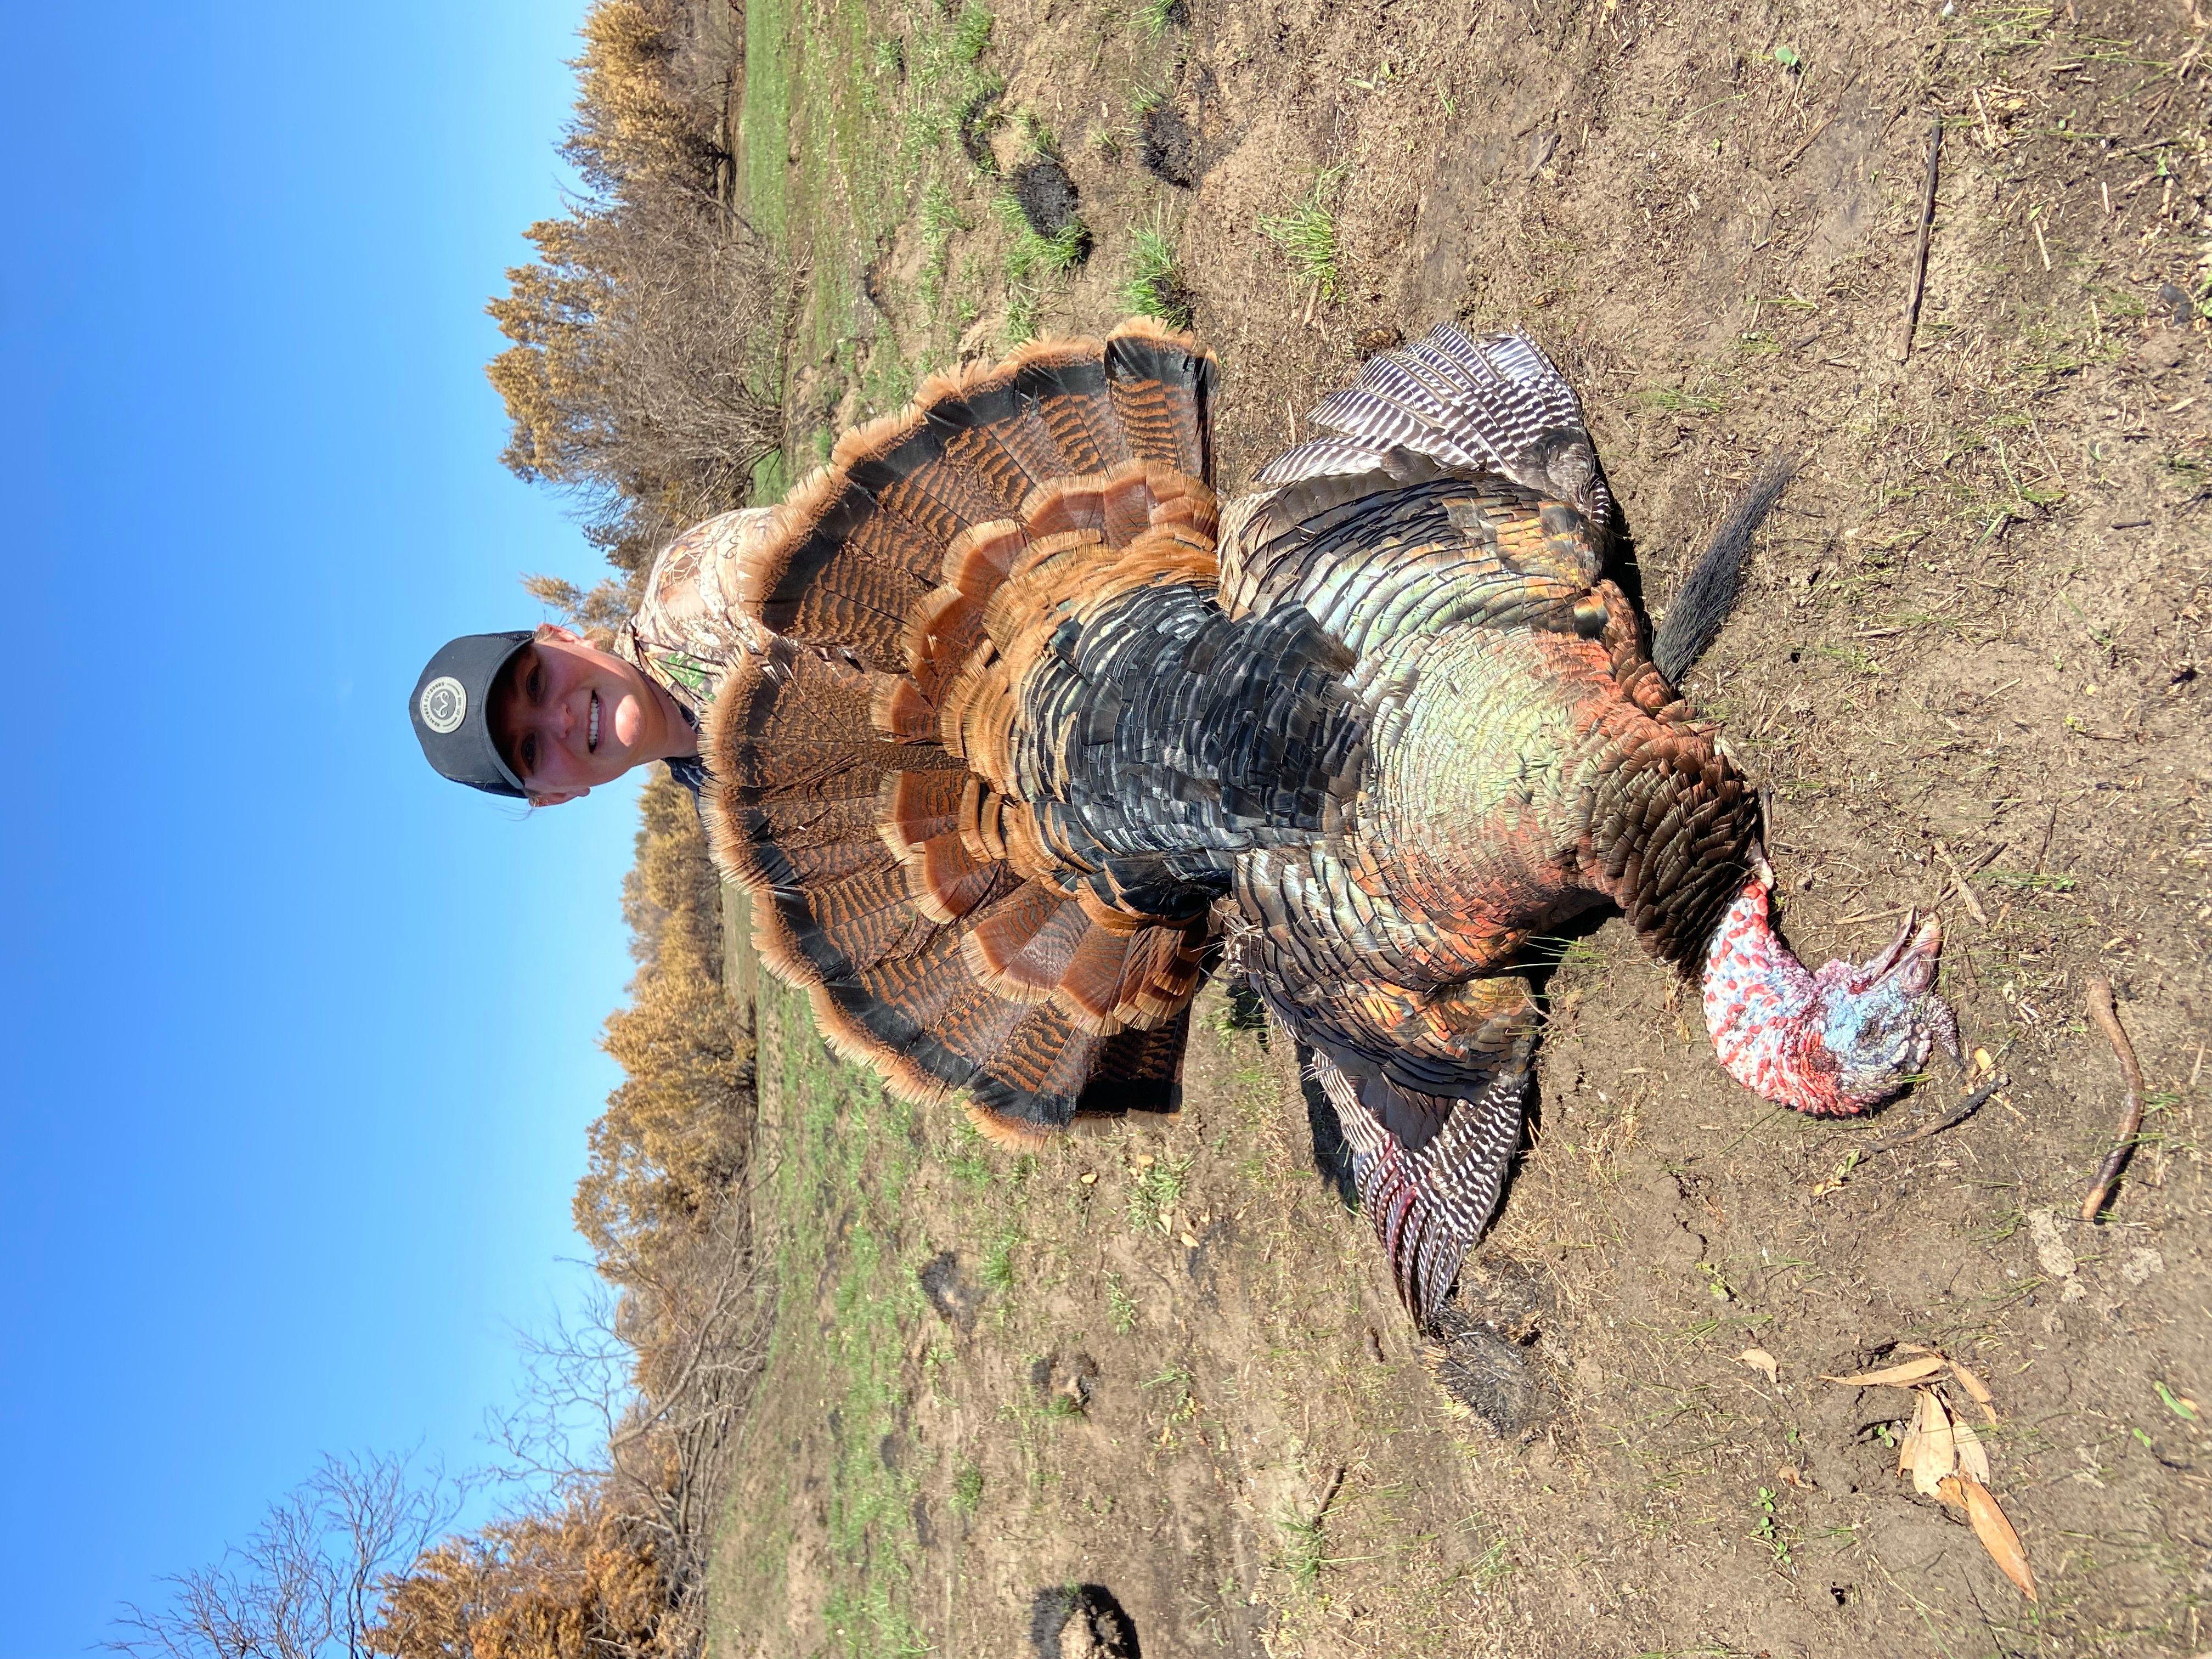
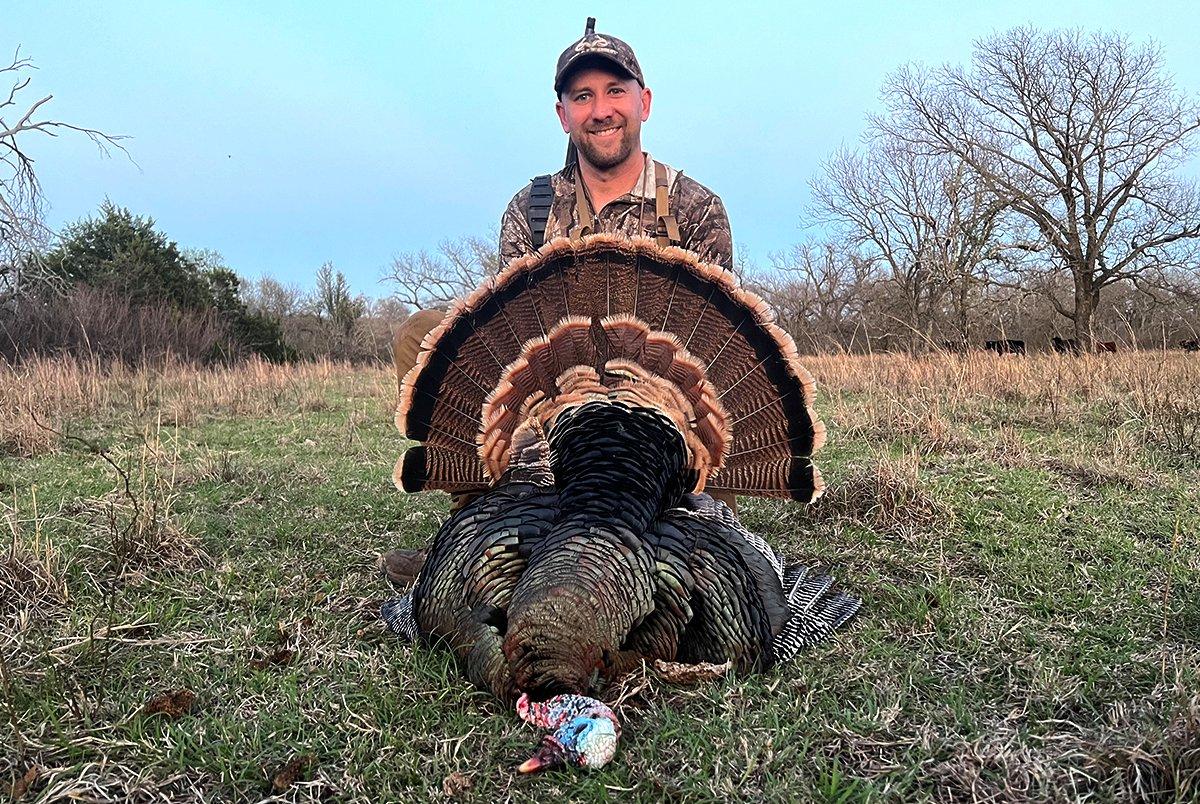
The Texas deer hunting season for 2024-2024 is eagerly anticipated by hunters across the state. With a rich diversity of deer species and abundant hunting opportunities, Texas offers an exciting experience for both seasoned hunters and newcomers to the sport. The upcoming season dates have been announced, allowing hunters to plan their trips and prepare for an unforgettable adventure in the Texan wilderness.
Hunting Season Dates:
– Archery Only: September 30, 2024 – November 3, 2024
– General Season: November 4, 2024 – January 21, 2024
– Special Late Season (Antlerless and Spike): January 22, 2024 – February 4, 2024
During the archery-only season, hunters can enjoy the thrill of pursuing deer with bows and arrows. This period provides a unique challenge as it requires precision and stealthy tactics to get within range of these elusive creatures. The general season follows shortly after, allowing hunters to utilize firearms to harvest deer. This is the most popular period among hunters due to its longer duration and wider range of hunting methods.
The special late season serves as an additional opportunity for those who wish to continue their hunting pursuits or focus on harvesting antlerless or spike bucks. It provides a chance to further contribute towards wildlife management efforts while enjoying the beauty of Texas’ natural landscapes during this quieter time of year.
Whether you prefer archery or firearms, there’s something for everyone during the Texas deer hunting season for 2024-2024. Make sure to mark your calendar with these important dates so you don’t miss out on the excitement and camaraderie that comes with being part of this cherished tradition in Texas.
Planning Your Hunt: Key Dates for Texas Deer Hunting Season
Opening Day:
The Texas deer hunting season typically kicks off on the first Saturday in November. This is an exciting time for hunters as they eagerly await the opportunity to venture out into the woods and begin their pursuit of white-tailed deer. Opening day often brings a sense of anticipation and camaraderie among hunters, who gather with friends and family to embark on this beloved tradition.
During the opening weekend, hunters can expect increased activity from deer due to reduced hunting pressure prior to the season. It’s important to be well-prepared and familiarize yourself with the regulations and restrictions set by the Texas Parks and Wildlife Department (TPWD) before heading out on opening day. This includes obtaining the necessary licenses, permits, and tags required for hunting deer in Texas.
Rut Season:
One of the most anticipated periods during the Texas deer hunting season is rut season. The rut refers to the breeding season for white-tailed deer when bucks become more active, vocal, and aggressive in their search for mates. Rutting behavior can vary from year to year but generally occurs between late October and early December in Texas.
During rut season, bucks are more likely to respond to calls or rattling antlers as they compete for dominance and seek out receptive does. This makes it an ideal time for hunters looking to capitalize on increased deer movement and potentially encounter larger bucks. It’s important to note that TPWD has specific regulations regarding calling devices and use of scents during hunting season, so be sure to familiarize yourself with these guidelines.
Closing Weekend:
As the end of the Texas deer hunting season approaches, hunters have one last chance to pursue their quarry during closing weekend. This final weekend typically falls towards the end of January or early February, depending on specific county regulations. It’s a bittersweet time for hunters as they reflect on the memories made throughout the season and make their final efforts to fill their tags.
Closing weekend often sees increased hunting pressure as hunters take advantage of the last opportunity to harvest deer before the season comes to a close. It’s important to exercise caution and practice ethical hunting techniques during this time, ensuring that you are following all regulations and prioritizing safety. Remember to properly dispose of any harvested game and leave the hunting grounds in good condition for future seasons.
In conclusion, planning your hunt during the Texas deer hunting season requires careful consideration of key dates such as opening day, rut season, and closing weekend. By understanding these important periods and adhering to TPWD regulations, hunters can maximize their chances of a successful and enjoyable hunting experience.
Unlocking the Dates: When to Gear Up for Deer Hunting in Texas
Deer hunting is a popular outdoor activity in Texas, and knowing the hunting season dates is essential for planning your hunting trips. In Texas, the deer hunting season typically runs from early November to mid-January. This extended season allows hunters ample time to pursue their prey and make the most of their hunting experience.
Planning Your Hunting Trips
To make the most of your deer hunting trips in Texas, it’s important to plan ahead and familiarize yourself with the specific hunting season dates. These dates can vary slightly from year to year, so it’s crucial to stay updated on any changes or adjustments made by the Texas Parks and Wildlife Department.
One way to ensure you don’t miss out on any important updates is by regularly checking the department’s website or subscribing to their email newsletters. Additionally, joining local hunting clubs or online forums can provide valuable insights into the best times and locations for deer hunting in Texas.
Preparing for Deer Hunting Season
As the deer hunting season approaches, it’s time to start gearing up and preparing for your hunts. Here are some essential steps you can take:
1. Check your gear: Inspect your firearms, ammunition, and other equipment to ensure everything is in good working condition. Replace any worn-out or damaged items before heading out into the field.
2. Scout your hunting area: Spend time scouting your chosen hunting area before the season begins. Look for signs of deer activity such as tracks, rubs, and scrapes. This will help you identify prime locations for setting up blinds or tree stands.
3. Brush up on safety measures: Review safety guidelines and regulations set forth by the Texas Parks and Wildlife Department. Ensure you have a valid hunting license and understand all legal requirements before embarking on your hunts.
By following these tips and staying informed about the hunting season dates, you can maximize your chances of a successful and enjoyable deer hunting experience in Texas. Remember to always prioritize safety and respect for nature while participating in this thrilling outdoor activity.
Texas Deer Hunting Season 2024-2024: Don’t Miss Out on These Dates!
Texas is known for its abundant deer population, making it a popular destination for hunters from all over the country. The Texas deer hunting season for 2024-2024 is eagerly anticipated by both experienced and novice hunters alike. It is important to mark your calendars and plan ahead to ensure you don’t miss out on these exciting dates.
Archery Season:
The archery season in Texas typically starts in early October and runs through mid-November. This is an excellent opportunity for bowhunters to test their skills and enjoy the thrill of hunting during the fall season. During this time, deer are more active as they prepare for the rut, making it an ideal time to spot and target mature bucks.
General Season:
The general season for deer hunting in Texas usually begins around mid-November and extends through early January. This is when firearms are allowed, providing hunters with a wider range of options to pursue their prey. The general season attracts a large number of hunters due to its longer duration, allowing ample time to plan trips and increase chances of success.
During both the archery and general seasons, it is essential to familiarize yourself with local regulations, bag limits, and any specific guidelines set by the Texas Parks and Wildlife Department. Safety should always be a top priority while participating in any hunting activities.
Whether you are a seasoned hunter or new to the sport, Texas offers incredible opportunities for deer hunting enthusiasts. Make sure you don’t miss out on these dates by planning your trips well in advance and ensuring you have all the necessary permits and licenses required. Happy hunting!
Stay in the Know: Important Dates for Texas Deer Hunting Season Revealed
Texas deer hunting enthusiasts can now mark their calendars as the dates for the 2024-2024 hunting season have been officially announced. The Texas Parks and Wildlife Department has released the schedule, allowing hunters to plan their trips and make necessary preparations well in advance. This information is crucial for those who are passionate about deer hunting and want to make the most of their time in the field.
Hunting Season Dates
The upcoming hunting season will begin on November 4, 2024, and conclude on January 21, 2024. This extended period provides ample opportunities for hunters to pursue their passion and enjoy the thrill of the chase. During this time, licensed hunters will be able to target both antlered and antlerless deer, depending on specific regulations set by individual counties.
To ensure a successful hunt, it is important for hunters to familiarize themselves with any changes or updates to hunting regulations that may apply during this season. Staying informed about bag limits, legal shooting hours, and other restrictions is essential to promote responsible hunting practices and preserve wildlife populations.
In addition to deer hunting, Texas offers a wide range of other game species such as turkey, dove, quail, and waterfowl. Hunters can take advantage of various seasons throughout the year to pursue different game species and diversify their hunting experiences.
By staying up-to-date with these important dates for the Texas deer hunting season, enthusiasts can adequately prepare themselves both mentally and physically. It allows them to gather necessary equipment, scout potential hunting areas, and plan their trips accordingly. With proper preparation and adherence to regulations, hunters can look forward to an exciting and successful season filled with memorable moments in nature’s wilderness.
Hunting Time Approaching: Find Out When Deer Season Begins in Texas
1. The Excitement of Deer Hunting in Texas
As hunting enthusiasts eagerly await the arrival of deer season, Texas offers a thrilling experience for hunters from all over the country. With its diverse landscape and abundant wildlife, Texas is a prime destination for deer hunting. The anticipation builds as hunters gear up and prepare for the upcoming season, eager to embark on their hunting adventures.
Texas boasts a variety of deer species, including the iconic white-tailed deer, which is highly sought after by hunters. The state’s vast acreage provides ample opportunities for both novice and experienced hunters to test their skills and enjoy the thrill of the chase. Whether it’s stalking through dense forests or setting up blinds near feeding areas, the adrenaline rush that comes with deer hunting in Texas is unmatched.
2. Important Dates to Remember
To ensure a successful and legal hunting experience, it is crucial to be aware of the specific dates for deer season in Texas. The 2024-2024 hunting season dates have been announced, allowing hunters to plan their trips accordingly. In general, deer season in Texas typically begins around early November and extends into January.
It’s important to note that different counties may have varying start and end dates for deer season due to specific regulations and management practices. Therefore, it is necessary for hunters to familiarize themselves with the rules and regulations of their chosen hunting location before embarking on their adventure.
Here are some key dates to remember:
– Archery-only season: This typically starts earlier than other seasons, providing archery enthusiasts an opportunity to hunt deer using bows or crossbows.
– General gun season: This marks the opening of firearm hunting for deer in most counties.
– Muzzleloader-only season: For those who prefer traditional muzzleloaders or black powder firearms, this season offers a unique hunting experience.
– Special late season: Some counties may have an extended hunting season, allowing hunters to continue their pursuit of deer into January.
By keeping track of these dates and understanding the specific regulations in each county, hunters can maximize their chances of a successful and enjoyable deer hunting experience in Texas. So gear up, sharpen your skills, and get ready for an unforgettable adventure in the Lone Star State!
In conclusion, deer hunting season in Texas typically occurs from early November to mid-January. Hunters must adhere to specific regulations and obtain the necessary licenses. It is essential to stay informed about any changes or updates regarding dates and regulations set by the Texas Parks and Wildlife Department.


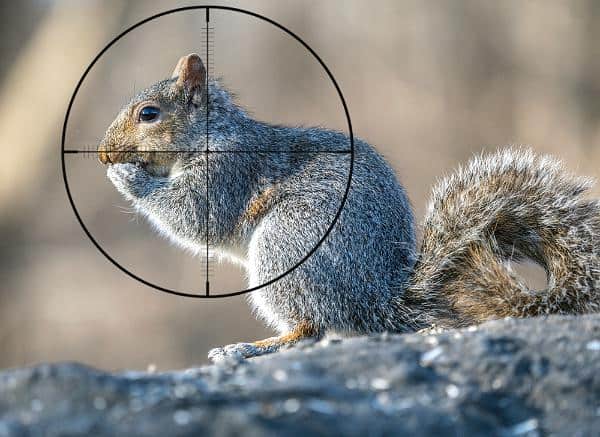
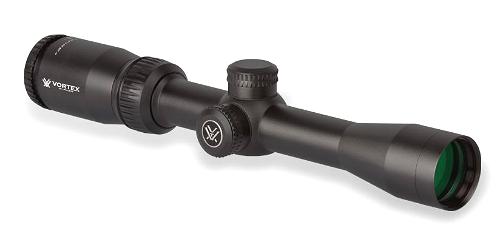
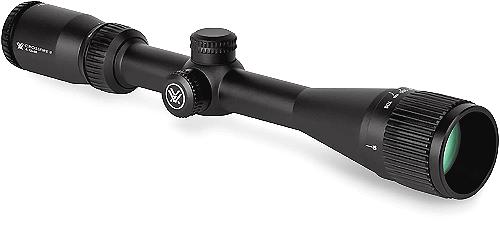
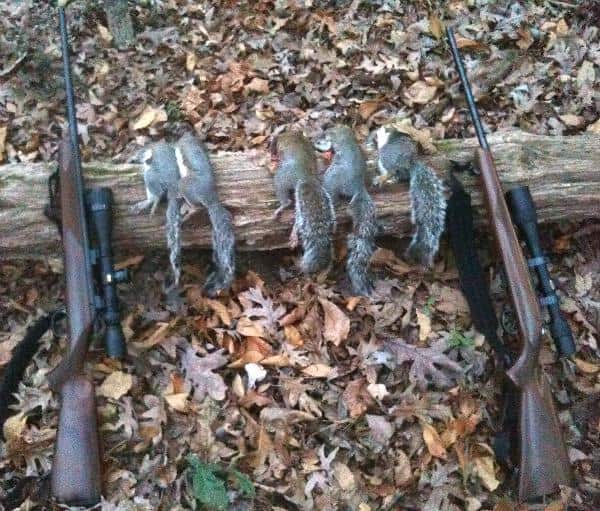
 The Crossfire II series of scopes is one of Vortex’s workhorse series that is built for performance on an entry-level budget. The Crossfire II scopes come in a variety of configurations, but the 4-12×40 is one of my favorites for a 22LR squirrel rifle.