")
")
")
")
")


Researching rifle scopes, you’ll probably stumble across a few terms that may leave you scratching your head…
First focal plane and second focal plane, a.k.a. FFP and SFP.
If you’ve seen these terms, you’ve likely also noticed considerable price differences, reticle differences, and beyond.
That may leave you wondering, what’s the big deal? Why such a difference?
Luckily, we know our optics around here.
So, in this article, we’re taking on FFP versus SFP. We’ll lay out the definitions of these two, what they mean for the inside of your optic, and which might be the best option for your rifle.
When we’re through, you’ll confidently know the difference between FFP and SFP and which one deserves your hard-earned cash.
Let’s get to it!
Table of Contents
Understanding Subtensions
Before we dive into the difference between FFP and SFP, we need to first talk about subtensions…because they’re important!
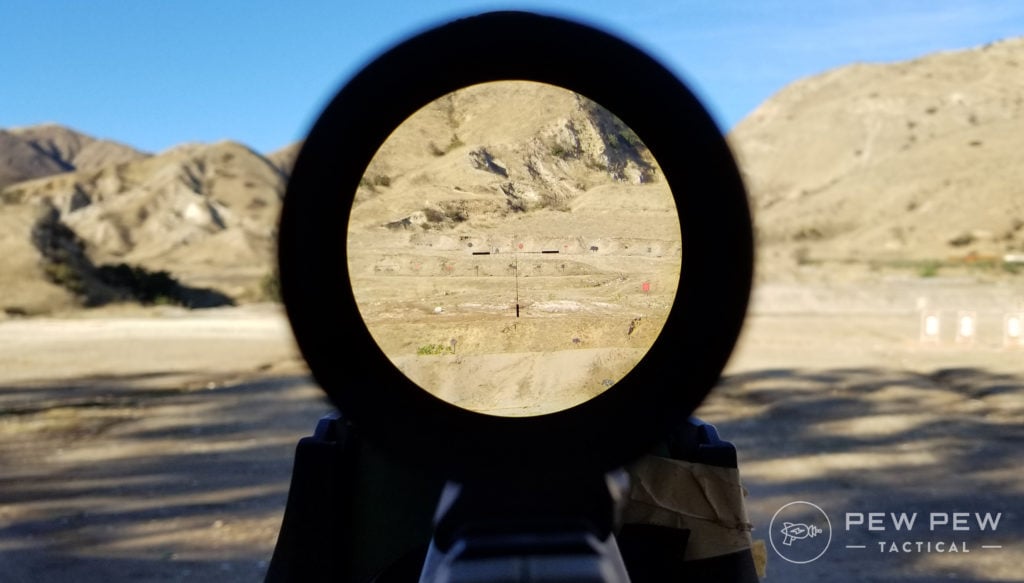
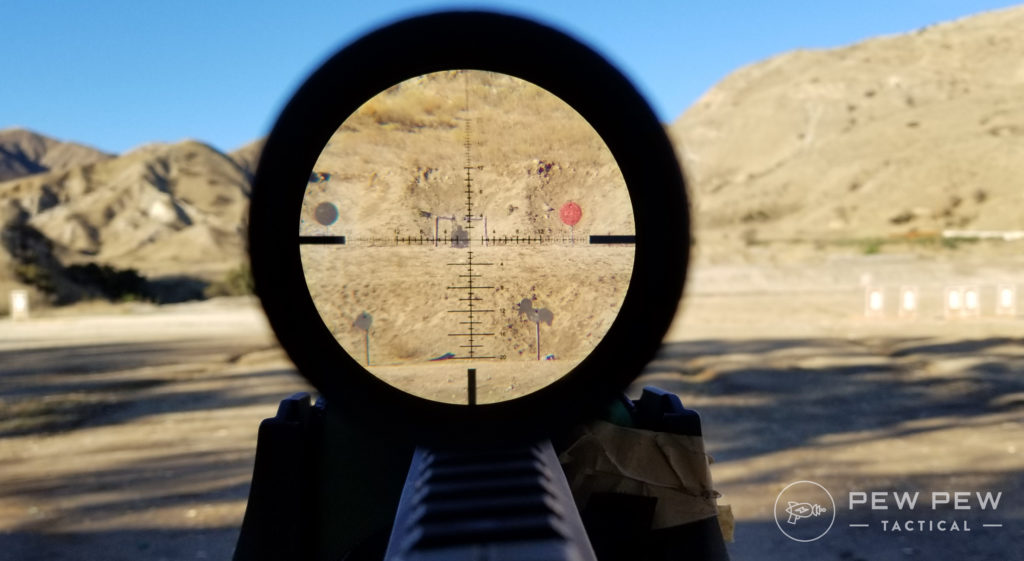
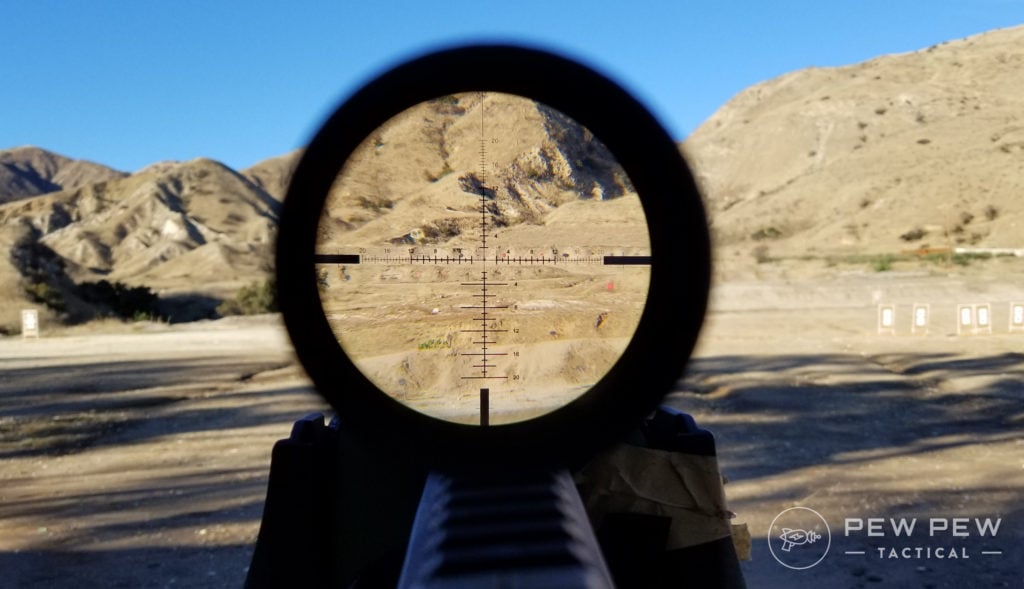
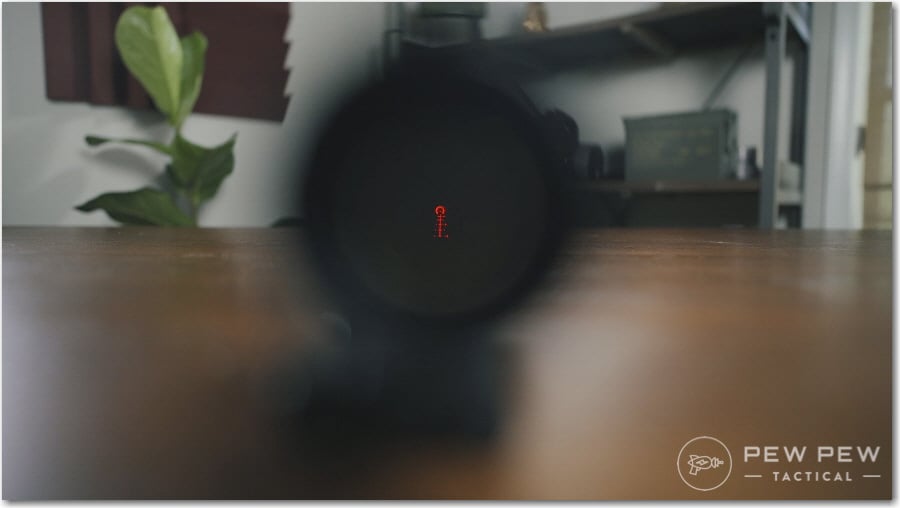
Have you ever looked inside your optic to see hash marks or circles?
Well, those are subtensions, and we use them for windage and ballistic drop of a projectile.
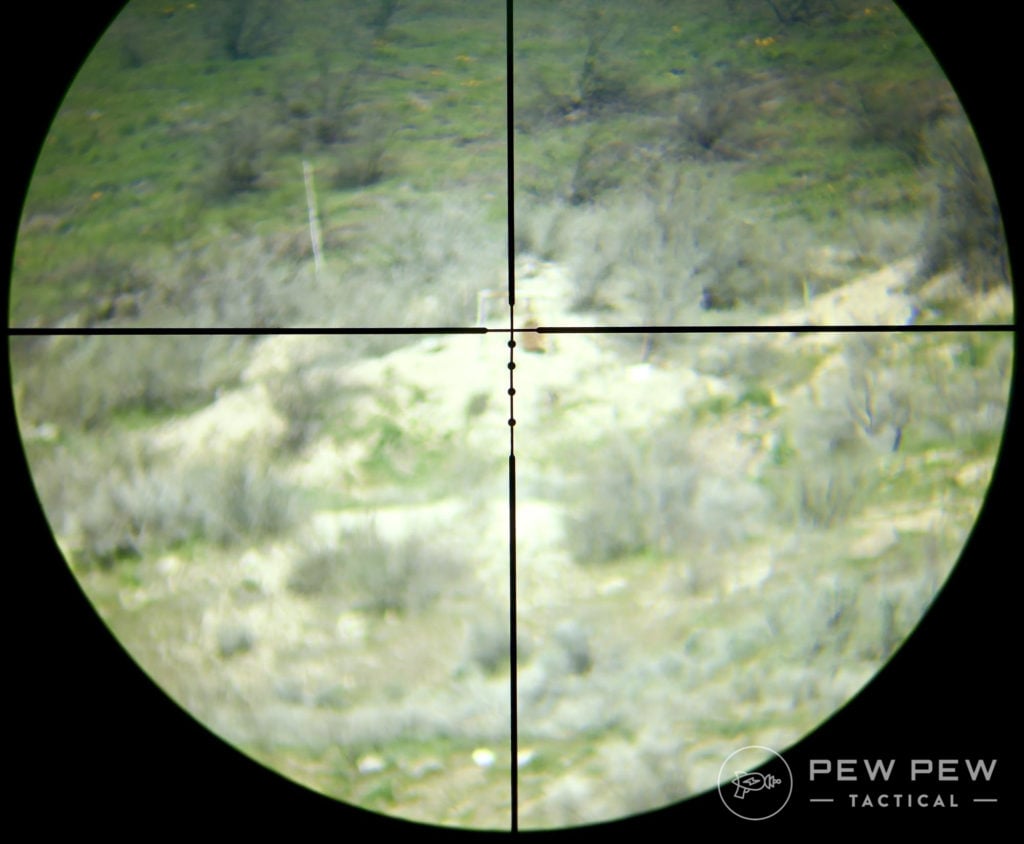
They allow you to use holdovers to estimate bullet drop and windage.
Those subtensions are a specific size, so shooters can account for windage and ballistic drop at various ranges.
With that out of the way, let’s dive into FFP and SFP…
FFP vs. SFP
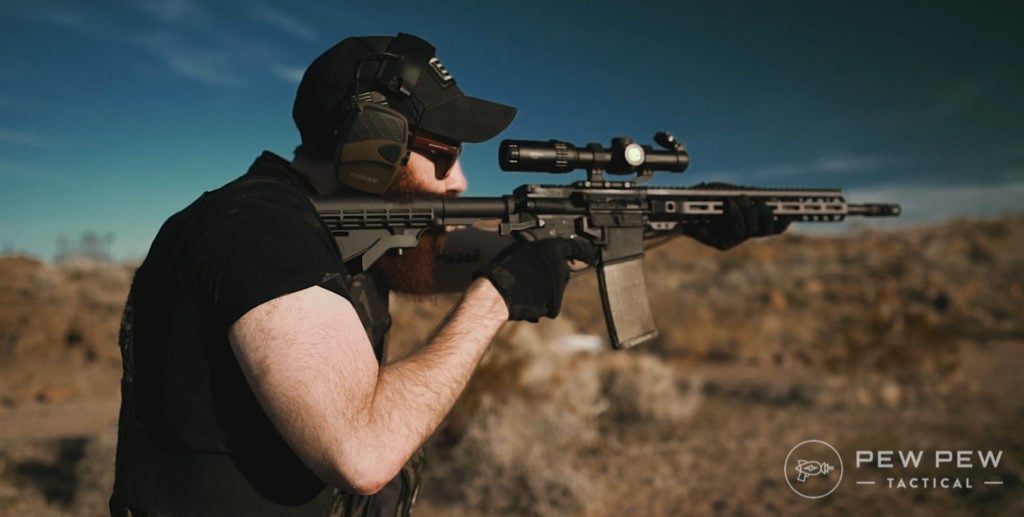
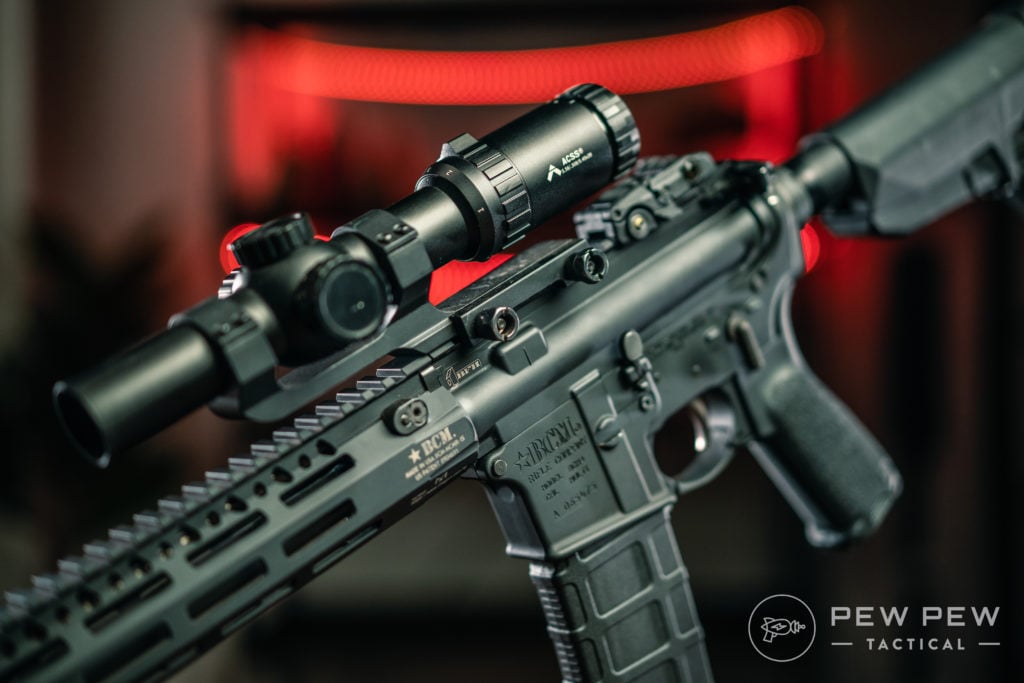
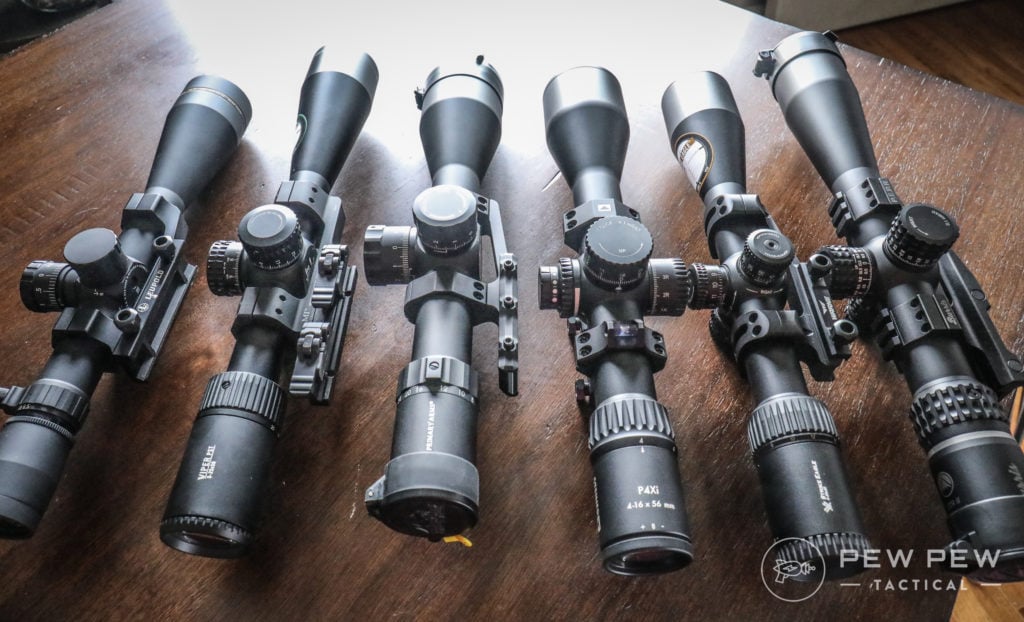
Let’s clarify that we’re looking exclusively at variable-powered optics when talking about FFP and SFP.
First Focal Plane
FFP, or first focal plane, has grown in popularity though they are somewhat new.
First focal plane scopes house the reticle assembly near the front of the magnification erector assembly.
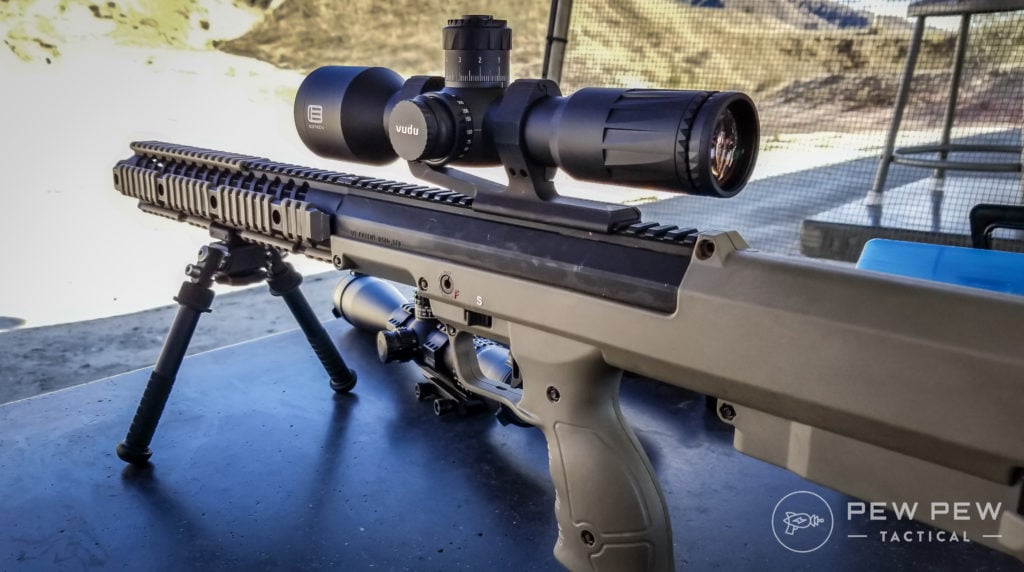
The erector assembly houses your magnification component, and the reticle sits in front of it.
You’ll likely see most high-end optics companies offering FFP optics.
With first focal plane optics, the reticle size changes as the magnification increases and decreases.
FFP optics keep the measurements of the reticle accurate at any magnification range.
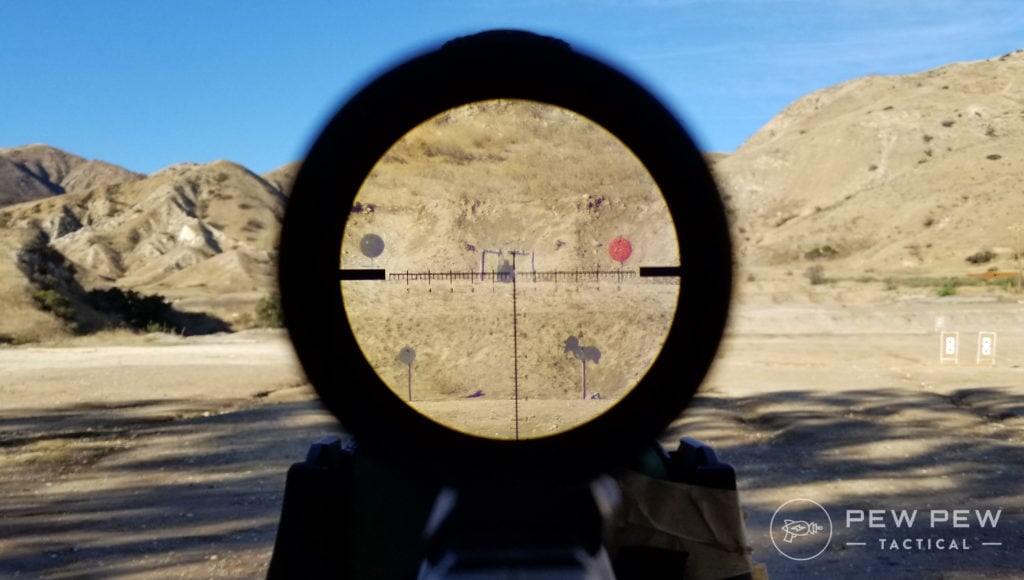
FFP’s use of reticle subtensions at every magnification setting is the FFP’s biggest advantage, my friends.
With high-powered optics, like 6-24X and beyond, this becomes extremely valuable.
Making on the fly windage and elevation calls is invaluable!
When it comes to reticles that use ballistic drop compensation, a first focal plane scope is a must-have.
This allows on-the-fly ballistic drop compensation without the worry or need for finding the right magnification setting.
Another big advantage is that at higher magnification levels, the subtensions are accurate and easy to see.
FFP scopes have some downsides, though.

At close range, the reticle can appear very small and hard to see. Combine that with low light issues, and the reticle can get awfully hard to see.
For lower-powered optics, the usefulness of an FFP reticle declines.
Second Focal Plane
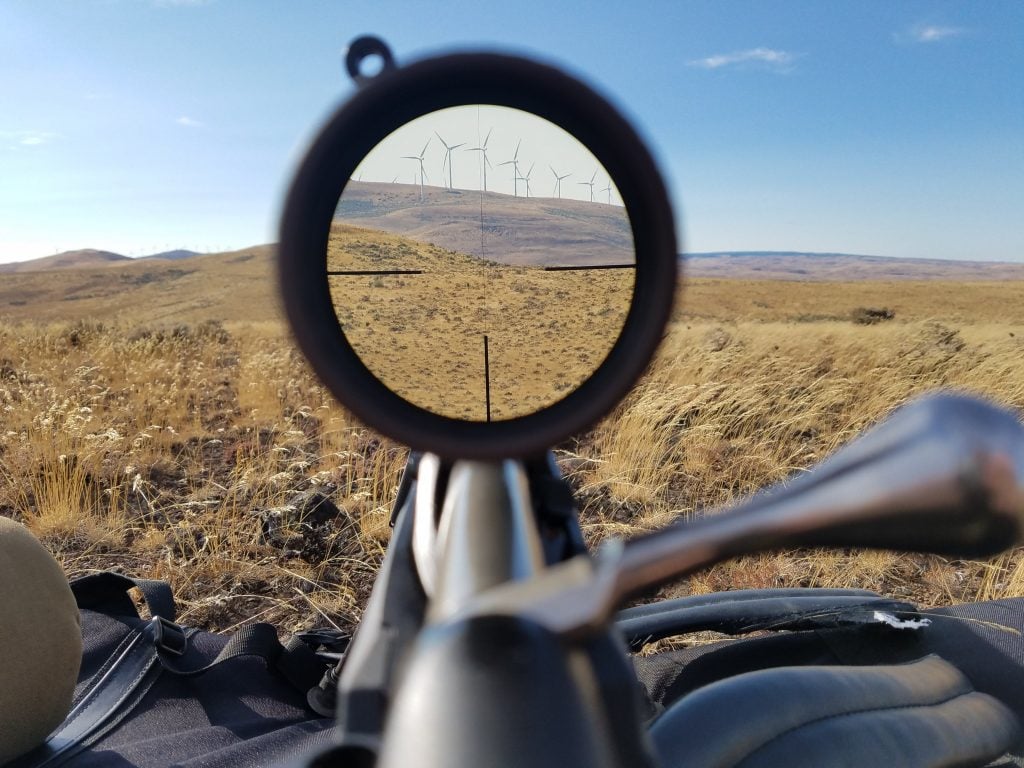
SFP, or second focal plane, optics house the reticle behind the erector tube assembly.
SFP optics tend to feature affordable price tags while offering comparative specs in quality, magnification, durability, etc.

With second focal plane optics, the reticle remains the same size throughout its magnification range.
Consequently, the reticle’s various subtensions aren’t accurate through the range of magnification.
Often SFP scopes have a specific magnification in which these measurements are accurate.
That magnification range is often the highest setting but can vary between manufacturers. So, it’s wise to check the manual to be sure.
You can also do a little math with an SFP scope and various magnification ratings to come up with accurate measurements.

These optics use highly visible reticles at every magnification setting. This makes the optic easier to use at lower powered settings.
With low powered optics, like 1-4X optics, an SFP reticle is easy to use for close-range shooting. It’s big, easy to see, and fast.

The downsides are apparent.
SFP subtensions suffer at every magnification range but one. This makes higher-powered SFP optics nowhere near as fast or as useful for on-the-fly long-range shots.
You Should Definitely Buy…
FFP optics are surely the better choice, right?
Well, it’s never that simple, y’all.

FFP and SFP are important, sure, but they shouldn’t be the only factor to consider when shopping for scopes.
You also should look at overall scope quality — including clarity, durability, and reticle design.
On top of that, think about the optic’s purpose and at what ranges you’ll use it.
That will help guide your hand and selection between FFP and SFP.

When to Buy an SFP
If you want a lower-powered LPVO, then SFP is the way to go.
The bigger reticle is faster for close-range shots, and long-range shots will max out the magnification, so the subtensions are accurate.
A 1-4 or 1.5-5 is perfect with an SFP reticle design.
This is especially true when paired with a little carbine in a pistol caliber or something like a 10.5-inch barreled AR.
These are not long-range firearms by any means and work best in close quarters shooting where speed rules.
The bigger SFP reticles are fast at close range because they tend to be bigger than most.
Hunting is another realm where SFP is important.
Humane hunting ranges are not going to involve much bullet drop. Therefore, the accuracy of subtensions or even their presence is silly.
When a hunter chooses an optic, they need to consider not only their furthest shot but their closest shot.
Close shots often rely on speed, and big reticles are fast reticles.
There is a good argument for SFP optics for 3-Gun and USPSA PCC.
The ranges these competitors engage at are rarely long, and the need for ballistic drop estimation is often unnecessary.
Need some suggestions? Check out our roundup of the Best 1-6x Scopes & LPVO.
When to Buy an FFP Optic
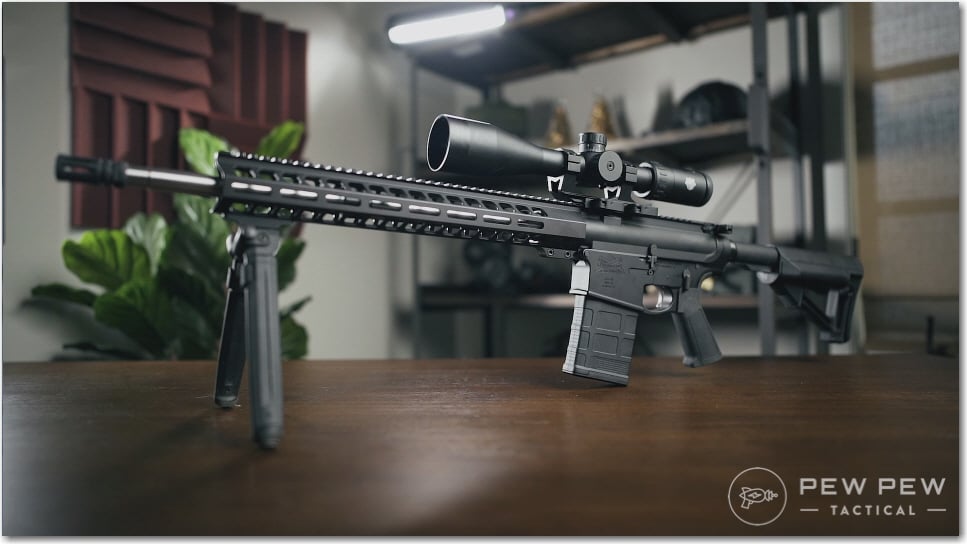
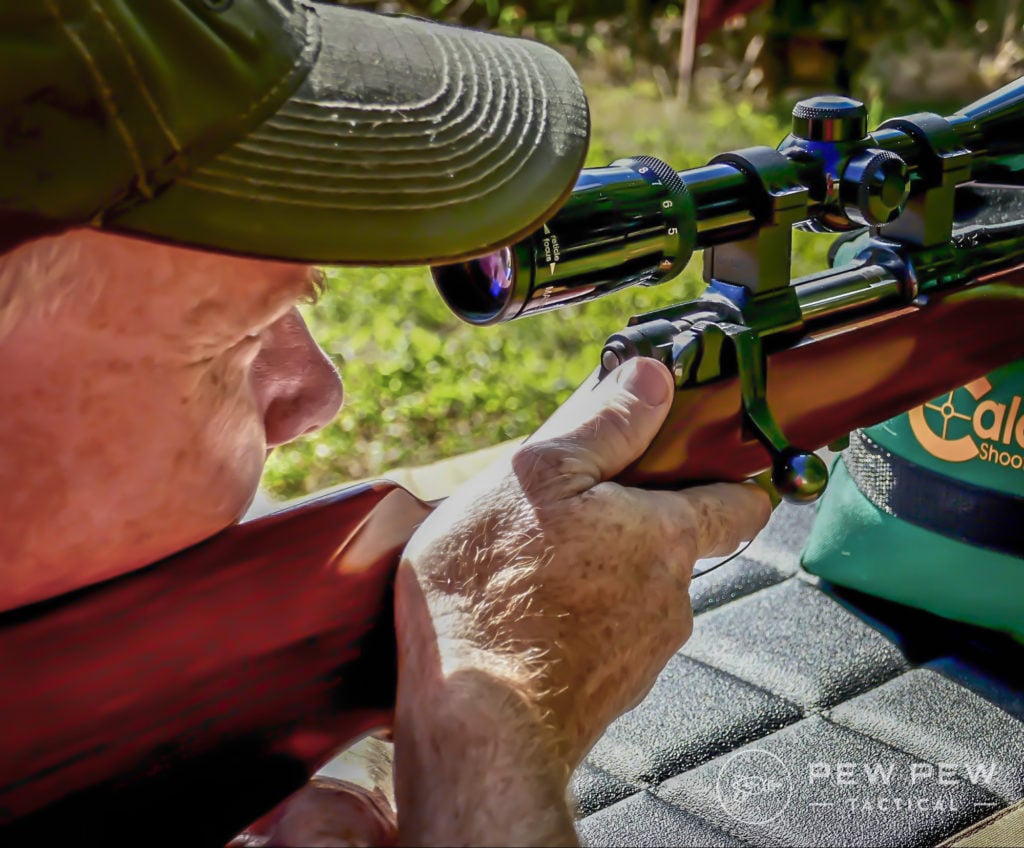
First focal plane scopes are the optic of choice for snipers and designated marksmen. In those roles, precision is critical.
The FFP optics are the best choice for duty grade use and when you need to reach out and touch a target with extreme accuracy.
FFP scopes also fit very well into Precision Rifle Series matches.
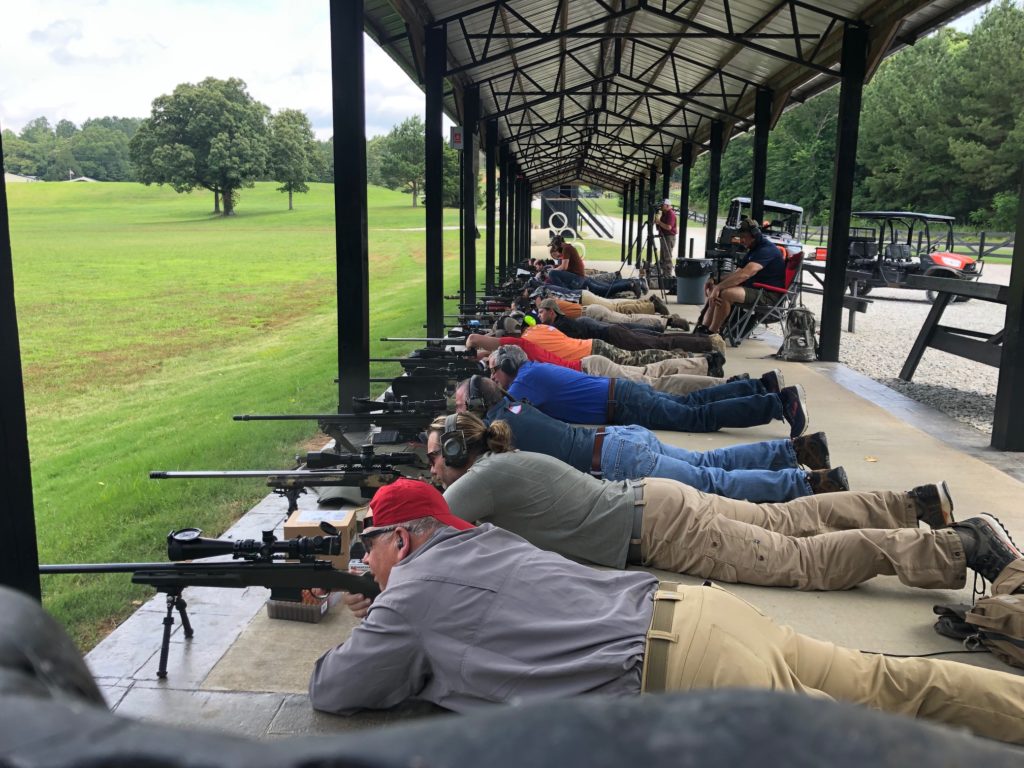
These scopes dominate this field because the ranges are so varied. Competitors need to place accurate shots at different ranges while compensating for wind and drop.
If you want to shoot long range almost exclusively, then go for an FFP optic over an SFP.
If you need some suggestions, we have you covered. Check out our list of the Best Long Range Rifle Scopes.
Conclusion
Whether you want the close range SFP offers or want to reach out to further distances with FFP, knowing the difference between FFP and SFP optics will help you get the most out of your shooting experience.
SFP or FFP, which do you prefer? Let us know in the comments below. Ready to start nailing down which optics to buy? Head over to our Gun Scopes & Optics page where you will find all the articles you need to choose your next optic.


 Typical scraping behavior involves leaving scent from a buck’s nasal, preorbital and forehead glands. When done working the branch bucks will paw the ground and urinate into the ground.
 During the two weeks leading up to peak breeding mature bucks can be expected to make between 6 and 12 scrapes every hour they are on their feet.