")
")
")
")
")


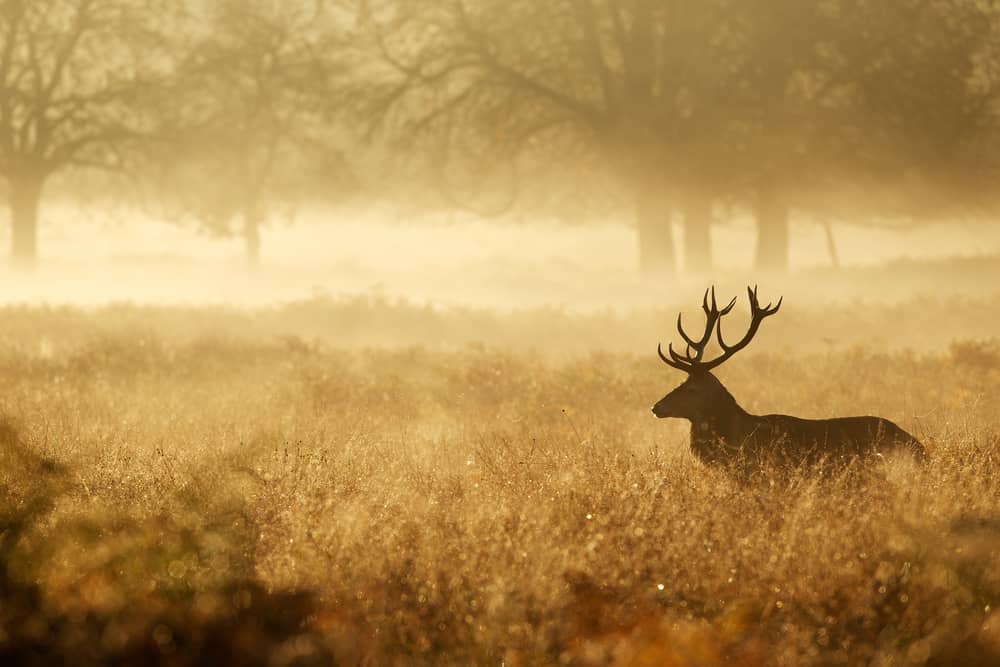
Deer hunting is a tradition that can be found in every culture.
It has served as a way to provide food, materials for clothing, keep deer populations from overwhelming local ecosystems, and even as a hobby or for sport.
Those who enjoy deer hunting or know someone who does knows just how tasty venison can be.
However, it may be difficult to tell whether or not the deer meat is still good.
Table of Contents
How To Tell If Deer Meat Is Spoiled (4 Ways)

In order to tell whether or not deer meat is spoiled, you are going to need to use all of your senses.
You can tell deer meat is spoiled by the touch, smell, and look of it.
There’s no need to taste it, as that can be hazardous for your health.
There are also other factors that you can use to tell whether or not your deer meat is still healthy to consume.
1. The Touch Of The Venison
Your venison won’t feel fresh if you touch it.
The deer meat will feel slimy and wet to the touch.
While your venison should be damp, it should never be soggy or slippery.
You may not be able to tell if your deer meat is spoiled by the touch if your venison has been frozen.
Luckily, there are multiple options for analyzing the freshness of your venison.
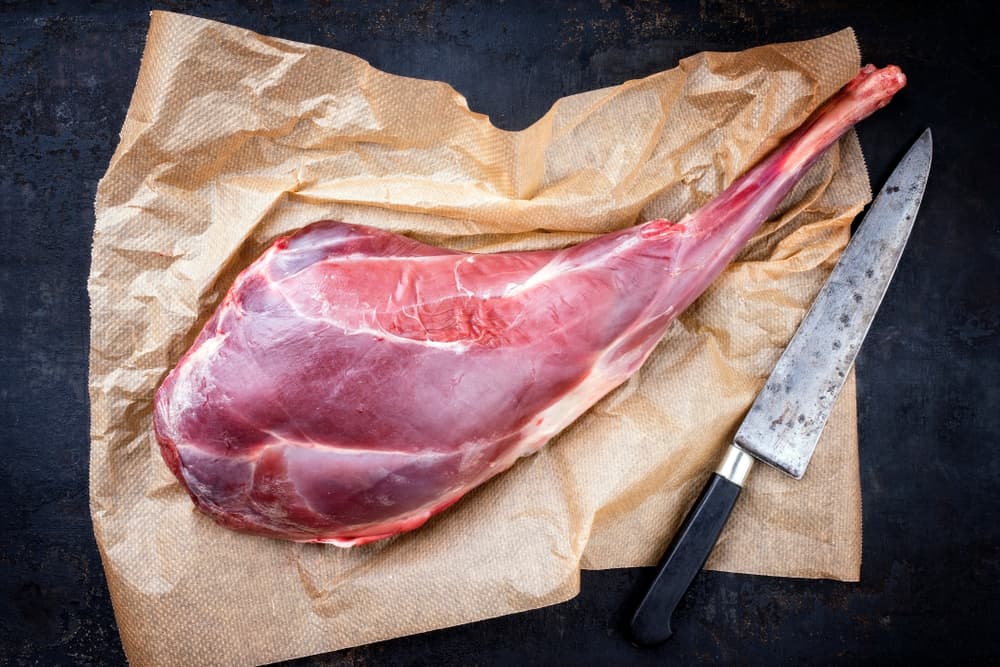
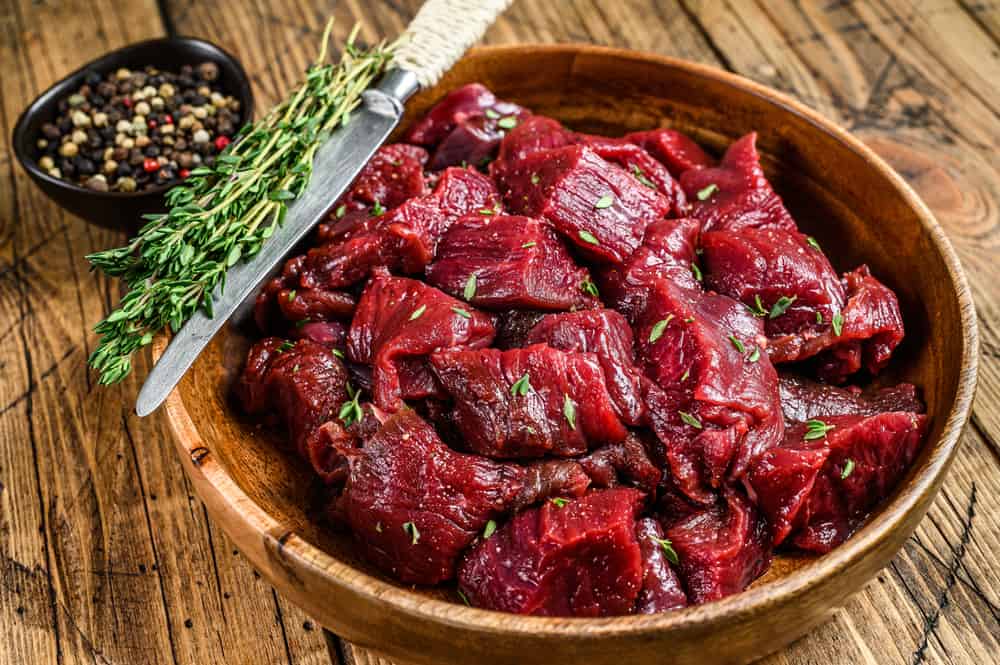
2. The Look Of The Venison
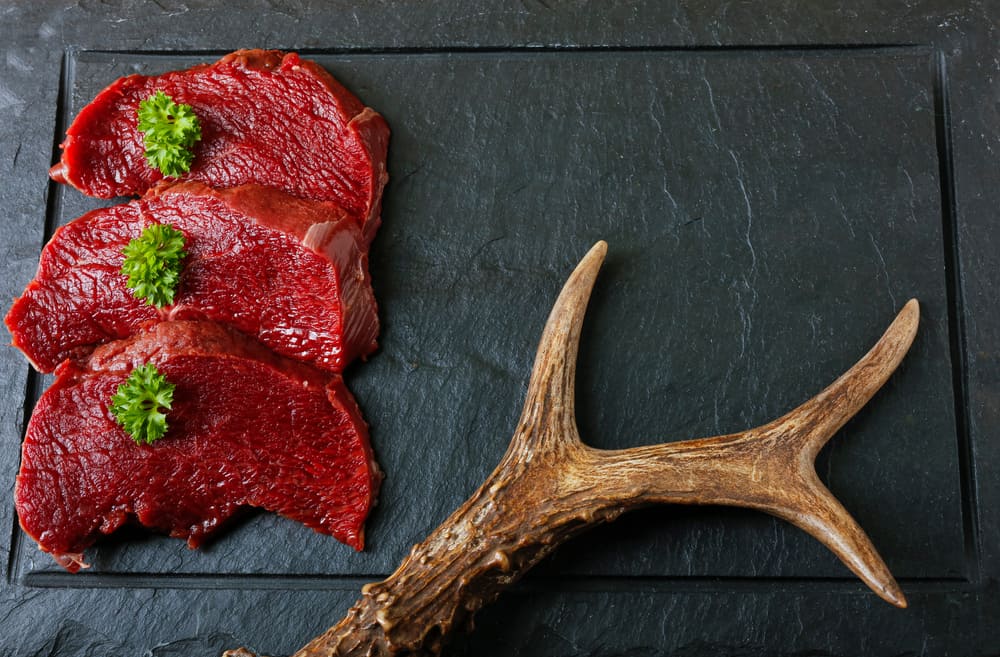
The first way you can tell if deer meat has gone bad is by the look of it.
Your deer meat should be a nice, deep red.
If your venison is brown, then you have a problem.
Spoiled meat will also have a metallic shine to it, but that can be a difficult deciphering tool because deer meat always has a certain shine to it.
This natural shine comes from the deer’s thick tendons and muscle structure.
It is better to go by the color if you are solely going off of looks.
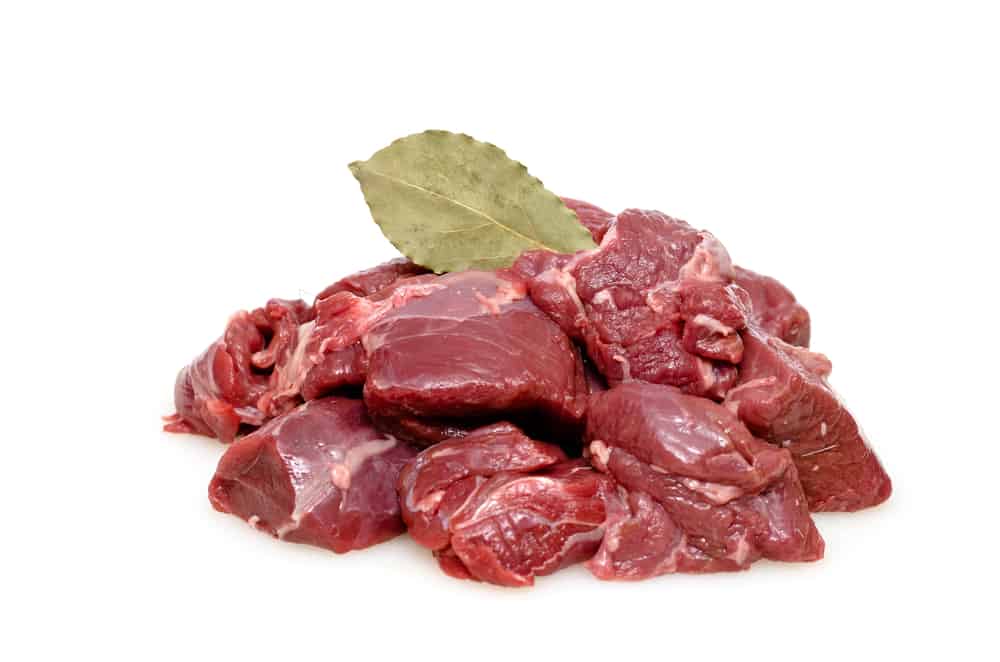
If you’ve already ground up your meat, then you should take a look at the inside of each ground chunk.
If the inside is brown, then the meat is no longer good.
3. The Smell Of The Venison

You will mostly smell the revolting aroma of spoiled deer meat before you can even get to the other steps of studying the venison.
A sewage-like smell will attack your nose and seep deep into your nostrils.
If your deer meat has been frozen, you may not be able to smell it at first.
The smell will get increasingly intense as the meat thaws.
Prepare for your whole house to reek of sewage by opening the windows and airing out the house beforehand.
4. The Timing Of The Venison
There are two time frames that you will want to consider when trying to figure out if your venison has gone bad.
The first time frame you will need to take into consideration is when it was killed, dressed, and stored.
In order to keep your meat good for as long as possible, you will need to shorten the time between when the deer was killed and when it was frozen.
The time limit between those two events will be shorter if the weather is hot and humid.
You can leave deer meat out for the longest time when it is cold and dry.
The second time frame you’ll want to consider is how long you have been storing your meat.
You’ll also want to consider where it is being stored.
In the refrigerator, your meat will last three days.
Ground venison can last in the freezer for three months.
Venison roasts and steaks can be stored in the freezer for six to nine months.
Eating Spoiled Meat

Avoid eating spoiled meat at all costs.
The effects of eating spoiled meat can be devastating to your digestive tract.
If you have eaten questionable meat and that meat turns out to be spoiled, you may experience symptoms such as stomach pain, nausea, and diarrhea.
However, the worst-case scenario is death.
Rotten meat is where bacteria such as Escherichia coli and salmonella prosper.
Cooking your meat may get rid of any future bacteria forming, but it does not get rid of the toxins that they leave behind.
Those are left deep inside of the meat.
Ground meats will need to be cooked to a minimum of 165 degrees Fahrenheit.
Venison steaks and roasts will need to be cooked to 145 degrees Fahrenheit or higher to have any chance of killing these germs.
There’s another germ you will need to worry about.
Clostridium botulinum can be found in all sorts of meats.
This bacterium causes vision problems, paralysis, and even death.
There are five different types of Botulism.
There is infant botulism, wound botulism, iatrogenic botulism, and adult intestinal toxemia.
Each type of botulism is based on where it forms.
It can form in your wounds, your food, your cosmetics, your intestines when you’re an infant or adult, and even your food.
Foods that are canned or made at home without the proper equipment are at a higher risk of having foodborne botulism.
All forms of botulism are fatal.
If you or a loved one are potentially suffering from botulism, then go to the emergency room immediately.
Diseased Venison
There is something vastly more dangerous than simply spoiled meat.
There is a disease that is going through the United States’ deer population called Chronic Wasting Disease.
Similar to Mad Cow Disease, Chronic Wasting Disease eats away at the brain.
The U.S. Centers for Disease Control and Prevention hasn’t linked the disease to anything that indicates humans can get it, but the organization still highly discourages eating meat from deer with this disease.
Before you go for your hunt, you should look into whether or not Chronic Wasting Disease is prevalent in your hunting area.
Those hunting for food should select another location for hunting or be prepared to have your meat tested once you bring the venison home.
There are other precautions you can take to avoid eating diseased meat as well.
How To Avoid Diseased Meat
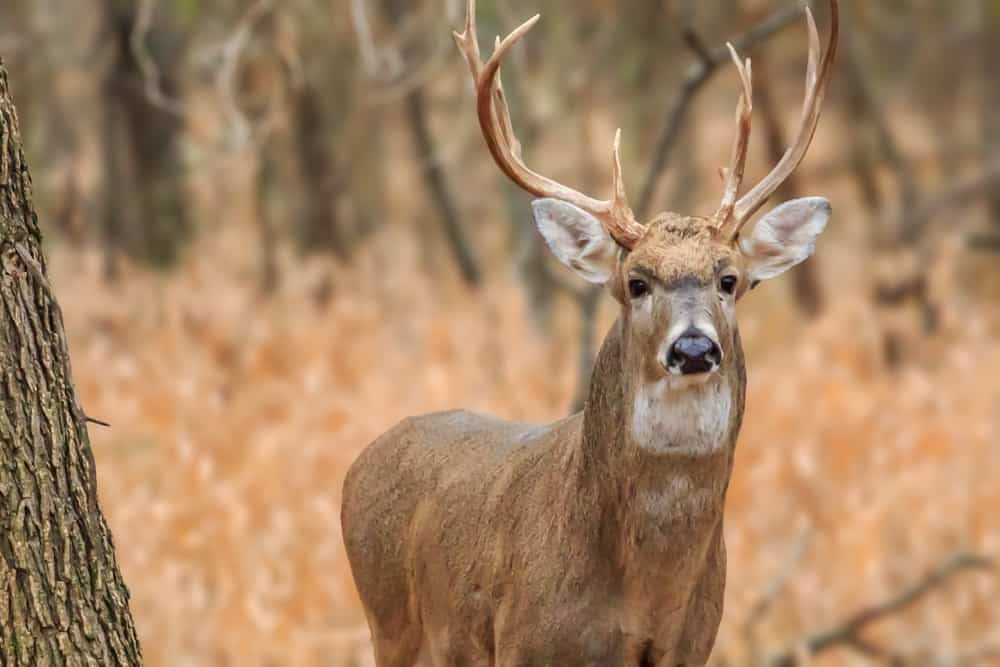
One of the first things you can do to avoid diseased meat is to not shoot sick or weak-looking animals.
Instead, you should call your local fish and game department to inform them of the animal.
Should you accidentally shoot a sick-looking animal, turn it into your local game department so they may record and analyze it.
By doing this first tip alone, you will be helping keep your loved ones, the local community, and the local deer population safe.
Whenever you are dressing your deer in the field, make sure to wear latex or rubber gloves.
This will help you avoid direct contact with any potential contaminants.
It is better for you to bone out your deer, rather than sawing straight through the spine, brain, or any bone.
During the deboning process, try to avoid touching the brain or spinal tissues for longer than necessary.
You should wash your hands immediately and thoroughly after the field dressing is finished.
You will also need to make sure that your tools are completely clean and have soaked in 40% bleach for a minimum of five minutes each.
You should avoid eating the brain, spinal cord, spleen, eyes, tonsils, or lymph nodes of the deer.
While most of these things will be removed during a normal field dressing, you may still need to make sure to avoid lymph nodes.
By cutting away all of the fatty bits of the deer, you will have cut away any lymph nodes.
Hunters who want to be extra cautious may choose to ensure that, when their meat is processed, their animal is being processed individually, without any other meat mixing in.
Best Venison Meals
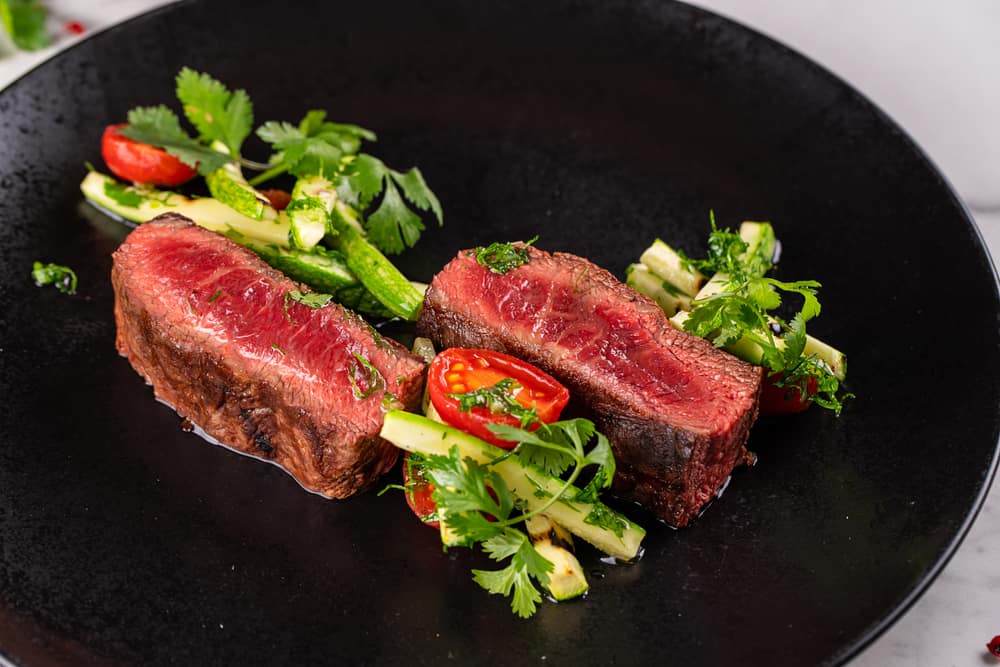
Venison can make for a hardy, protein-packed meal that has that signature gamey taste.
While that gamey taste isn’t for everyone, there are many ways to prepare venison as a meal.
It doesn’t all need to be your basic venison roast.
The best kind of jerky is venison jerky, by far.
This meaty, gamey jerky is the perfect snack while working or even hunting more deer.
All you will need to make it is venison, chili powder, onion powder, liquid smoke, soy sauce, Worcestershire sauce, black pepper, garlic powder, and teriyaki sauce.
If you like your venison jerky spicy, add some hot sauce and hot paprika.
You will want to cook your jerky at 150 to 175 degrees Fahrenheit.
You will cook one side of your jerky for three hours before flipping it over and cooking the other side for another three hours.
When in doubt, turn your meat into sausages!
With some venison, garlic powder, black pepper, mustard seed, tender quick, onion powder, and liquid smoke.
All meat lovers agree that the better sausages have cheese in them.
If you’ve never made sausage before, you may end up having a lot of fun with the steps it takes to make sausage.
The coarser you grind the meat up beforehand, the better it will stay together in a sausage.
You’ll want to leave your logs in the refrigerator overnight to help make the sausage firmer.
The better you mix your meat with your other ingredients, the better your sausage will hold up and turn out.
Venison makes excellent meat for any soup or stew.
Its gamey taste pairs well with vegetables, cheese, and herbs.
Any soup that has beef in it can be easily replaced with venison for a more gamey taste.
You can also add venison to vegetable-based soups, like potato soup.
The starch of the potatoes soaks up the gamey venison.
Health Benefits Of Venison

When you’re trying to decide on what to eat for a healthy meal, venison may not cross your mind.
It may be shocking just how many health benefits that venison has.
When most people go hunting, they aren’t thinking about the healthy meat they’re bringing home to their families, but luckily, your hobby is good for the whole family.
Deer meat is packed to the brim with protein.
In 100 grams of venison, there are 24 grams of protein!
A fourth of deer meat is pure protein.
The protein from venison is a complete protein, meaning it contains all of the essential amino acids that our bodies need in order to survive.
Complete proteins are what keep our immune systems, hormones, and crucial enzyme production in order.
Those who love beef but need to cut back on saturated fats should consider replacing beef with venison.
Deer meat is vastly lower in saturated fats than most other red meats.
Venison isn’t just a great source of protein, but it is also an excellent source of iron.
With 25% of the world’s population having an iron deficiency, we could all use a little venison.
There are two different types of iron: haem and non-haem.
Non-haem iron mostly comes from plants, but it doesn’t absorb into the body as well as haem iron.
Haem iron comes from most meats, excluding the liver, spleen, and bone marrow.
Zinc is one of the trickiest minerals to get into your system, with most people just opting to take zinc supplements.
By eating 100 grams of venison, you will get almost a third of the total zinc you need in a day!
Zinc is responsible for keeping your skin healthy.
It is also a crucial mineral for reproductive health, especially in men.
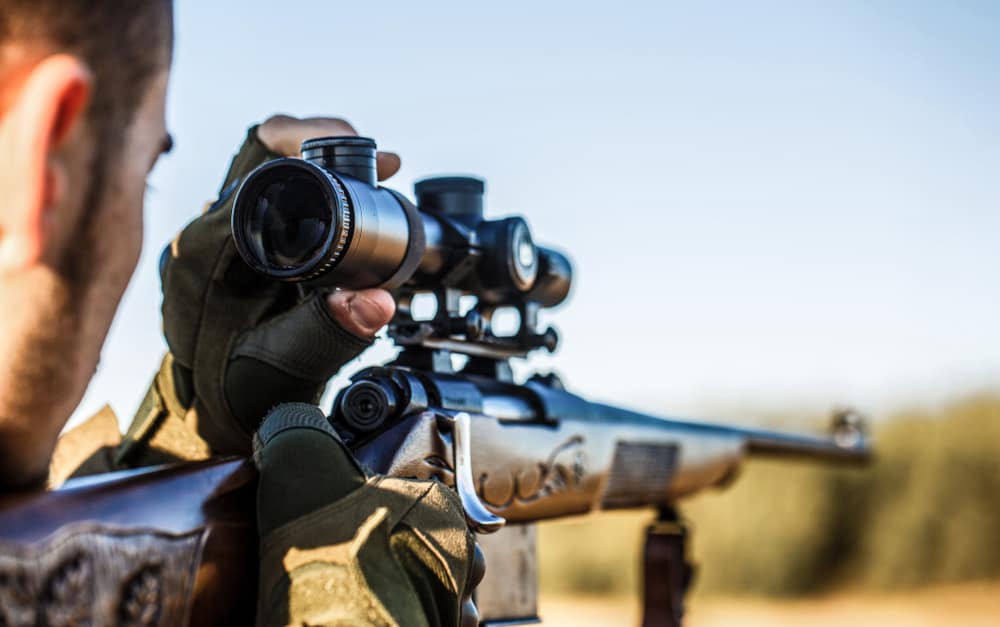
Quality Of Meat Weighs On Quality Of Shot
The quality of your meat weighs heavily on the quality of your shot.
The best hunters will kill their meat as humanely as possible, which means doing it with the fewest number of shots.
Plus, scaring your prey will only cause their body temperature to rise as they run for their lives.
You’re looking for the “one shot, one kill”.
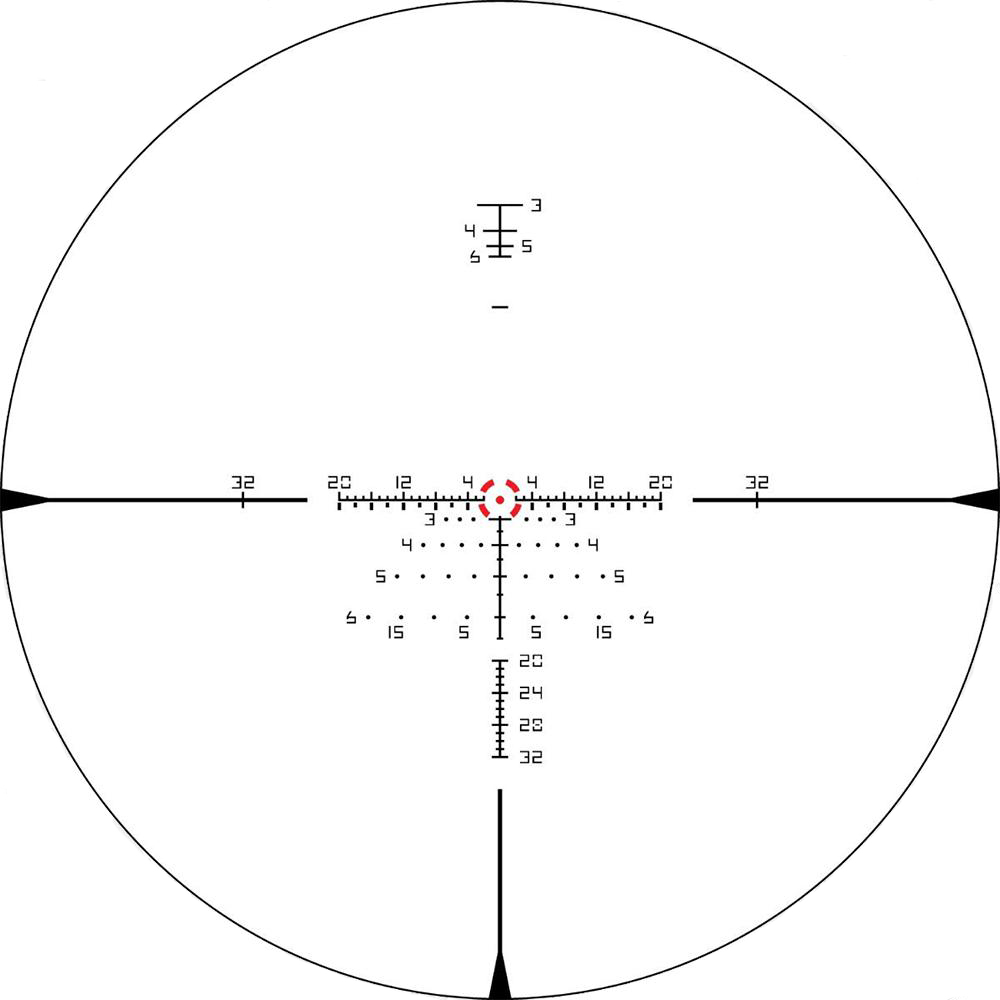
You’re out in the field, and you’re aiming at the broadside of a buck.
Wait for the deer to have his leg extended and aim for a third of the way up his body, right behind the leg.
That is where the heart and lungs are.
This shot gives you room for error because of all the vital organs in the area.
With this shot, it is better to shoot a little high than a little low.
If the deer you’re hunting is looking toward you, you should aim for the lower quarter of their chest.
A deer’s lungs and legs are the best tools they have for escaping.
You want to take out the lungs because that will result in a quicker death for the deer.
Never forget the importance of respecting the animal you’re going to make a meal out of.
Texans have their own special spot to shoot a deer for a quick death.
Your deer will need to be facing away from you with its butt showing.
Use that tail of theirs to make the perfect marker for the “Texas Heart Shot“.
By shooting straight through the tail, you will be hitting the aortic artery and puncture the heart and lungs, which will lead to internal bleeding.
Plus, their white, little tails make it easier to see exactly where you need to shoot.
Isn’t it a great day not to be a deer?
NEXT: 50 Words That Begin And End With T (And How To Use Them)


 The crew from Schumacher’s deer camp
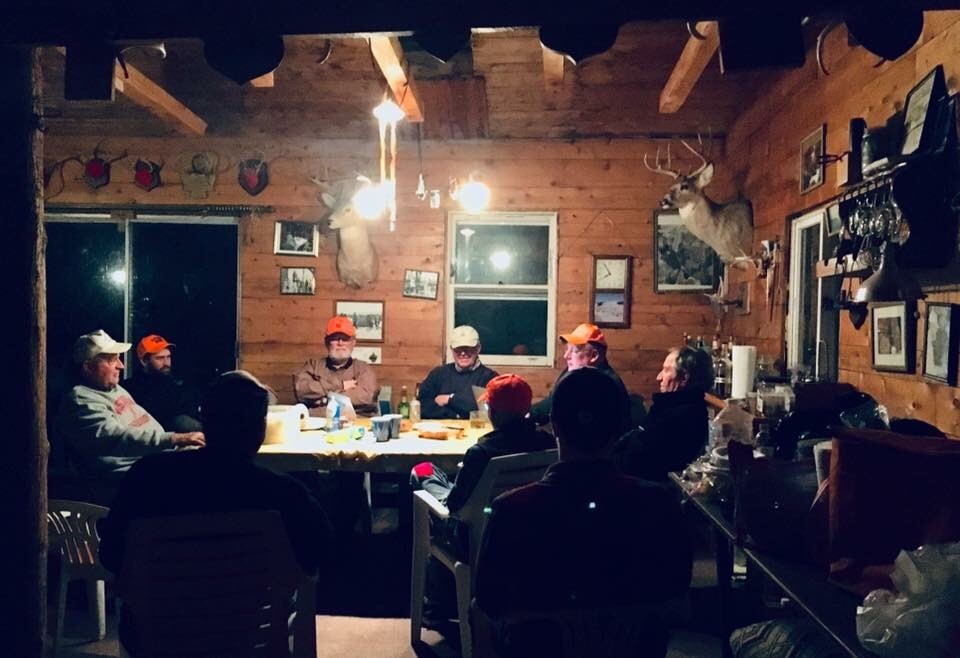 Submitted by Lucas Karls. The cabin was built from the trees on the property over 30 years ago. Each log was handled 14 times before the project was complete.
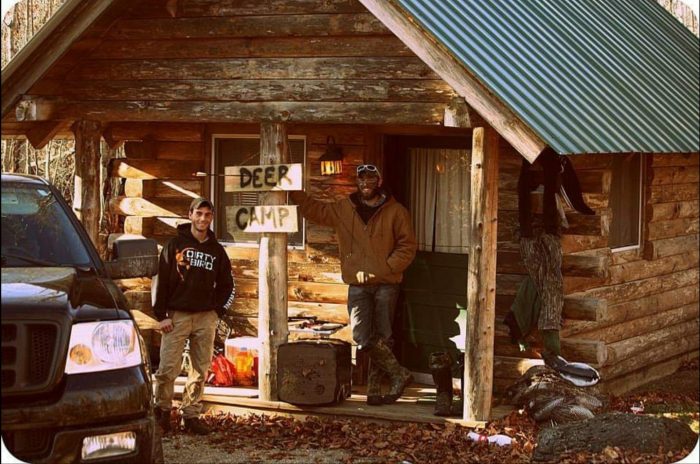 Mitch Goeck’s Wisconsin Deer Camp
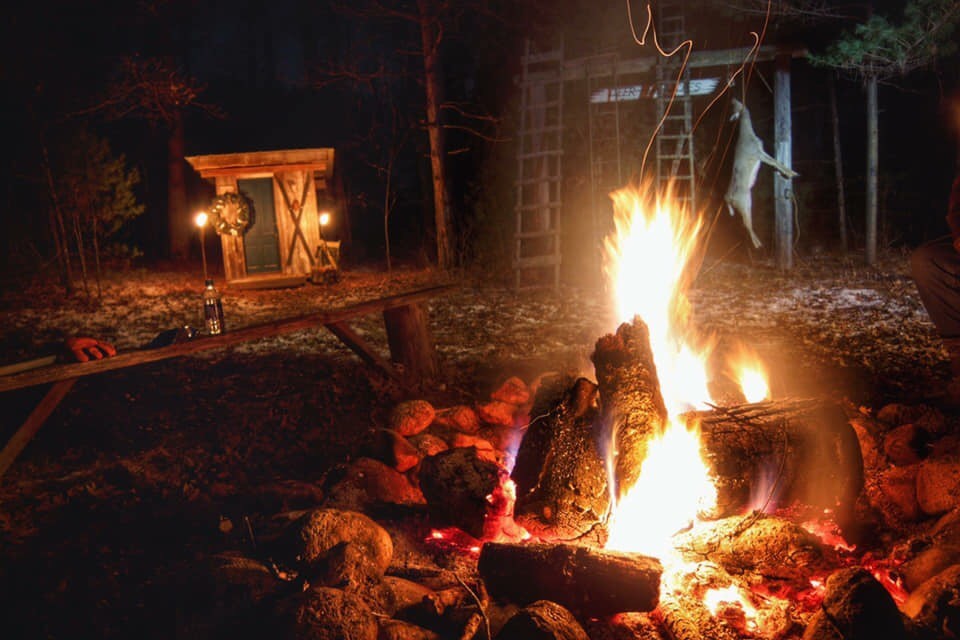 Garrett Meilinger’s family deer camp
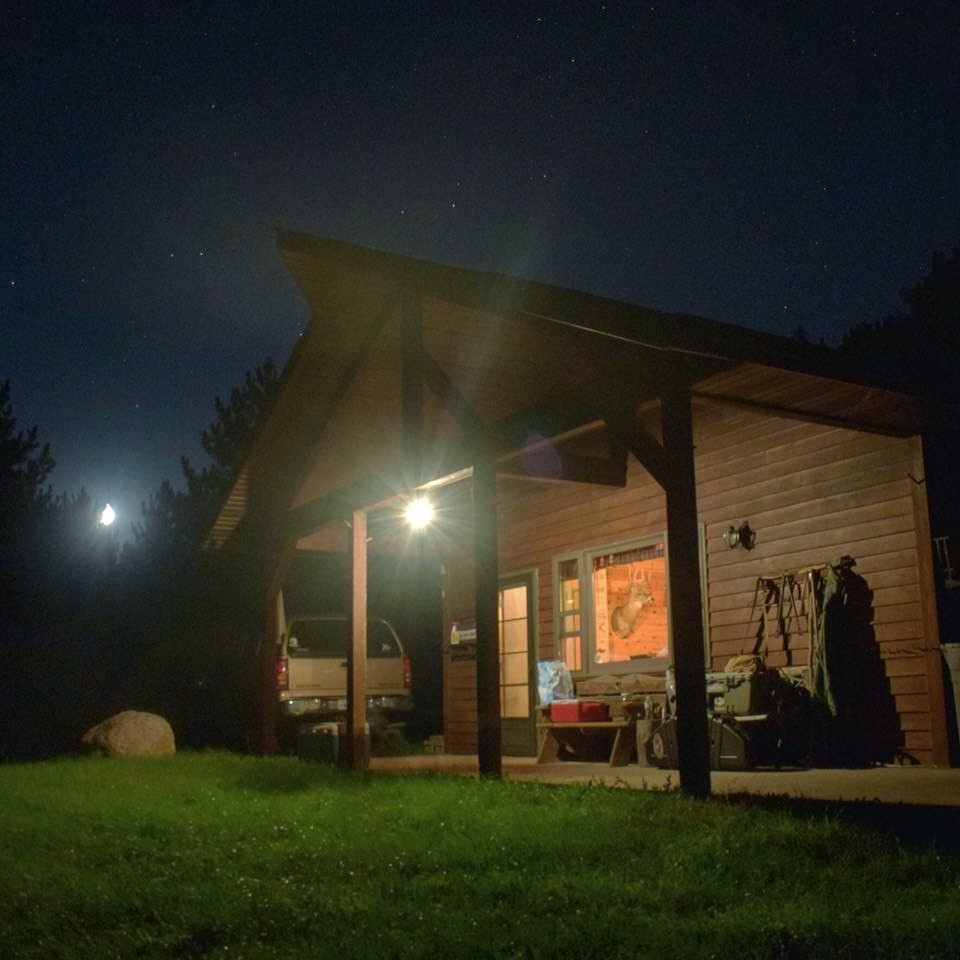 Nathaniel Melton’s family deer camp
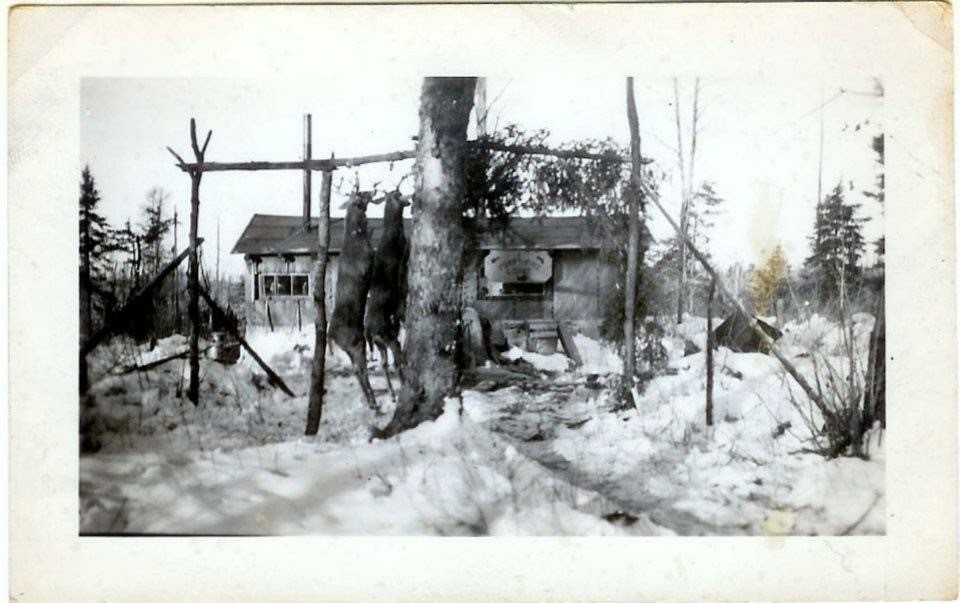 Hamm Camp, Loretta, WI
 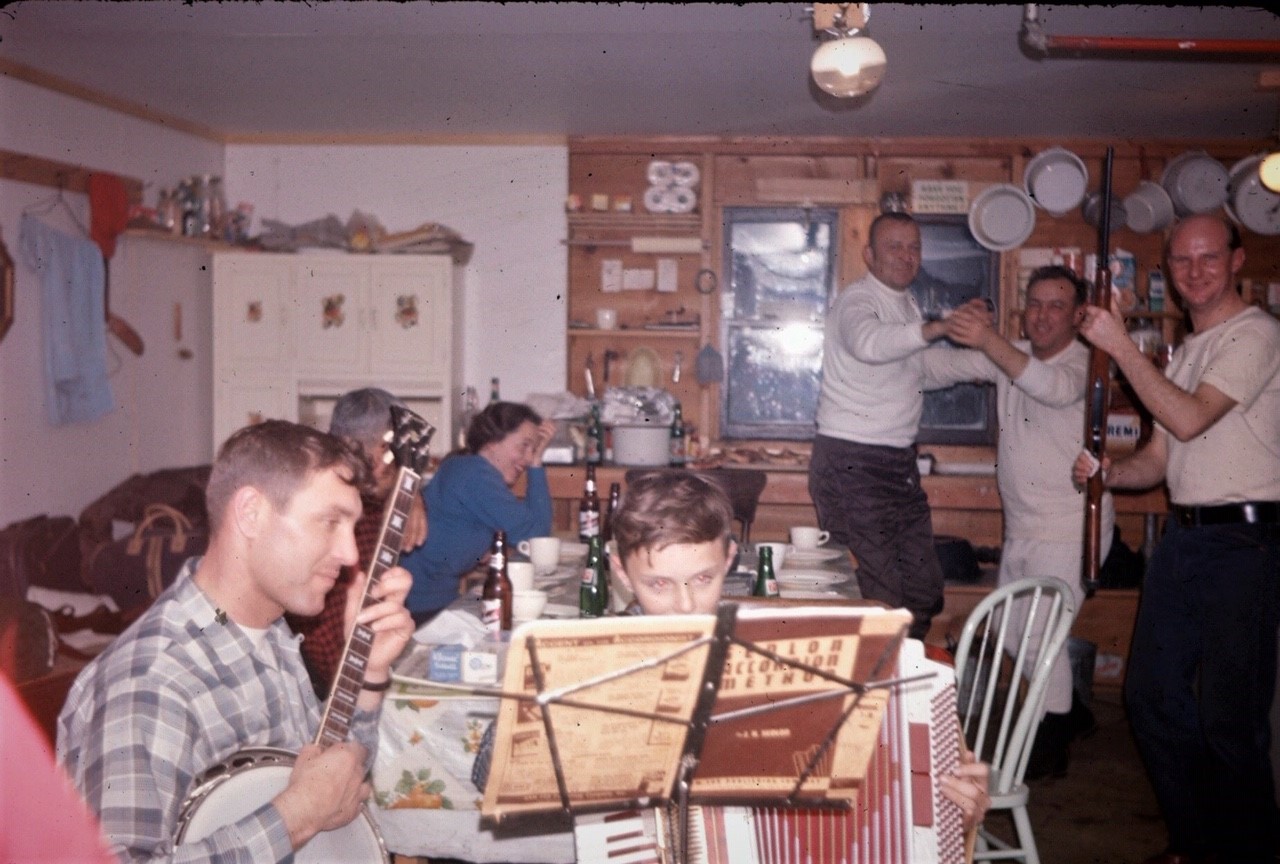 Hamm Camp
 The women of the Hamm Camp, Loretta, WI