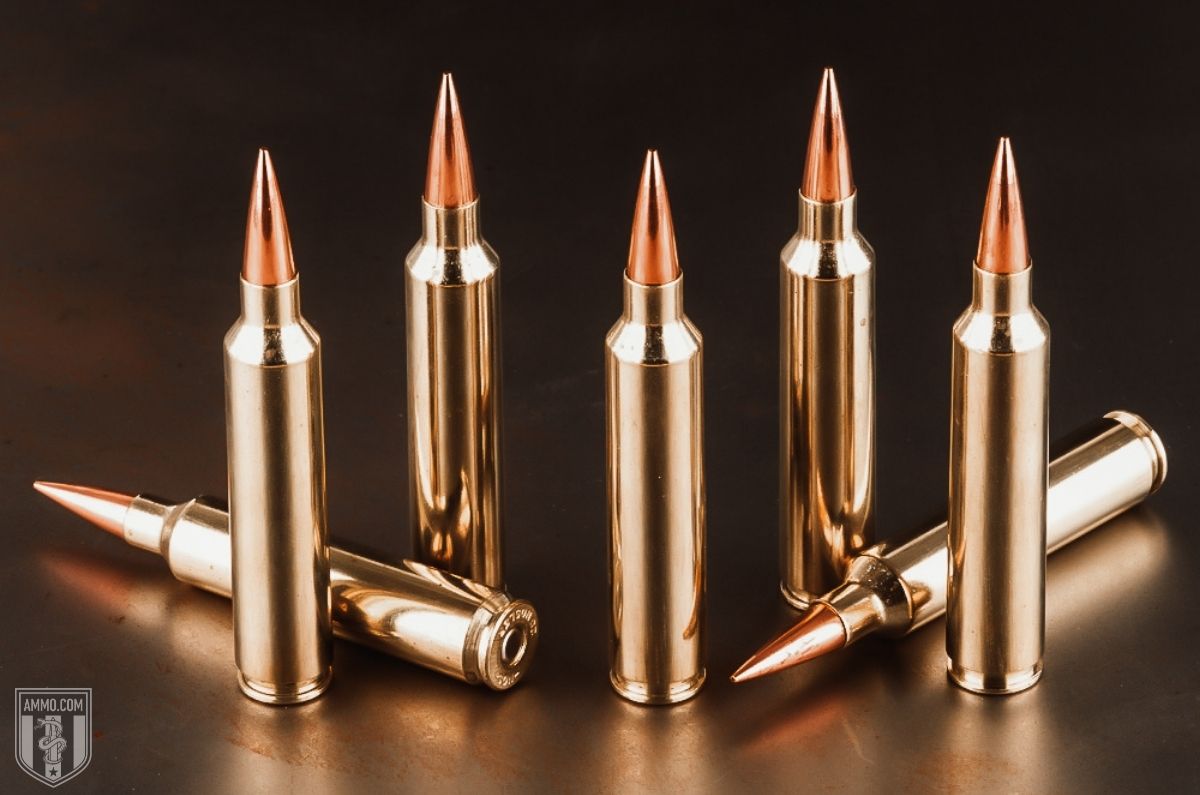
The 28 Nosler and Hornady 300 PRC are two centerfire rifle cartridges that were developed for long range shooting and hunting. They represent the pinnacle of 21st Century ballistic technology and development that were designed to hit targets at ranges of over 1,000 yards while maintaining sub-MOA accuracy.
Long range hunting is not a new concept, for decades hunters have been relying on cartridges like the 300 Winchester Magnum, 7mm Rem Mag, and 300 Weatherby Magnum to reach out past 500 yards. Although these rifle cartridges are effective at taking big game, their chamber designs limited the types of bullets that could be used.
Hunters wanted access to longer, more aerodynamic bullets to maximize downrange performance, and the 300 PRC and 28 Nosler were designed from the ground up with these bullets in mind.
How then are you to decide which cartridge is best for your style of shooting or unique hunting needs?
In this article, we will evaluate the 28 Nosler vs 300 PRC to help you understand the differences between the two and give you a clearer idea of which cartridge is best for your next hunting rifle.
What is the difference between 28 Nosler and 300 PRC?
The primary difference between the 28 Nosler and the 300 PRC is that the 28 Nosler fires 0.284” diameter bullets compared to 0.308” for the 300 PRC. Also, the 28 Nosler has higher case capacity and will generally have higher muzzle velocity than the 300 PRC.
Cartridge Specs
When evaluating centerfire rifle cartridges, it’s a good idea to analyze the cartridge specs to gain more knowledge of each.
Both cartridges draw their heritage from rounds designed to hunt large or dangerous game. Hornady developed the 300 PRC from the lesser known 375 Ruger cartridge while the 28 Nosler comes from the 404 Jeffery. The 404 Jeffery sired the majority of Nosler’s cartridge line, namely the 30 Nosler, 26 Nosler, and 33 Nosler as well as other cartridges like the 7mm Remington Short Action Ultra Magnum (SAUM).
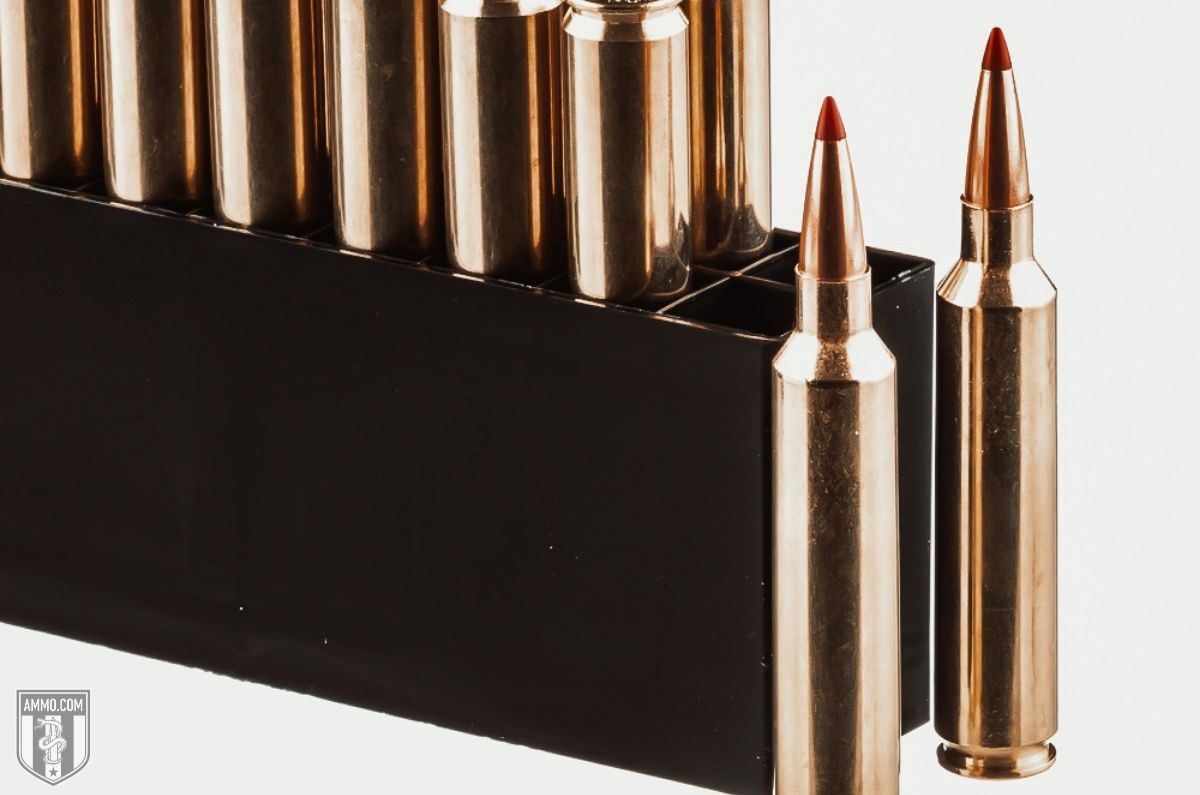
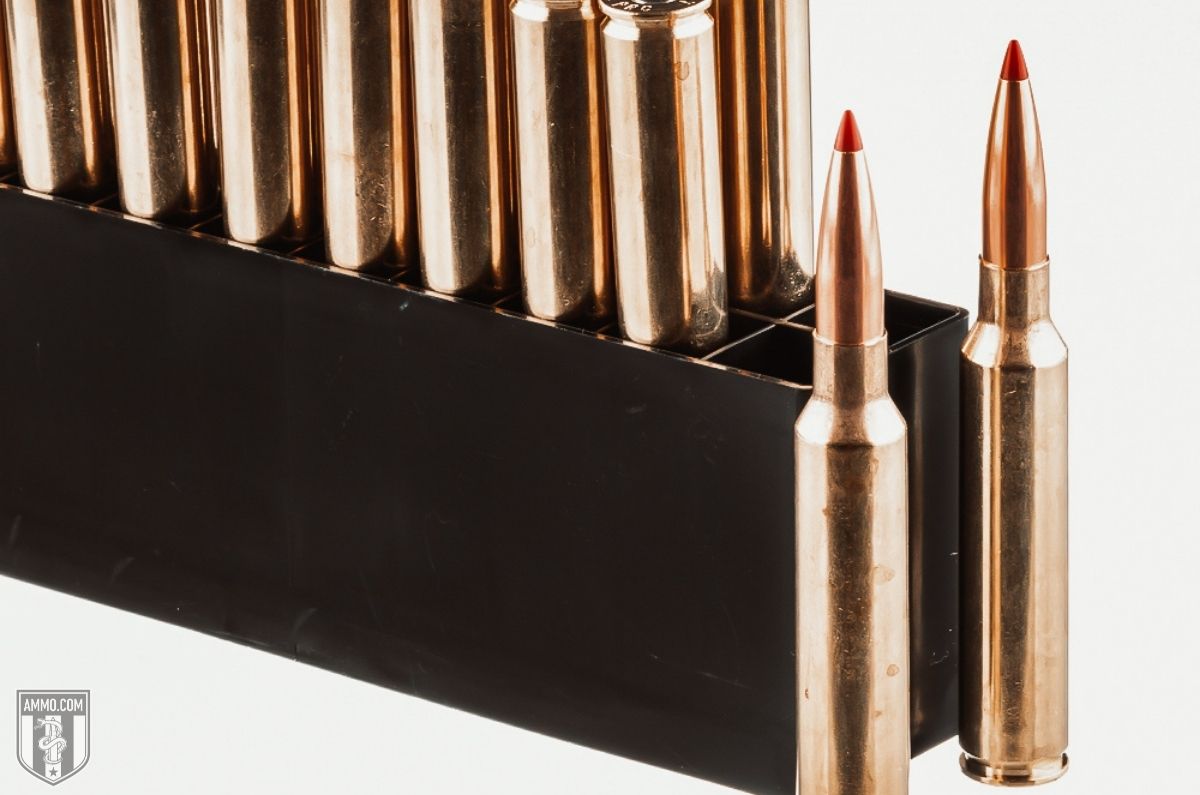
One of the most prominent differences between the two is that the 28 Nosler fires a bullet diameter of 7mm or 0.284” while the 300 PRC fires the more common 30-caliber or 0.308” diameter bullets. The 300 PRC fires heavier bullets between 190 and 225 gr while the 28 Nosler fires lighter bullets typically between 160 and 185 grains.
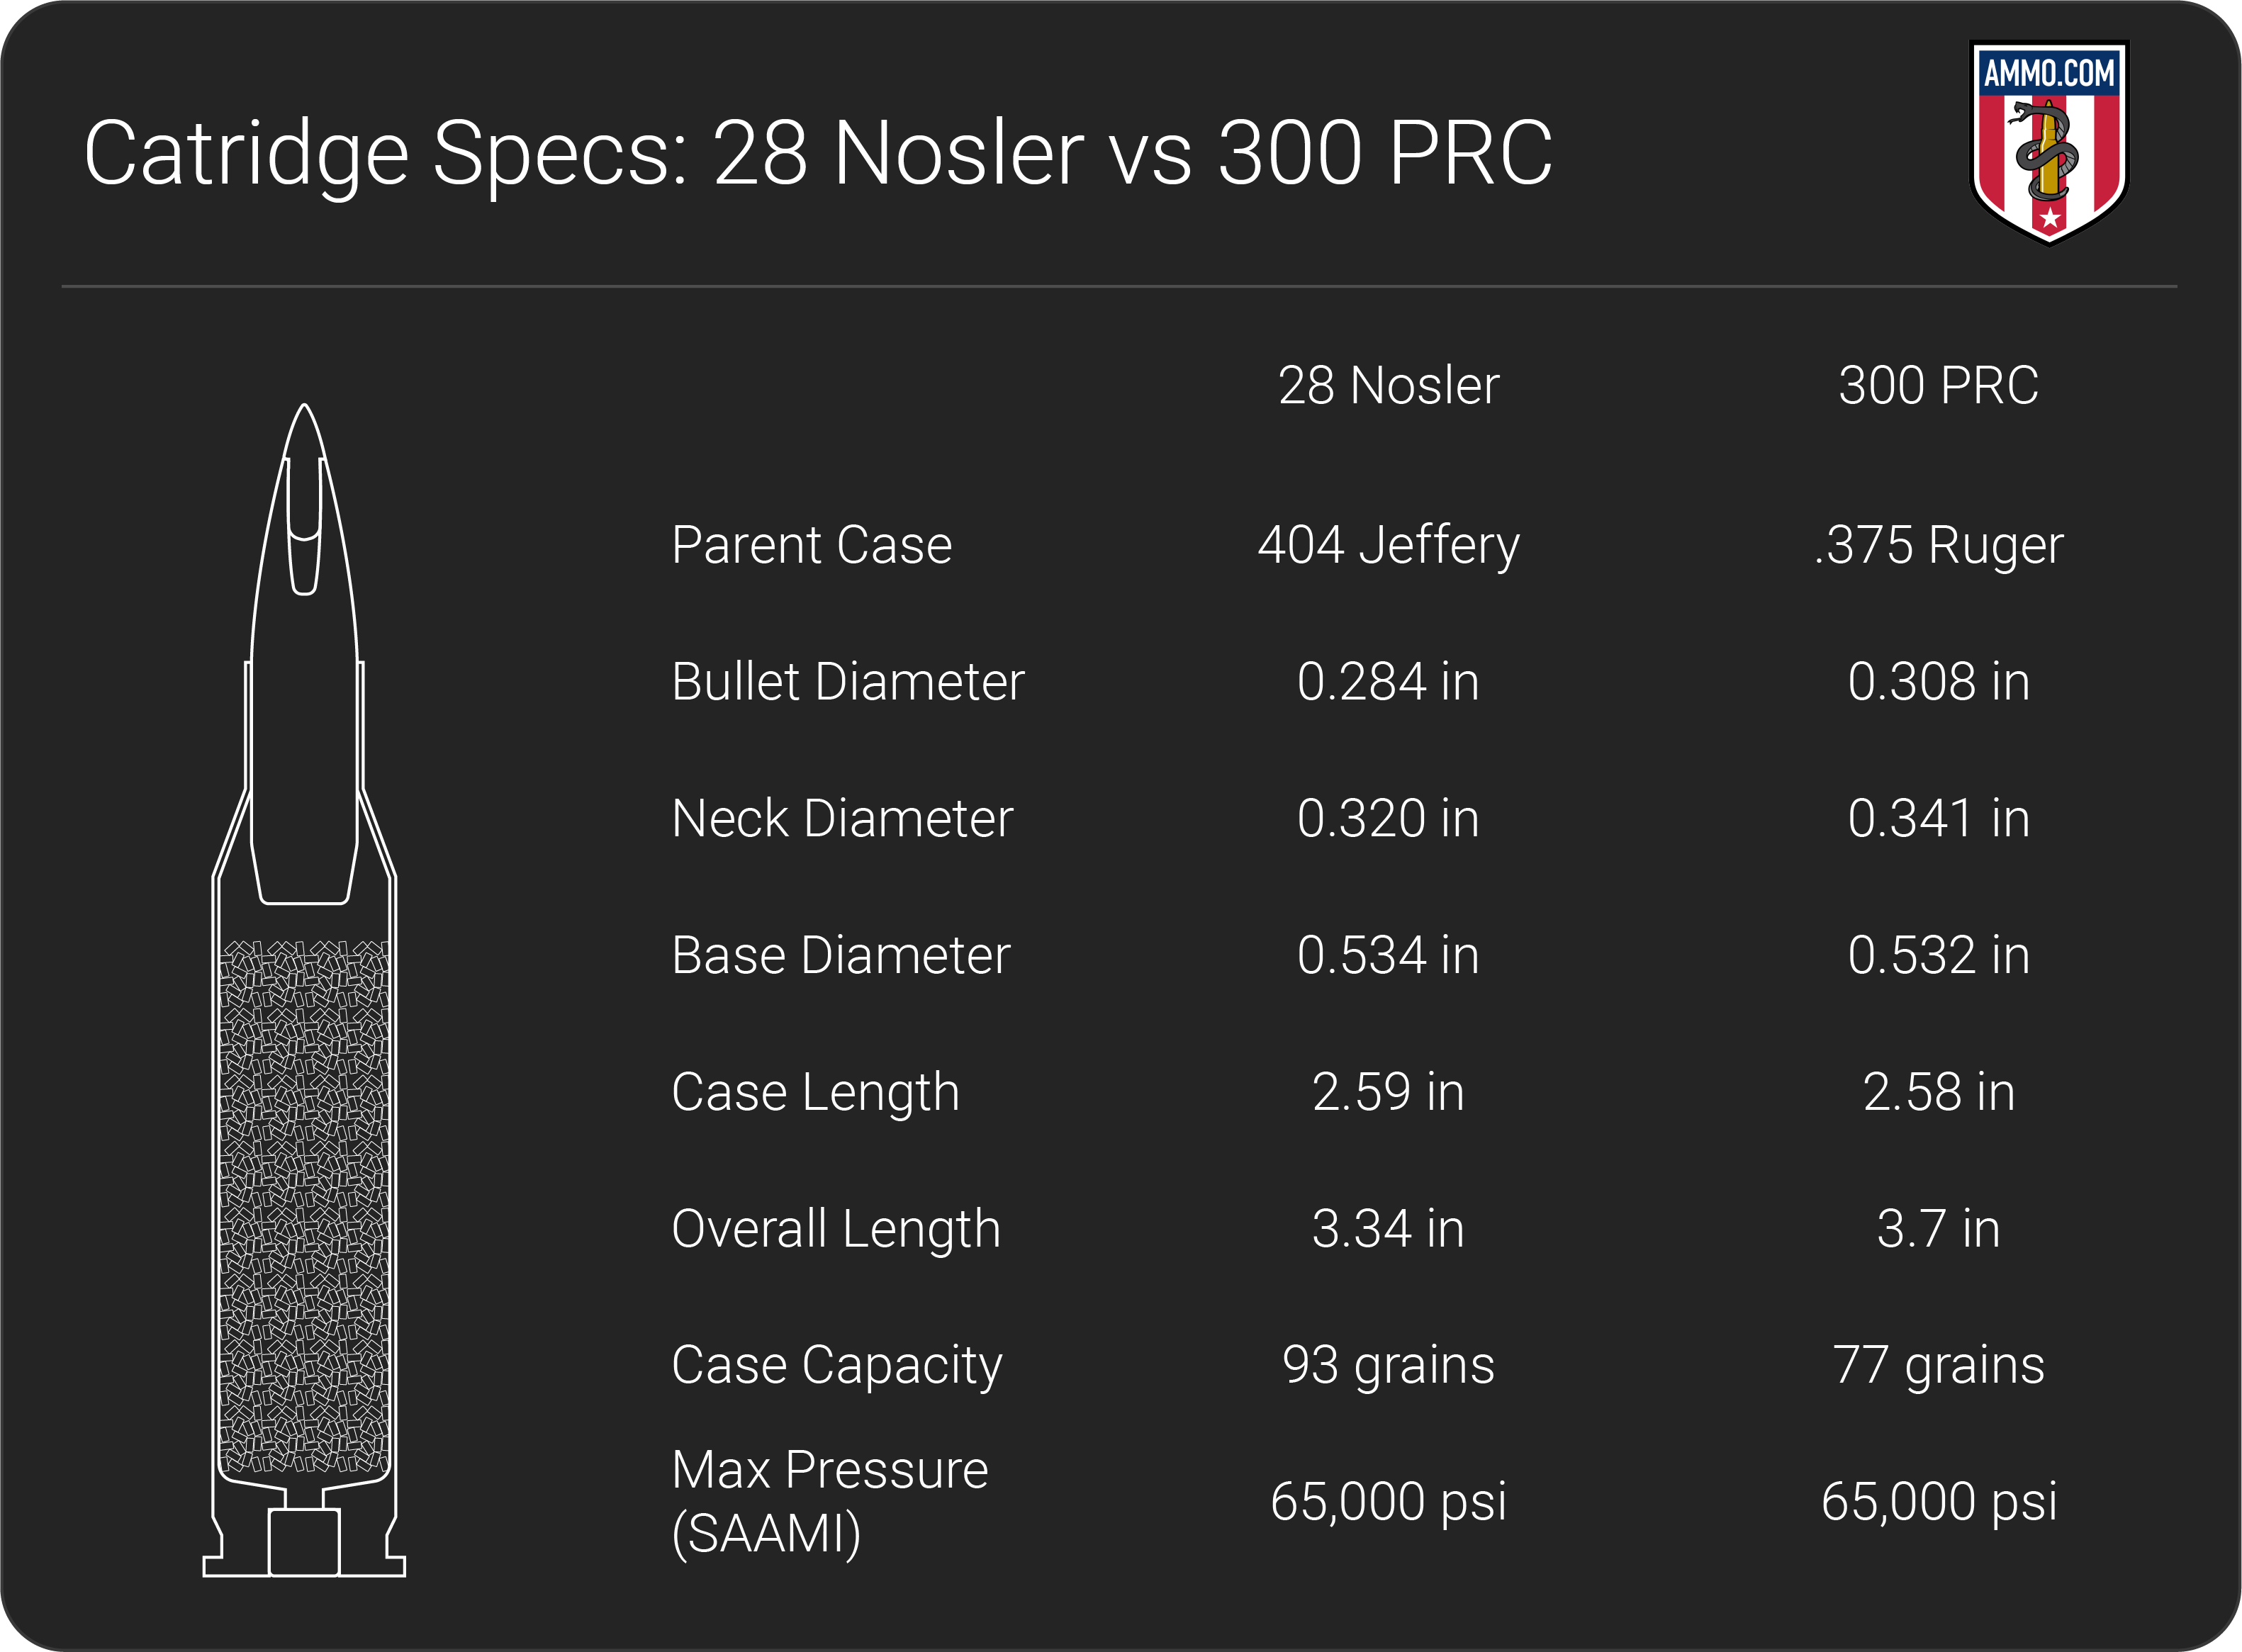
Another striking difference between the two cartridges is their overall length. The 3.7” long 300 PRC towers over the shorter 28 Nosler at 3.34” despite both having nearly identical cartridge case lengths at 2.58” and 2.59”, respectively.
This difference in overall length demonstrates a major difference in design concept between the two rounds. The 28 Nosler was designed to fit into a standard long action like the 30-06 Springfield, while the 300 PRC fits into a magnum action like the 338 Lapua Mag.
When Hornady set out to build the 300 PRC, they developed what they considered the ideal 30-caliber round and then built the rifle action around it. In contrast, Nosler developed the 28 to fit into a long action as it is lighter and has a shorter bolt throw. This will mean that follow up shots will typically be faster with a 28 Nosler and rifles for the cartridge will be lighter than those for 300 PRC.
Both cartridges require the use of a magnum bolt face thanks to their base diameter of 0.532” for the 300 and 0.534” for the 28.
Although the maximum chamber pressure for both cartridges is 65,000 psi per SAAMI specs, the 28 Nosler has considerably more case capacity at 93 gr compared to 77 gr for the 300 PRC.
Recoil
Recoil is an important consideration when purchasing a new rifle as a round with heavy recoil will be more difficult to control and will slow your rate of follow up shots.
Recoil is affected primarily by muzzle velocity (FPS), powder charge, bullet weight, and rifle weight.
For this recoil comparison, it is impossible to achieve a pure “apples to apples” comparison as the 300 PRC fires heavier bullets than the 28 Nosler. The lightest factory load available for the 300 is the Hornady Outfitter firing a CX polymer tip 190 grain bullet traveling at 3,000 fps. The 175 gr AccuBond Long Range traveling at 3,125 fps will be selected for 28 Nosler.
The Savage 110 will be the test firearm as it has configurations for both calibers and weighs around 8.7-pounds.
Given these parameters, the 300 PRC will have 32.9 ft-lbs of free recoil while the 28 Nosler will have 32.3 ft-lbs of free recoil. In this case, both rounds have almost the same free recoil energy.
However, the 300 PRC was designed to fire 200+ grain bullets, and the 212 gr ELD-X is their recommendation for big game hunting. Traveling at 2,860 fps, the 212 gr load will have a free recoil of 36 ft-lbs.
Anything over the 20 ft-lbs threshold is generally considered heavy recoil, which is why many rifles for both cartridges will come with a muzzle brake installed from the factory. A muzzle brake works by redirecting gasses from the burned gunpowder to help reduce felt recoil.
However, the 28 Nosler will generally have less recoil than the 300 PRC as the 28 is firing lighter bullets.
Barrel Life
The 300 PRC will generally have a longer barrel life than the 28 Nosler.
When a cartridge is fired, the powder charge is ignited to push the bullet down the barrel. The resulting flame touches not only the base of the bullet, but the rifling as well. Particularly vulnerable is the rifling at the mouth of the chamber.
Heat is the enemy of barrel life, the hotter you get your barrel the faster the rifling will begin to wear out.
Both the 300 PRC and 28 Nosler are know as being tough on barrels, however the increased powder charges of the 28 are particularly brutal.
It should be noted that most hunters will not “shoot out” a barrel for multiple seasons with either cartridge. Those who report short barrel life are typically high-volume competition shooters that are shooting near maximum charge handloads to achieve as much muzzle velocity as possible.
To increase your barrel’s lifespan, it’s best to run either factory ammo or handloads below maximum charge. Furthermore, allowing the barrel to cool between strings of fire will also help extend your barrel life.
However, many shooters report a loss in peak accuracy for 28 Nosler around the 800-round mark, while the 300 PRC can last near 1,500 rounds before accuracy begins to suffer.
The reason for this massive difference is that the 28 fires a smaller diameter bullet with a larger powder charge. This means that all the additional heat is focused on a smaller area which increases erosion of the rifling.
Although most hunters should not experience any difference in accuracy for multiple seasons, a 300 PRC will typically have longer barrel life than a 28 Nosler.
Muzzle Velocity, Kinetic Energy, and Trajectory
Browse any shooting or hunting forum and you find tons of posts expounding on the benefits of 300 PRC ballistics or that 28 Nosler ballistics are the best in the business. This can create a lot of confusion among new shooters, so let’s take four of the most popular factory loads on the market and see how they stack up against each other!

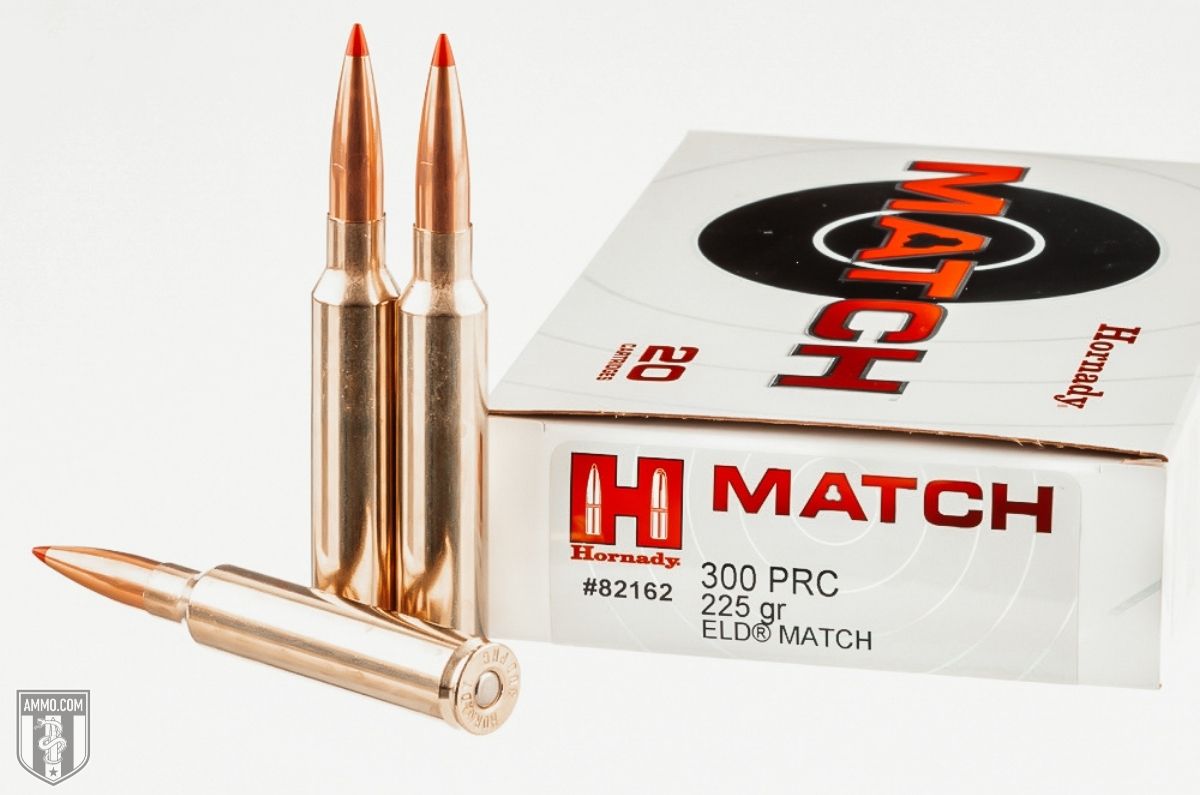
For this comparison, we will analyze the Hornady 190 gr CX and 212 gr ELD-X offerings for 300 PRC. The 225 gr ELD Match load could also be considered, but as this load is designed for long-range target shooting and not a hunting cartridge, it was excluded. For 28 Nosler, the 160 gr Ballistic Tip and 175 grain AccuBond Long Range loads will be compared.
In terms of muzzle velocity, the Nosler rounds were superior to the Hornady factory ammo. Thanks to the added case capacity, the 160 gr Ballistic tip left the muzzle at 3,200 fps and 3,125 fps for the AccuBond. Comparatively, the 300 PRC 190 gr CX load has a muzzle velocity of 3,000 fps and 2,860 fps for the 212 gr ELD-X.
Both rounds have an incredibly flat trajectory that surpasses even the 6.5 Creedmoor and 300 Win Mag. However, the increased muzzle velocity of the 28 Nosler gives it a flatter trajectory than the 300 PRC by a respectable margin.
Perhaps the most interesting data point is how close the two Nosler rounds are at 800 yards, as they are only separated by 5.1” of bullet drop at -132.8” (160 gr) and -127.7” (175 gr). The 300 PRC Hornady loads experienced -147.3” (190 gr) and -154.9” (212 gr) of bullet drop at 800 yards.
Although the 28 Nosler may have superior ballistics in terms of muzzle velocity and trajectory, the 300 PRC has it beat in terms of kinetic energy. At 3,850 ft-lbs of muzzle energy, the 212 gr Hornady ELD-X round has the highest kinetic energy of all four selections of factory ammo at 0 through 800 yards.
The 28 Nosler is no slouch when it comes to kinetic energy though, as 3,637 ft-lbs for the 160 gr Ballistic Tip and 3,794 ft-lbs for the 175 gr AccuBond is nothing short of impressive. The 175 gr AccuBond in particular is very efficient at retaining its kinetic energy over distance, as it only trails the 212 gr ELD-X at 1,597 ft-lbs at 800 yards.
Ballistic Coefficient and Sectional Density
The 300 PRC has a slight edge over the 28 Nosler in terms of ballistic coefficient and sectional density.
Ballistic coefficient (BC) is a measure of how aerodynamic a bullet is and how well it will resist wind drift. Sectional density (SD) is a way to evaluate the penetration ability of a bullet based on its external dimensions, design, and weight.
Both rounds were developed with a high BC in mind. Nosler and Hornady wanted to create a cartridge that was extremely resistant to wind drift and having a flat trajectory. To achieve this, they built their cartridges around extremely aerodynamic bullet designs.
The 300 PRC 212 gr ELD-X and 190 gr CX from the previous section have a ballistic coefficient of 0.663 and 0.575, respectively. In contrast, the 160 gr Ballistic Tip has a BC of 0.531 while the 175 gr AccuBond has a higher BC at 0.648.
All four bullets have a high BC for their respective weight, meaning they will be extremely resistant to wind drift. However, the 300 PRC with its increased bullet weight, will buck the wind more efficiently.
In terms of sectional density, both cartridges are nearly identical. The 212 gr Hornady round has a SD of 0.319 while the 190 gr bullet measures at 0.286. In contrast, the 160 gr Nosler bullet has a SD of 0.283 and 0.310 for the 175 gr AccuBond.
With SD values this close, it is unlikely that a hunter nor a mule deer will be able to discern any difference in terms of penetration.
Hunting
Both the 300 PRC and 28 Nosler make excellent long range hunting cartridges for medium to large game like whitetail, mule deer, antelope, elk, and black bear.
The amount of kinetic energy that both cartridges bring to bear is impressive, with some loadings being capable of ethically harvesting an elk at 800 yards. This gives hunters an incredible amount of flexibility of when and where they can hunt.
Although both rounds are capable of long range hunting, proper practice needs to be done to ensure a clean kill on any animal you shoot at these distances.
Neither the 300 PRC nor 28 Nosler are suitable for varmint hunting as they are way too powerful for these small game animals. For this type of hunting, we would recommend a smaller (and less expensive) cartridge like the 223 Remington, 22-250, or 22 LR depending on the varmint in question.
For big game, it’s hard to say that either cartridge is superior to the other. Both have adequate kinetic energy and flat trajectory for long-range shooting. The 28 Nosler has slightly less recoil, which is ideal for longer range shots, while the 300 PRC has slightly more kinetic energy, which is good for ensuring a clean kill.
The bottom line is that both rounds are effective big game hunting cartridges so long as your shot placement is adequate.
Ammo and Rifle Cost/Availability
The 28 Nosler and 300 PRC are still relatively new cartridges on the market compared to old standbys like the 300 Win Mag, this means typically corresponds to low ammo availability and limited options in terms of different load options.
This couldn’t be more true than for the 300 PRC, as there are currently four different ammo options for it available on the market (three from Hornady and one from Federal). However, the 28 Nosler has considerably more factory ammo options at the time of writing. Most 28 Nosler ammo come from Nosler itself, however Hornady just released a new 162 gr ELD-X load while Browning has three different options available.
Although the Nosler round might have 3x more options available to its name, those rounds are typically more expensive than 300 PRC factory loads.
On average, 300 PRC will cost around $3/round, which is in stark contrast to Nosler factory ammo which runs over $5/round. The Hornady and Browning options for 28 Nosler are slightly less expensive at $4/round, but the 300 PRC is clearly less expensive to shoot.
When it comes to firearms, bolt action rifles with 20+” barrel lengths are the only options for both cartridges at the time of writing. As the 300 and 28 were built for long range precision shooting, a bolt action rifle that maximizes the capabilities of each is preferred.
Rifles are available for both calibers from Savage, Bergara, Christensen, and Browning. For precision rifle shooting (PRS) competitors, long range competition-ready rifles for 300 PRC are available from Ruger, Savage, Barrett, and others.
One other aspect to consider is rifle cost, as most all standard hunting rifle offerings will run you close to $1,000 or more for each cartridge. Competition rifles for 300 PRC typically start around $2,000 and go up from there circa summer 2022.
Reloading
If you like to handload your own ammo, both cartridges offer you a lot of options for customization in terms of projectiles and powders to make the perfect reloads for your competition or hunting rifle.
Although currently there are only a few factory loads for both cartridges, reloading offers shooters considerably more versatility to tune your favorite 7mm or 30-caliber bullets to your rifle.
There’s no denying that there are many popular 7mm cartridges, such as the 7×57 Mauser, 7mm SAUM, 7mm-08 Rem, 7mm WSM, and the 7mm Weatherby Magnum. However, the 7mm cannot compare to the unabashed love affair that North America has with the 0.308” bullet diameter.
Some of the most popular cartridges in the USA fire 308-caliber, such as the 300 Win Mag, 308 Winchester, and 30-06 Springfield. This means that there will be considerably more reloading options in terms of bullets for the 300 PRC.
This is not to say that the 7mm is underrepresented, as virtually every bullet manufacturer like Norma, Barnes, Berger, Nosler, and Hornady have 7mm bullet options available for reloading your 28 Nosler. It just means that there are more options available for the 300 PRC.
In terms of reloading data, Hornady and Nosler provide detailed load data on their respective websites. Other powder manufacturers like Hodgdon also have published load data online.
Powder selection for both cartridges is fairly diverse, with Retumbo, H1000, and IMR 7977 being common between both calibers.
Sourcing brass for reloading might be a little trickier, as neither caliber is currently in military or police use and I’m guessing you don’t have a lot of 404 Jeffery or 375 Ruger brass just lying around to form your own cases! The best practice is to retain your brass from factory ammo or purchase new or once fired brass.
Reloading is a great way to help offset the rather steep cost of ammo for both cartridges and can really enhance your downrange accuracy if you plan on shooting long range.
Final Shots: 300 PRC vs 28 Nosler
The 300 PRC and 28 Nosler represent an evolution in long range rifle cartridge development. Instead of trying to make better bullets for old cartridges, Hornady and Nosler started with the ideal bullet and built the cartridge around it.
The 300 PRC is Hornady’s attempt to maximize the performance of the 30-caliber bullet. Utilizing incredibly sleek, high BC bullets, Hornady created a true magnum cartridge that can easily score hits at 1,000 yards and beyond.
The 28 Nosler came into the shooting scene riding off the coattails of the success of the 26 Nosler and sought to push the envelope of the 7mm bullet. Nosler wanted to create a hotrod magnum round that capitalized on the naturally flat trajectory of the 7mm round.
Deciding between the 28 Nosler and 300 PRC comes down to personal preference and your goals as a shooter. The 28 Nosler has less recoil and is flat shooting thanks to higher muzzle velocity at the cost of reduced barrel life. In contrast, the 300 PRC has slightly higher recoil and muzzle energy but has longer barrel life.
No matter which cartridge you choose, make sure you stock up on ammunition here at Ammo.com and I’ll see you on the range!
")
")
")
")
")


 Stir-frying cold rice prevents the grains from clumping. Add to the mix bite-sized chunks of fresh fish—the firmer the flesh, the better—and here’s a meal you can cook in one pot quickly. Use 1½ pounds of fish fillets, cut into bite-sized pieces.
 This is easier than falling off a mossy log. To make it even easier, buy cole slaw from your grocer, but you’ll miss the apple punch of the cider vinegar. A great thing about wrap sandwiches is that you can eat them with one hand, leaving the other hand free to grab a rod and set the hook.WRAPS


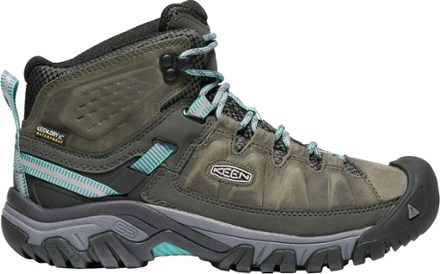 KEEN Targhee III Waterproof Mid Hiking Boots
 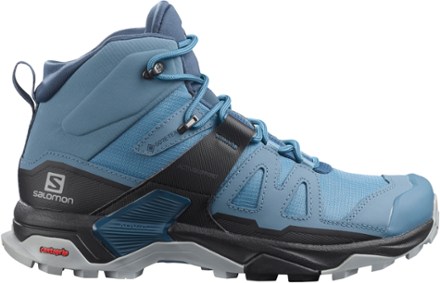 Salomon X Ultra 4 Mid GORE-TEX Hiking Boots
 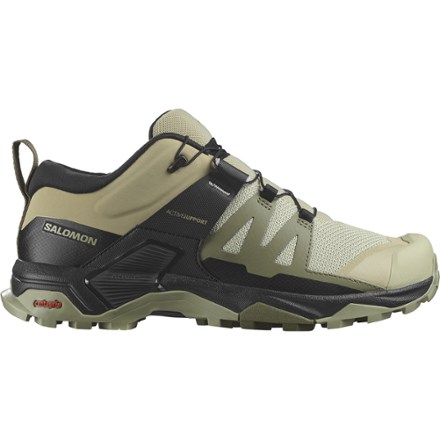 Salomon X Ultra 4 Low Hiking Shoes
 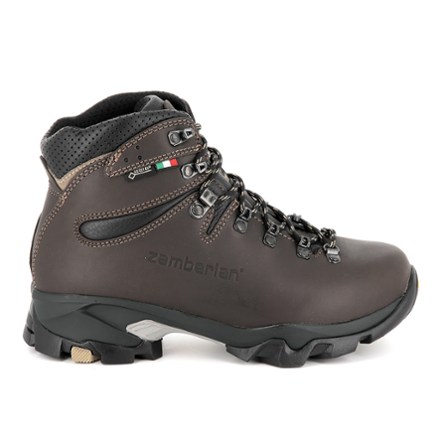 Zamberlan Vioz GTX Hiking Boots
 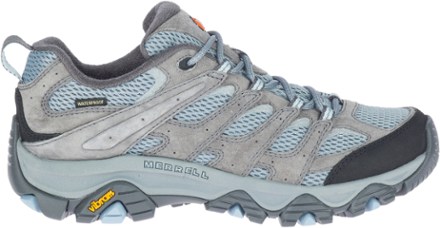 Merrell Moab 3 Waterproof Hiking Shoes
 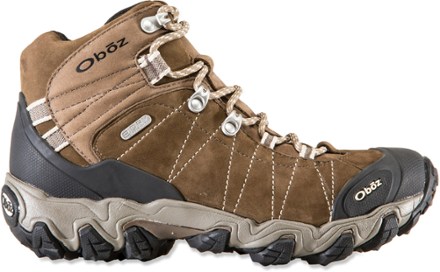 Oboz Bridger Mid Waterproof Hiking Boots
  La Sportiva Ultra Raptor II Mid GTX Hiking Boots
  Altra Lone Peak Hiker 2 Hiking Boots


