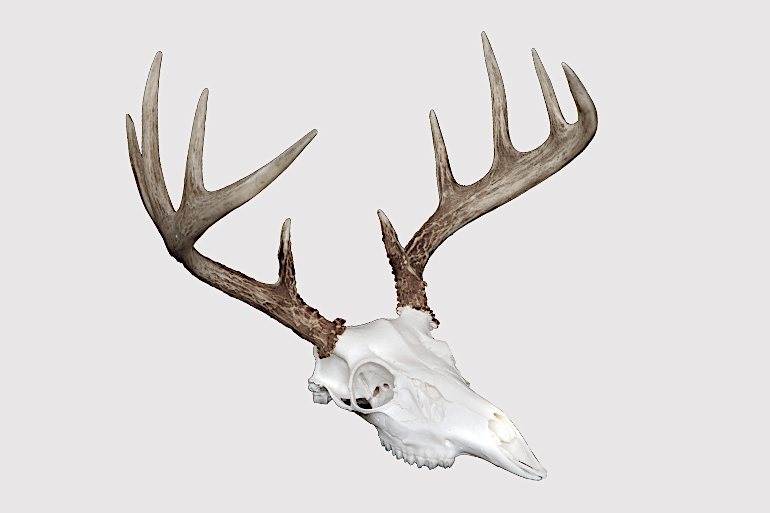
Shutterstock image
Taxidermy is a beautiful way to honor the animals and the hunts that have shaped some of your best memories. Every time I glance at the animal art in my home—from turkey spurs to big-game mounts to bear and zebra rugs—I pause and remember subtle details of each adventure that ultimately led me to nature’s greatest bounties.
However, when it comes to big-game animals, two prominent issues arise for any avid (and successful) hunter who has a taxidermy addiction: cost and space. Shoulder mounts or even full-body mounts are incredible, but one can quickly rack up several thousand dollars of investment in taxidermy, and real estate to park these beasts can quickly run out. This is where do-it-yourself European mounts become an ideal solution. The only thing they’ll cost you is a little bit of time and effort.
STEP 1: FLESH IT
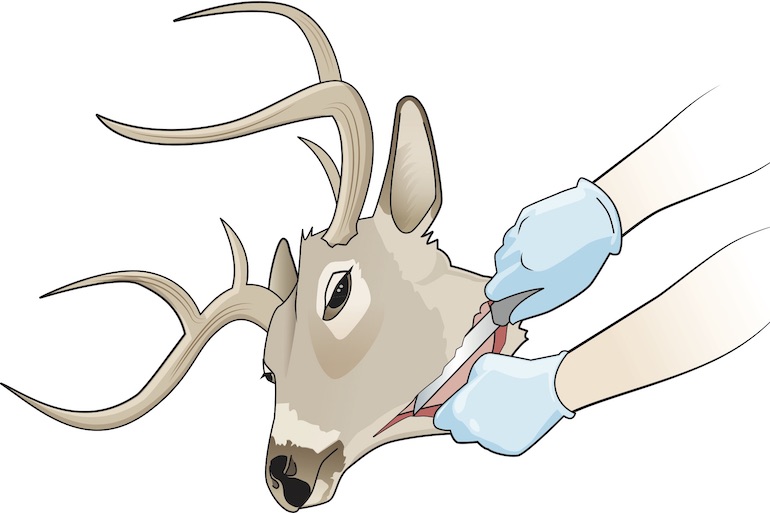
The critical first step in starting your DIY Euro mount is to remove all the flesh from the animal’s skull. You’ll want to start with a razor-sharp knife. Keep a sharpener handy (Work Sharp makes a number of excellent compact sharpeners) to maintain your blade edge throughout this process. If possible, remove all the external flesh, eyeballs and brain shortly after the kill. If time isn’t a luxury, freeze the entire head until you’re ready to flesh.
Did you forget about a head in your garage or backyard that has started to rot? Not all hope is lost. Soak the head in a container of water and/or lightly boil it for a short amount of time to remove most of the unbearable filth before completing the fleshing process. The soak is also a great way to “quarantine” the head—versus continuing to let it rot and stink in the open—until you’re ready to deal with it. Putting an already rotting head in a freezer is not a good idea.
STEP 2: COOK IT
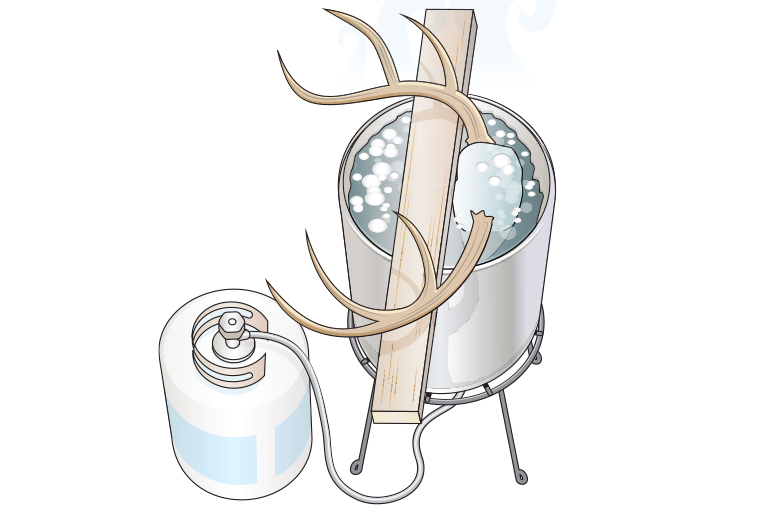
Once the skull has been fleshed, prepare a large pot of water in which to simmer it (a full boil can potentially loosen and damage sensitive parts of the skull or crack the teeth). A turkey fryer kit (approximately 20-quart stock pot and propane burner) works great for this step. The skull will need to be fully submerged with the antlers above water. Protect the antler bases by covering them in plastic wrap or clear packing tape. Place a short length of lumber between the main beams of the antlers and the pot to ensure the antlers don’t develop burn lines on the pot edge. Cooking will take 2 to 4 hours, with the goal being to loosen all remaining flesh and tissue for the next step in the process.
STEP 3: CLEAN IT
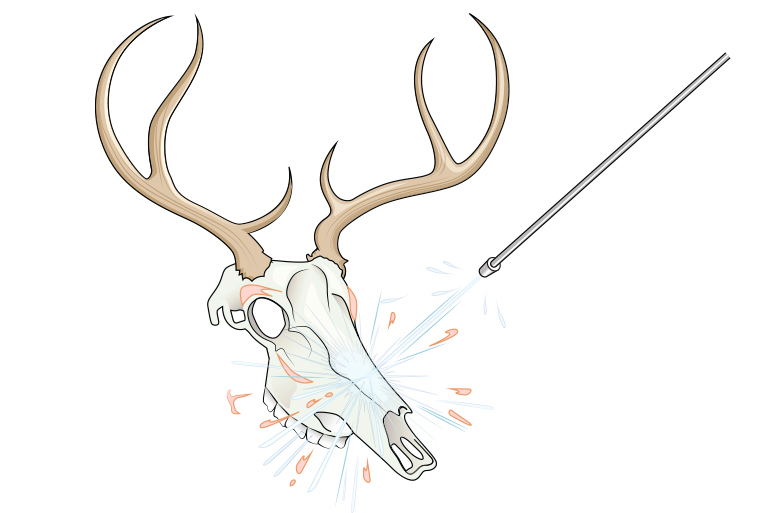
While the skull flesh is still moist from cooking, use a power washer to spray off remaining flesh, including external meat, internal brain matter and particles in the nasal cavity. Use a rotating nozzle and be careful how much pressure you apply; start at a distance and slowly move closer. My 1,600-psi pressure washer works effectively for removing flesh without damaging the skull. Stick the nozzle in the brain stem and move it around to spray out stubborn brain matter.
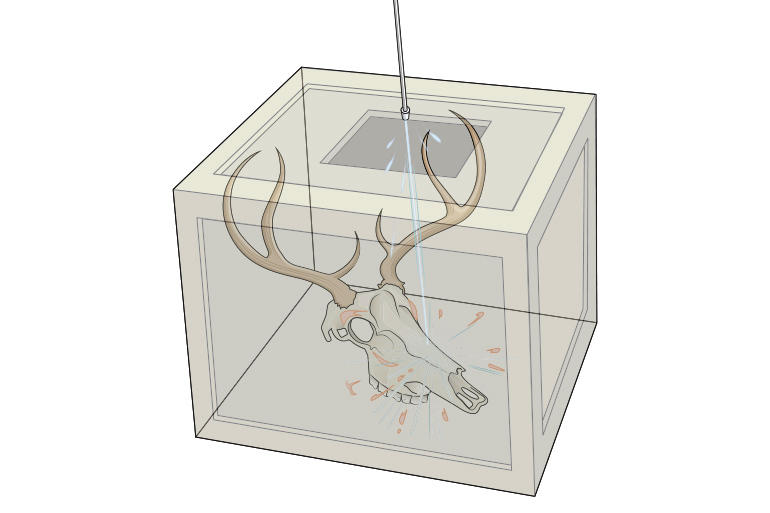
Want to keep this nasty situation contained and avoid getting sprayed? Build a wooden box with four walls and a top. Cut a small hole in the top, and spray the skull while it’s in the box. This is a particularly good idea in suburban environments.
You can use a variety of small tools—a knife, metal scrapers and nylon brushes, for instance—to help scrape away any remaining bits of flesh after the power washing is complete. Be careful not to scratch the skull or break any bones, especially around the delicate nasal cavity. When finished, thoroughly rinse off the skull or simmer it once more and allow it to air dry.
STEP 4: WHITEN IT
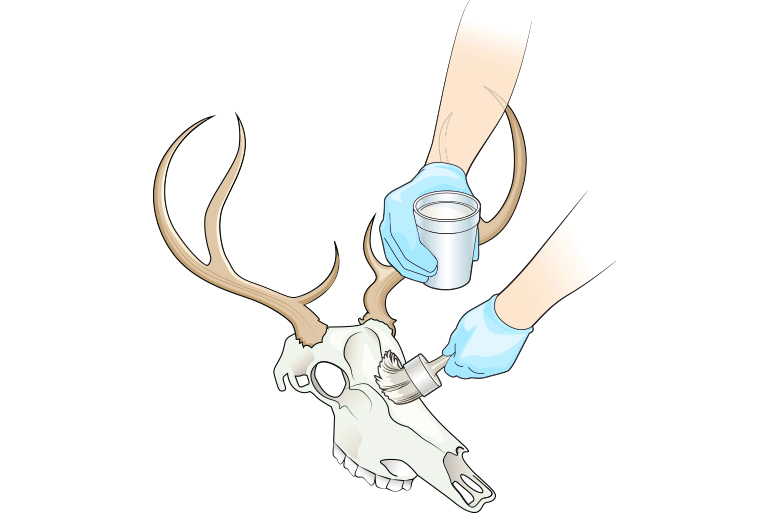
This fourth and final step is optional. If you’re going for a rugged, more natural look, you can stop after the cleaning stage. For a bright white skull, there are several whitening agents available that can be applied.
Perhaps the most popular skull whitener is 40-volume peroxide cream, which can be purchased from beauty supply or taxidermy shops online. Wrap the antler bases in tape or plastic wrap to keep them protected, then apply the cream to the entire skull with a paintbrush. Cover the coated skull with plastic wrap and allow it to sit for a day or two before rinsing. Repeat the whitening process once again if it’s not white enough for your liking.


