")
")
")
")
")


One of the most hotly debated topics among whitetail land managers on social media is whether deer mineral products actually work. Let’s get right to the heart of the matter and ask what is meant by the word “work”. I think this can be answered two ways; do they work to attract deer? Or do they work to help bucks grow bigger antlers?
Most “mineral” products marketed to deer hunters absolutely will attract deer but most will NOT “work” to grow bigger antlers no matter the advertising claims attached to them. As a deer hunter you need to consider the reason you are putting out mineral products for deer.
If your goal is to simply attract deer to a game camera location without any regards to how the product will help deer, then basically any product will probably work to some degree. In fact if this is your goal then you should probably just consider buying a bag of cheap stock salt at your local farm store. You will honestly get the same results at a fraction the price.
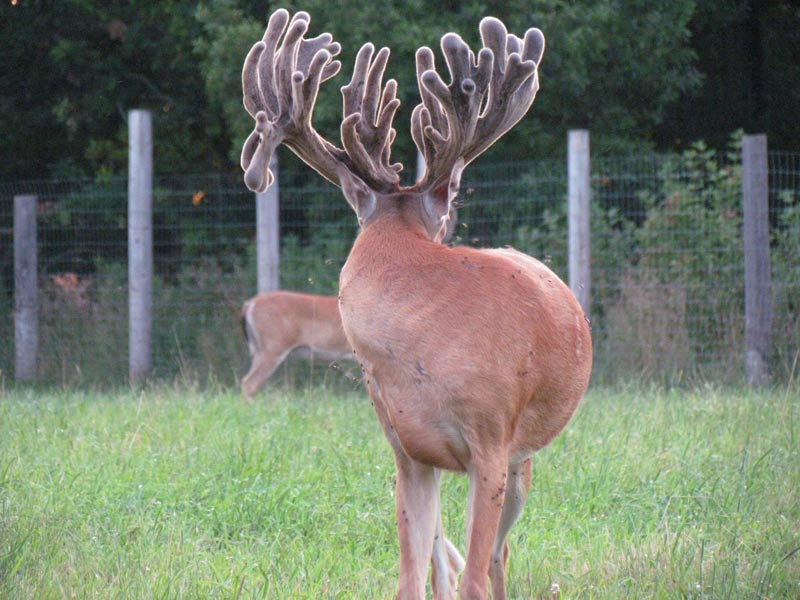
Now let’s look at the question that serious land managers really want to know; can mineral products help bucks grow bigger antlers. The answer is a definitive “YES”, but there are a lot of factors that need to be considered. It is not quite as simple as putting out minerals in the summer and magically seeing bigger bucks in the fall.

This chart shows that most mineral products marketed to deer hunters have gaping holes in their formulation. Most cannot possibly help increase antler growth. Click on chart for better view
Let’s start by addressing an argument that many nay-sayers throw up when they try to debunk the idea that deer minerals can help grow bigger antlers. They will state that there is no scientific research that shows minerals help grow bigger antlers. That’s true but to my knowledge there has also never been scientific research that proves minerals do not help with antler growth. The fact is, it is impossible for true scientific research to prove either way. You simply cannot feed a group of bucks mineral and know what size antlers they would have grown without it, or vice versa. Again, this type of scientific “proof” is simply not possible so we will have to rely on an open mind and common sense to help us draw conclusions.
By looking at the livestock industry it is very easy to see the value of minerals in animal diets. Essentially every livestock farmer or rancher in the United States uses minerals as part of their nutrition program. Volumes of research proves the value of minerals for increased growth rates, better reproductive performance and increased health of the animals receiving it. Think about it, these animals are being fed scientifically developed feed rations to maximize health and production and yet there is still many research proven benefits by also feeding them minerals. I think it is fairly easy to conclude that a whitetail deer consuming a random diet could also benefit from mineral supplementation.
In visiting with Real World Wildlife Products nutritionist Dr. Aaron Gaines, he provides the following perspective on mineral demand of whitetail deer, “The milk produced by a whitetail doe has twice the amount of mineral as cows milk, so if a farmer provides his cows with minerals why wouldn’t a serious whitetail land manager provide a mineral supplement to his deer herd as well?”. To take this a step further, Dr Gaines provided the following requirement comparison for a lactating doe vs. a buck that is growing antler; During a 60-day lactation period a doe needs around 215 grams of calcium and 166 grams of phosphorus. In comparison a buck that is growing antler (900 grams total weight) needs 199 grams of calcium and 98 grams of phosphorus. The take home message from this comparison is that does and bucks BOTH have a high requirement for calcium and phosphorus. It is easy to conclude that a whitetail deer consuming a random diet in the wild is no different than a cow grazing pasture; both benefit from mineral supplementation. Further, this does not even factor in the numerous micro-nutrients that whitetails also need which are often lacking in their diet.
Let’s look at this topic from another angle. The biggest whitetail antlers generally come from those regions of the country with the richest soils. Soils are essentially minerals. Those soils that grow the most productive farm crops also grow the biggest bucks. A farmer growing corn on the richest soils in the Midwest will supplement the nutrients available to his crop through fertilization. Even in these highly fertile soils any crop is limited by the required nutrient that is in shortest supply. The same principal applies to a buck growing antlers. To deny that minerals can help a buck grow a bigger rack is like saying a farmer gets no benefit from fertilizing his corn fields. Let’s also recognize that captive deer breeders growing giant antlers on their bucks are feeding minerals to their entire herd, both bucks and does.

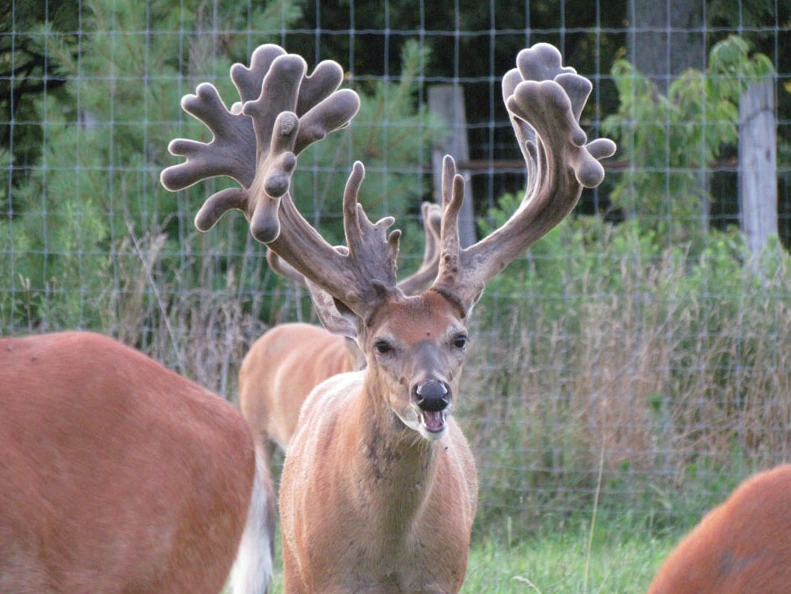
Captive deer breeders know that a good mineral supplement can increase antler growth on their bucks
I hope by now you are open to the idea that mineral supplementation absolutely can help a buck grow bigger antlers. We have only reached the starting point however because there is a whole lot more we need to understand in order to maximize the antler growth of the bucks on the properties we manage. It is a little more involved than just putting out mineral and thinking that your bucks will instantly start to grow bigger antlers.
We have to start by looking at the differences in mineral products. Most products marketed to deer hunters are simply high-salt mixes made to turn a big profit margin. They contain minimal amounts of beneficial minerals and in fact are almost always totally void of many of the required nutrients needed for antler growth. Because deer crave salt, they do consume these products and thus many hunters assume they “work”. The brutal truth is that while they do work to attract deer, they absolutely cannot possibly do anything to help a buck grow bigger antlers.
Let’s go back to the livestock industry for a bit. The mineral product that a farmer gives to his lactating dairy cows is a totally different mixture than what he would give to his beef calves. The various mineral blends fed to livestock have been scientifically formulated by professional nutritionists to maximize their benefits to the specific animal ingesting it. So why would deer be any different? A deer is not a cow so feeding mineral products developed for other species to whitetail deer is not the answer.
Clearly, research involving whitetail nutrition falls short of what has been done with livestock. Still, enough has been done that a quality whitetail mineral product can be formulated. The key is not only in which specific minerals, vitamins and other nutrients need to be included but just as importantly, at what levels and ratios. While I have seen a lot of “home mineral mixes” shared via the internet, all have gaping nutritional holes that will limit their effectiveness, if they even have any effect on antler growth at all.
Now let’s look at providing mineral products to wild deer and what one can expect as far as results in terms of increased antler growth. First of all, getting the most of a deer mineral supplementation program is a long term endeavor. I think a whitetail land manager needs to be looking 5 years ahead before the full benefits of mineral supplementation will be truly realized. Again, research from the livestock industry fuels my opinion on this.
Getting a buck to reach his full genetic potential in terms of antler growth starts before a buck is even born.
A study at Oregon State University focused on “fetal programming” of beef calves. The researchers were looking at the possibility of pushing calf performance throughout life by increasing the mineral intake of cows during pregnancy. In this trial researchers showed that calves born to cows that had received increased mineral supplementation performed better and were healthier throughout life than calves born to mothers without it. This is in spite of the fact that both groups of calves got proper mineral supplementation after birth. In other words, once a calf was born it was too late for him to catch up to other calves; he had already been programmed as a fetus. The calves born to cows getting the extra minerals grew faster and had fewer health issues all the way to slaughter. It is important to note that neither group of cows in this study were “mineral deficient” but instead one group simply got increased levels of minerals. What this study showed is that once a calf is born, it is too late to push him to his genetic potential in terms of growth.
After 25 years of research with captive whitetails I believe the same is true with bucks. To really get a buck to reach his genetic potential for antler growth, it really needs to start before he is even conceived! It is extremely important for a whitetail land manager to have his entire deer herd, including his does, on a high-quality mineral supplementation program if he expects to increase antler growth. It is those unborn fawns that will one day produce the full rewards of a quality mineral program in terms of antler production.
As mentioned, for nearly 25 years I owned a research herd of captive whitetails. I focused my studies on genetics and nutrition. Several years ago one of my research projects involved mineral supplementation. My goal was to determine if mineral supplementation affected antler growth to any noticeable degree. I started by acquiring 7 sets of twin buck fawns and then separated the twins into two pens so that I had 7 buck fawns in one pen and 7 in the other. Each buck had a twin brother in the opposite pen. Both pens received the very same feed ration out of the same feed bin. The difference was that the feed in one pen was top-dressed daily with a mineral product I was developing.

Each fall after the shedding of velvet I would tranquilize each buck and then score and remove his antlers. I would figure up the total inches of antler from each pen for comparison. Remember, every buck in pen A had a twin brother in pen B. Eventually I had to abort the study and while I will readily acknowledge that this study was very limited in its scope and not of sufficient breadth to stand up to scientific review, I did see enough to form an opinion. I am convinced that mineral supplementation can increase antler growth in whitetail bucks. “To what degree?” is the big question. My best guess is that a long-term mineral supplementation program using a high-quality whitetail specific mineral could add somewhere between 10-20% to the gross antler score of a mature buck. Certainly some individual animals will respond differently than others.
In conclusion, I am convinced that mineral supplementation can indeed increase antler growth in whitetail bucks. To be brutally honest however, most of the mineral programs currently being practiced by well meaning whitetail hunters and land-managers are a waste of time and money. They will do little more than draw deer to a game camera location.
Which Deer Mineral is Best?
To this point I have purposely neglected mentioning any products by name and won’t get started on bashing products. I do however need to plug Real World Wildlife Products Maximizer and Maximizer Plus mineral products. While I played a role in the development of each product it was really a team process that took many years to perfect. Nutritionists Dr Aaron Gaines and Brent Ratliff played key roles as did world-renown whitetail veterinarian Dr Clifford Shipley of the University of Illinois.

Maximizer and Maximizer Plus each have over 20 different minerals, vitamins and key nutrients in very specific ratios and levels. Maximizer Plus also contains Real Worlds exclusive Expect Healthy Deer Technology® for added health and performance benefits. Captive deer breeders have taken notice of these products and are feeding them to their herds in increasing numbers. Consider this fact – there is probably not a captive deer breeder in the world feeding one of the numerous mineral products marketed to deer hunters to their herd with one exception … MAXIMIZER! If you are looking to take the bucks on your property to their genetic limits while maximizing herd health, Maximizer and Maximizer Plus are honestly your very best option.
Getting Started
Implementing a good mineral program on your property is really very simple but a few things need to be considered. For best results have at least 1 good mineral station for every 40 acres of land. These should be established in high deer traffic areas. You want every deer on the property to pass within close proximity of a mineral station each and every day.

To start a mineral station simply find a suitable location and kick away any leaves or other debris in about a 3’-4’ circle and pour about 20# of mineral in a small pile. There is no need to work it into the soil although it won’t hurt anything to do so. It is important to keep each mineral site replenished with plenty of Maximizer or Maximizer Plus mineral every 30 days or so. Keep in mind that mineral consumption increases in late winter and continues through the summer. In the fall and early winter consumption will not be as heavy. Remember, proper mineral supplementation is not a quick way to grow bigger antlers but instead is a long term commitment resulting in healthier deer AND bigger antlers.