")
")
")
")
")


 Review – The Best Name In The Air Rifle Game")


I came to this world towards the close of 1988. This was at Mountain Vista Medical Center located in Mesa, Arizona. It’s not that I recall the events that transpired. My mom shared the details with me when I grew bigger.
For about one year to the time I was born, my dad had been jobless after his employment as a Walmart cashier was terminated. You can imagine the kind of strain my parents had to endure. Mom was running her dry cleaning business. The little earnings she got from the business is what sustained us. Luckily, I was the only child then. My one and only sister arrived some four years later.
Nevertheless, my dad kept an open eye for whatever job opportunity he could grab. He had a degree in Forest and Rangeland Stewardship. The Walmart stint was just a by-the-way. That happens when you have to fend for yourself and others but no opportunity knocks along your career line.
I count myself as one blessing in disguise. You see, on my first birthday, dad received a long-awaited call from the USDA forest service. He had landed a job as a game warden at the Apache-Sitgreaves National Forests. The days that followed were perhaps the most exciting my parents had experienced since their honeymoon.

We soon set camp at the little known Miami town in Gila County, Arizona. That’s about three and a half hours drive drive to dad’s reporting station. Mom generously sacrificed her business for our sake. But she soon teamed up with some new found friends to run one of the most popular eateries in Miami town.
So, there I was! A forest ranger’s son without the slightest idea of what a forest is.
Education
The first years at our new residence passed hastily. All I can remember was child play. We had great neighbors who made childhood worthwhile.
I was soon enrolled in kindergarten at Dr. Charles A. Bejarano Elementary School, just a walking distance from our home. As I graduated from grade to grade, I soon started getting into real terms with what my father was doing. Occasional trips to his workplace did all the magic.
Now, you think of Arizona as a desert. True! I don’t dispute that the Great Basin, Chihuahuan, Mojave, and Sonoran deserts are all in Arizona. In actual fact, Arizona is the only state in the US that partly hosts all the four famous North American Deserts.

But on the other side of the coin, Arizona hosts a whopping 6 national forests namely Apache-Sitgreaves National Forest, Coconino National Forest, Coronado National Forest, Kaibab National Forest, Prescott National Forest, and Tonto National Forest. I grew up knowing only the Apache-Sitgreaves National Forest, and that meant the world to me.
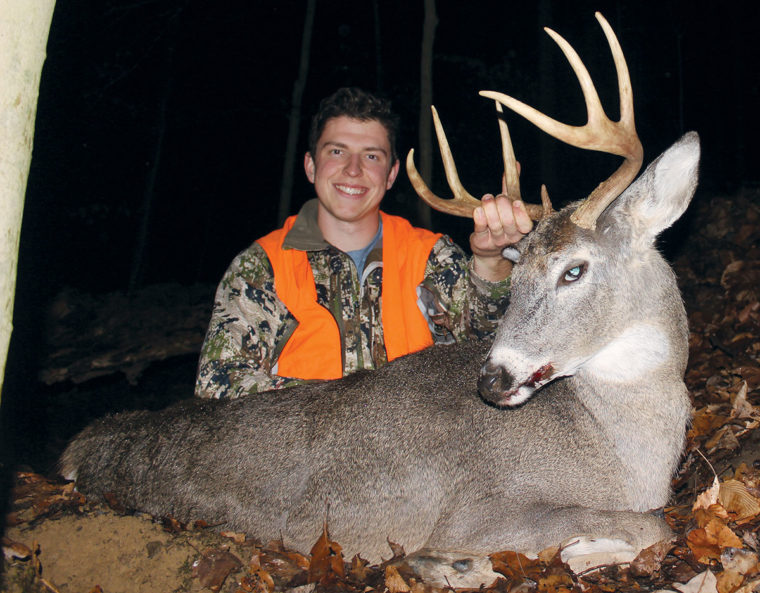
My dad would occasionally sneak me and mom into the 2.76-million-acre forest to witness hunters doing their thing. I got to see game animals like antelopes, black bears, elk, mountain lions, mule deer, doves, tree squirrels, and waterfowls in their natural habitat. I saw licensed hunters walk away with huge antelopes after successful hunting trips. I got to understand how guns are used for hunting.
I would closely watch my dad load his .25 Benjamin Marauder and fire accurate shots at unsuspecting game animals. The resulting fall of the animals really captivated my young mind.
I really felt that the authorities responsible for the local kids and youth hunting programs made a grave mistake by setting the minimum enrollment age at 14 years. Rules aside, my only solace was sneaking in with dad. And that’s the privilege of being a game warden’s son.
Fast forward to my highschool years at Payson High School. The very day I turned 14, I registered with the Arizona Elk Society. The best thing about this group was teaming up with fellow teens to go hunting in the woods. The exposure it gave me was deeper than what my dad had offered earlier.

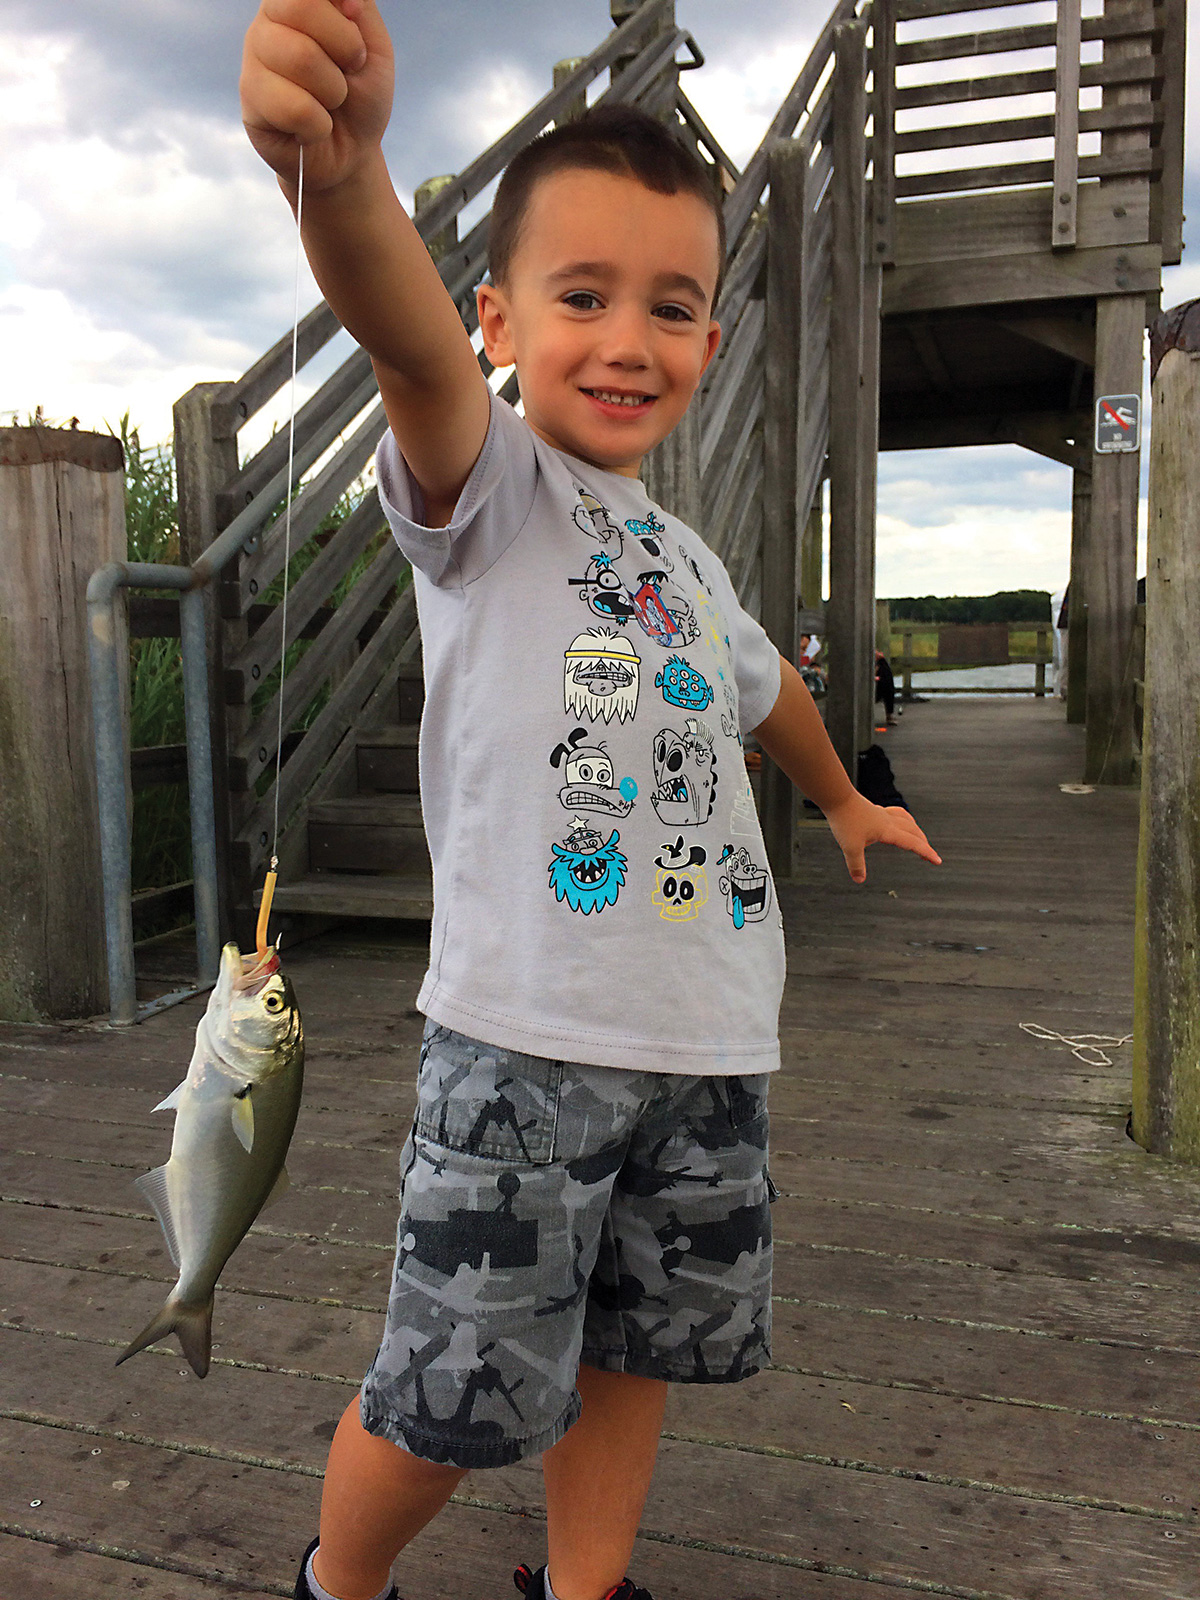
Let not the name of the club mislead you that we only hunted elk. We hunted virtually every animal you can find in the wilderness and forests of Arizona. Also note that Apache-Sitgreaves has 34 lakes and reservoirs and over 1100 km of rivers and streams. We never ran short of fishing opportunities.
I got so immersed in the activities of the club that I never viewed high school as a burden. As long as weekends were fun-filled, I got the push to study hard. I always topped my class in the English subject. And for that reason, they made me a frequent writer on the school’s bi-annual magazine. I had nothing else to write other than on outdoor adventures.
Work
I’m really grateful for the foundation I got in my first 20 years of life. That gave me a solid grounding on what I currently do and what I plan to do for the rest of my life. My love for the outdoors influenced me to take a Bachelor of Science in Forestry at Northern Arizona University.
I successfully graduated after 4 years and soon after landed a job with the US Marine Corps as a Combat Correspondent. That has been my main job since that time. My main task is gathering Marine Corps news and stories to generate news stories for distribution via television broadcasts or writings. As such, I travel widely across the US for interviews and minor investigative work.
As a side hustle, I’m a professional blogger with thousands of articles so far under my name. When not writing, I go hunting. I’m still young and I want to use my time well before old age knocks.
Why I hunt with air guns (not crossbow, real rifle)?
My first hunting weapon was the .22 Diana Storm Rider air rifle. While working with the US Marine Corps, I came to dread owning and using a firearm because of the legal restrictions associated with them.
The fact that .22 rounds can shoot as far as 1.5 miles makes the use of firearms quite dangerous around residential areas. Gunshots also unnecessarily cause panic when the noise reaches residents. Conversely, air rifles have a limited range and I could use them in my backyard without threatening anyone’s safety or causing panic.
I also like air rifles for the fact that most states don’t classify them as firearms. Carrying around firearms has its fair share of concerns among citizens and authorities .
Another advantage of air rifles is that pellets will never go bad, no matter how long they’re stored. For real rifles, there’s the usual worry about cases, powder, and primer.
On the other hand, hunting with crossbows is not my thing given the high cost of good quality crossbows and how cumbersome it is to hunt with them. It’s easier to carry air rifles and load ammo for shooting than it is with crossbows.
For these reasons, I have so far amassed a wide collection of airguns as listed below:
- Hatsan BT Carnivore QE .30 cal
- Hatsan Bullboss QE .25 cal
- Hatsan AT44-10S QE .25 cal
- Benjamin Marauder .25 cal
- Hatsan Galatian .177 cal with Wolf LDC
- Mrodair Varmint .22 cal with Wolf LDC
- Diana Stormrider .22 cal
- Gamo Urban .22 cal
- Hatsan AT P2 .22 cal with Wolf LDC
These keep me busy throughout the hunting seasons for the hunting areas I frequent. I’ve come to love:
- Mattamuskeet Wildlife Refuge in North Carolina
- Arkansas’ Piney Creek WMA
- The Green Swamp Wildlife Management Area near Tampa, Florida
- The Cheyenne Bottoms Wildlife Area in Kansas
- West Virginia’s Charleston-Beckley corridor
And of course, my most beloved Apache-Sitgreaves National Forest.
Family
Perhaps I should have started with this info. But I’m glad you made it to this point and are reading this. I took Texas-bred Laura for a wife back in 2016. The Wild West blood runs through her veins. I’ve thoroughly coached her in gun handling. Don’t mess with her. Here she is modelling for pneumatic air rifles.

We travel with her to most of the hunting trips I just mentioned. The arrival of our first born son, Dickson, slightly slowed our outdoor life, but we’ll soon be able to travel with the little kid. I’d like him to take after me as I took after my dad. The current sedentary lifestyle in front of screens most of the day is not my thing. I love it out there in nature. Nothing fascinates me more than that.
 If you own a taxidermy mount, it is always a good thing to keep it clean. Keeping it clean prevents unwanted guests from touching your taxidermy. Suppose there are any concerns about insects damaging your taxidermy. In that case, it is important to occasionally inspect your mount-especially around the mouth, antlers, and around the ears- for signs of any pests.