")
")
")
")
")


Prepare to follow me down a naturalist’s rabbit hole.
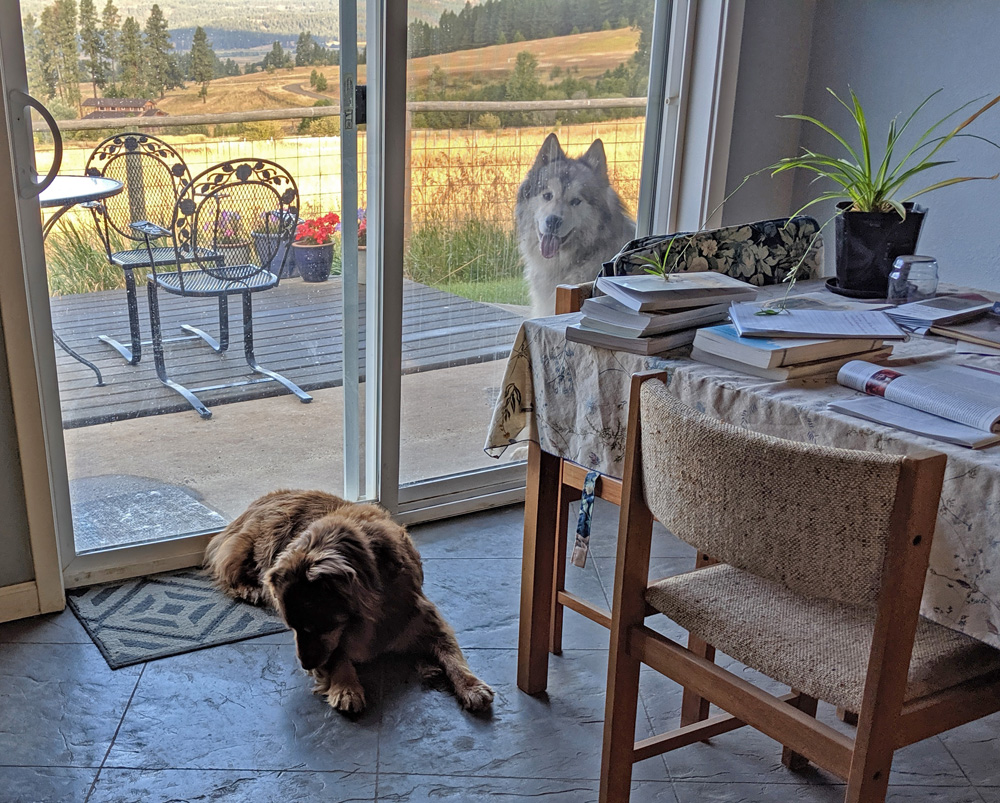
Not long after moving to Idaho’s mountains in 2005, I became acquainted with an odd burr that kept attaching to my shoes and socks and to the coats of my two Malamutes when we explored the forest. Local friends told me they were called beggar’s lice.

A distasteful name perfectly suited to the annoying plant seed.
Lice (louse, singular) are parasitic insects that feed on the blood of host birds and mammals, including people, clinging at the base of hair or feathers or sucking into skin.
Beggar’s lice are seeds from the houndstongue plant (cynoglossum officinale). The seeds are nature’s Velcro, covered in tiny prongs that grab and stick to anything that happens to brush the plant when the seeds are mature. Your shoes, socks and pant legs, your dogs’ coats, the hides of deer and elk, bears, coyotes, wolves, cougars, and livestock (horses, sheep and cattle) are all wonderful hosts for beggar’s lice.
Talk about an effective and efficient seed disbursement strategy for a plant. Imagine how far the seeds might travel embedded on the hides of wildlife.
According to an article published by the Montana State University Extension:
In Montana, a single houndstongue plant typically produces 300 to 675 seeds per year, but exceptionally robust plants may produce up to 2000 seeds. Seeds either fall nearby to the ground or remain on the parent plant where they are positioned to attach to a passing animal or person. Seeds may be carried long distances this way. Seeds on the soil surface often dry out and fail to germinate, whereas seeds buried about an inch under the soil may remain viable for two to three years. Houndstongue seeds do not form large or persistent seeds banks in the soil, and germination generally requires some form of scarification or softening of the seed coat. [Scarification means breaching the natural seed coat by mechanical, thermal, or microbial methods.]
In the forest I regularly haunt, houndstongue grows in disturbed areas – where there’s been logging, or trail or road building. I usually see it surrounding logging slash piles alongside abandoned logging roads, whether the pile was burned or not. In early summer they produce pretty purple blooms, belying the nastiness of the seeds to come.
Now that I have two male dogs, I’ve noticed that houndstongue plants are as popular with canids for marking in the forest as fire hydrants and mail boxes are for dogs in cities. Perhaps it’s because the plants are growing alongside much-traveled paths and are tall, up to four feet high, allowing the scent to disperse easily over a greater distance. My dogs smell the marker left by some other creature – dog, fox, coyote, wolf – and feel compelled to add their own, resulting in seeds attaching in large numbers to their heads and necks as they get a good sniff of any existing scent, then to their flanks as they get close enough to lift a leg and leave their own mark.
Usually I watch helplessly as this transpires, and remember fondly have only female dogs. I try to call the boys away from the plants, but that rarely works. Biology requires they cover the other canid’s mark. It’s how they all communicate. It’s a rare foray into the forest that doesn’t result in a least a few beggar’s lice on one or both dogs.
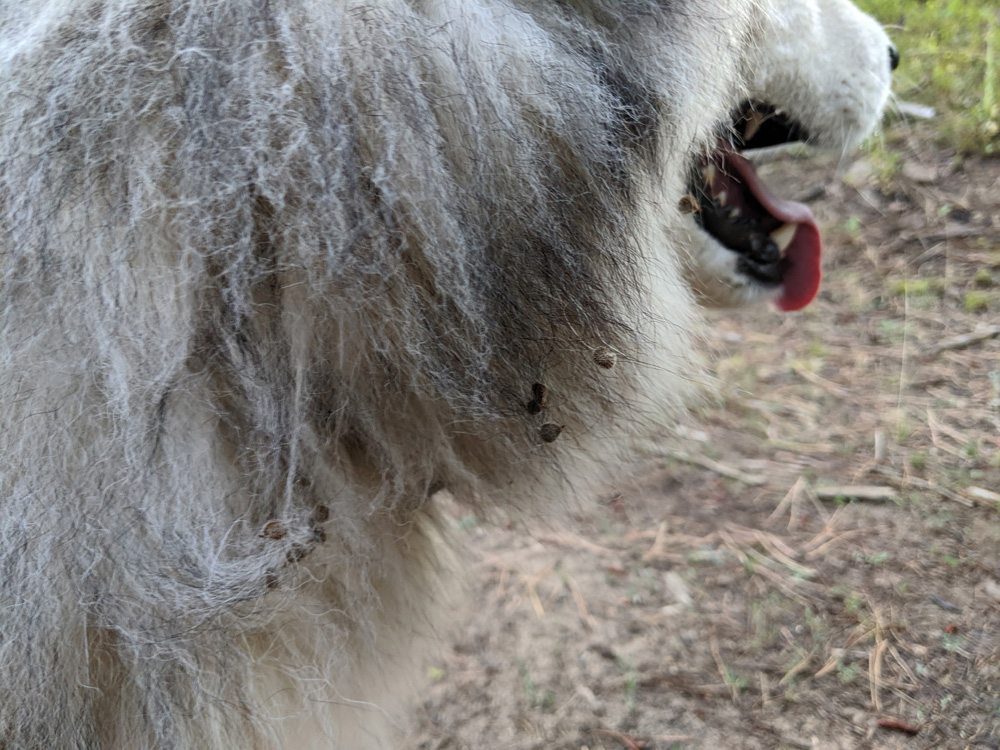
When the boys do end up with a generous portion of beggar’s lice on their coats on the trail, I try to pull most of them off immediately before they have a chance to get tangled deeper into their fur. In winter, this means taking off gloves in frigid temperatures because the seeds will stick to my gloves. It’s an annoyance I’ve gotten used to, and the boys have learned to stay still while I pull the seeds off, muttering bad words under my breath.
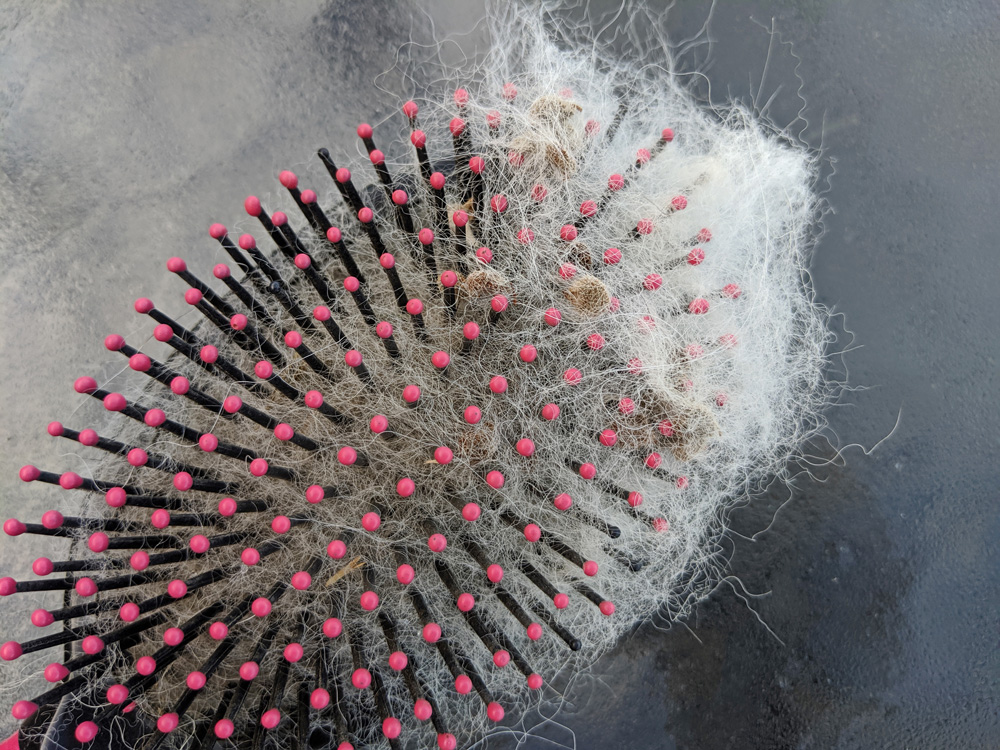
Once home I take the boys into the yard and use a standard hair brush to remove most of the remaining beggar’s lice and, in late summer, the grass seeds they also acquire. I invariably miss some, but the boys are quite adept at removing those they can reach with their mouths, pulling the beggar’s lice from their fur with their small front teeth and either spitting them out onto the floor (or my bed) or swallowing them for later natural disposal.
Any seeds that remain, that they can’t reach, I eventually find by massaging my fingers through their coat and pulling out what I find. The beggar’s lice and grass seeds that attach to their feet can become a problem if they work their way between toes or into the crevices between pads, so I check feet regularly and either pull the seeds out, or in some cases cut them out with scissors if they’re so tangled that pulling is painful. The sharp, black grass seeds that are prolific right now can work their way into the skin, especially between toes, causing painful ulcerations. Neither dog likes me poking between their toes with my fingers, but we all suffer through it in order to prevent something worse.
In the 15 years I’ve played in this forest, I’ve learned to take the long, philosophical view: beggar’s lice are here to stay. It’s a waste of energy to get mad when the dogs get into them, or to try to avoid the plants altogether. They’re too prolific. I’ve no doubt beggar’s lice, along with cockroaches, will survive the worst impacts of climate change and could probably survive a nuclear holocaust. On a positive note, picking beggar’s lice and other seeds from my dogs’ coats and feet is a sort of bonding ritual, not unlike that of chimpanzees grooming parasites from each other. I don’t eat the seeds I pick, though.
Way More Than You Need to Know, But It’s Kind of Interesting
Houndstongue is native to Asia and Europe. An invasive species in the United States, it most likely arrived in the late 1800s in contaminated cereal seed. It’s now listed as a noxious weed in seven western states: Colorado, Idaho, Nevada, Oregon, Washington, Wyoming, and Montana. It’s a hardy little bugger (pun intended). One year it will send down a tap root as far as three feet into the ground, storing food for year two when it produces all those beggar’s lice.
Houndstongue is known by a number of common names: beggar’s lice, dog’s tongue, sheep bur, dog bur, sheep lice, glovewort, and woolmat – which suggest the problematic nature of its barbed seeds that stick to fur, fleece, and clothing.
Montana State University Extension
Houndstongue foliage can also be toxic to livestock, particularly horses and cattle.
As with most plants, throughout time humans have found medicinal uses for houndstongue. The Wikipedia entry for the plant contains the following subcategory describing some of its past uses:
Herbalism: In 1725, houndstooth was presented in the family dictionary, Dictionaire oeconomique, as part of a cure for madness. In that book, madness was viewed as “a distemper, not only of the understanding, but also of the reason and memory, proceeding from a cold, which drys up everything it meets with that is humid in the brain.” To cure madness, Dictionaire oeconomique noted:
“You must shave the head of the unhappy patient, and after that, apply to it a pidgeon, or a hen quite alive; or else bathe it with some brandy distilled with rosemary, elder, hounds tooth, and the roots of bugloss, or with the oyl of elder flowers: they rub their heads and wash their feet with a decoction of the flowers of camomile, melilot, balm gentle and laurel; they put into their noses the juice of comfrey, with either two or three spoonfuls of honey-water, broth, or white-wine, wherein wormwood and sage are infus’d ; or else they do for five and twenty days together, mix with their broth in the morning, half a dram of the ashes of tortoise, and they put into the pot bugloss, borage, with a pinch of rosemary to season it.”
…By the end of the 1830s, doctors in England were using houndstooth as an antiaphrodisiac to combat venereal excesses.
No thanks!
Ironic that a plant producing so many madness-inducing Velcro-like seeds was once considered a cure for madness. I can, though, see it as an effective anti-aphrodisiac, especially if beggar’s lice are involved. The name alone would be effective.
Additional lore and uses, both practical and magical, included in the MSU Extension article:
• The name houndstongue comes from the belief that a leaf worn in the shoe could ward off dog attacks.
• Extracts of roots and leaves of houndstongue have been used in folk remedies for various ailments including fever, eczema, acne vulgaris, and hemorrhoids.
• Houndstongue ointment is said to cure baldness.
• The red pigments of the outer root surface are antibacterial and reportedly have wound-healing properties.
• Roots and leaves have been used as pesticides and leaves have been used to repel moles in gardens and rodents from stored foods.
And finally, from a 1983 article for Mother Earth News, a tip for an easy way to remove beggar’s lice from clothing: A corn cob can serve as a clothes brush, too. For example, if you’ve ever traipsed through the woods, you’re probably familiar with those dry little burrs called beggar’s-lice that have a habit of clinging to your clothing. Well, whenever I come home covered with the stickers, I don’t waste my time picking the pesky seeds off one by one. I simply grab a corn cob and scrub them off with a few quick swipes.
Re-emerging from the Rabbit Hole
Whew. Sorry, that was a rather deep rabbit hole I took you down, one probably littered with beggar’s lice plucked from the fur of the hare that lives there using its little buck teeth. But kind of fun, right? I might go buy some fresh corn ears at the local farmer’s market, see whether the cob makes a good clothing and/or dog brush.
Featured photo: close up of beggar’s lice found on this morning’s walk in the Payette National Forest, after Conall removed several by brushing against it.