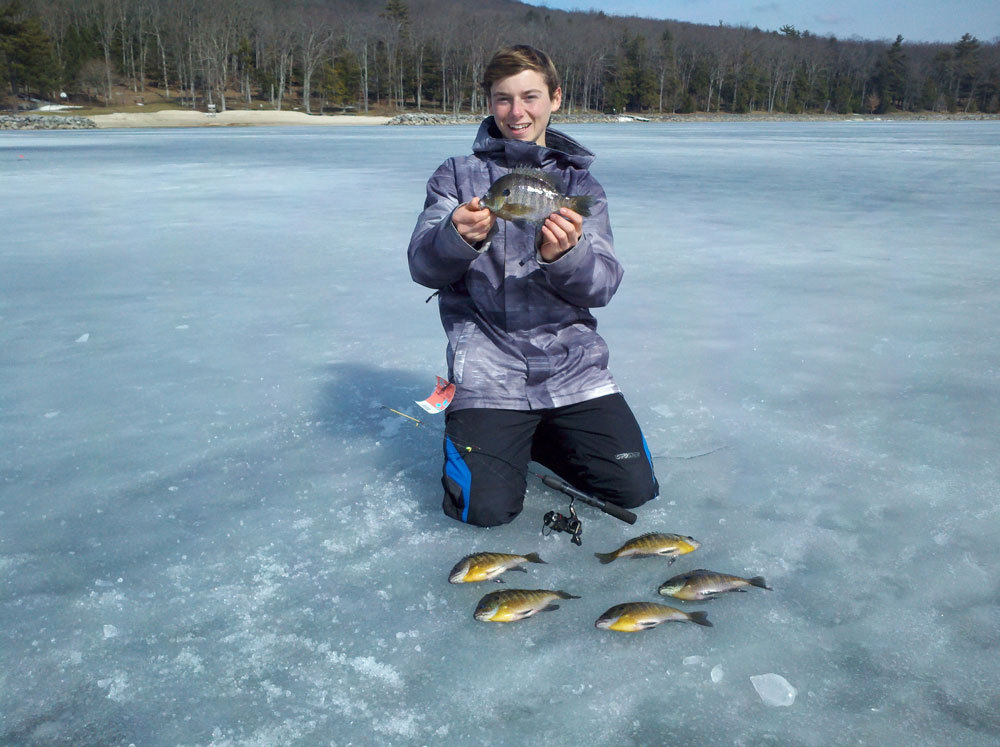
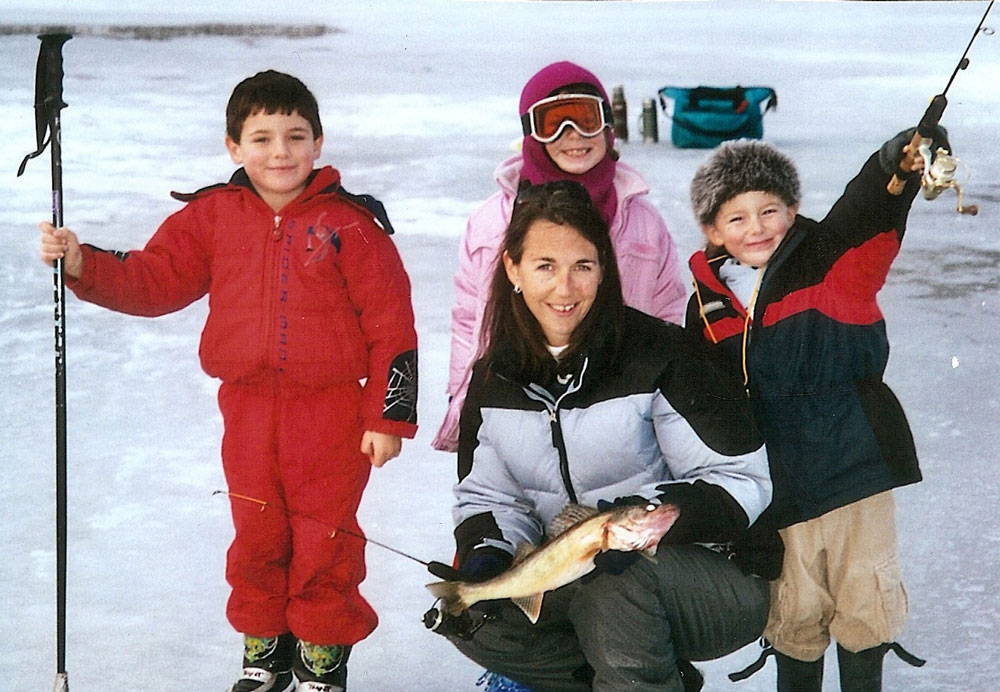
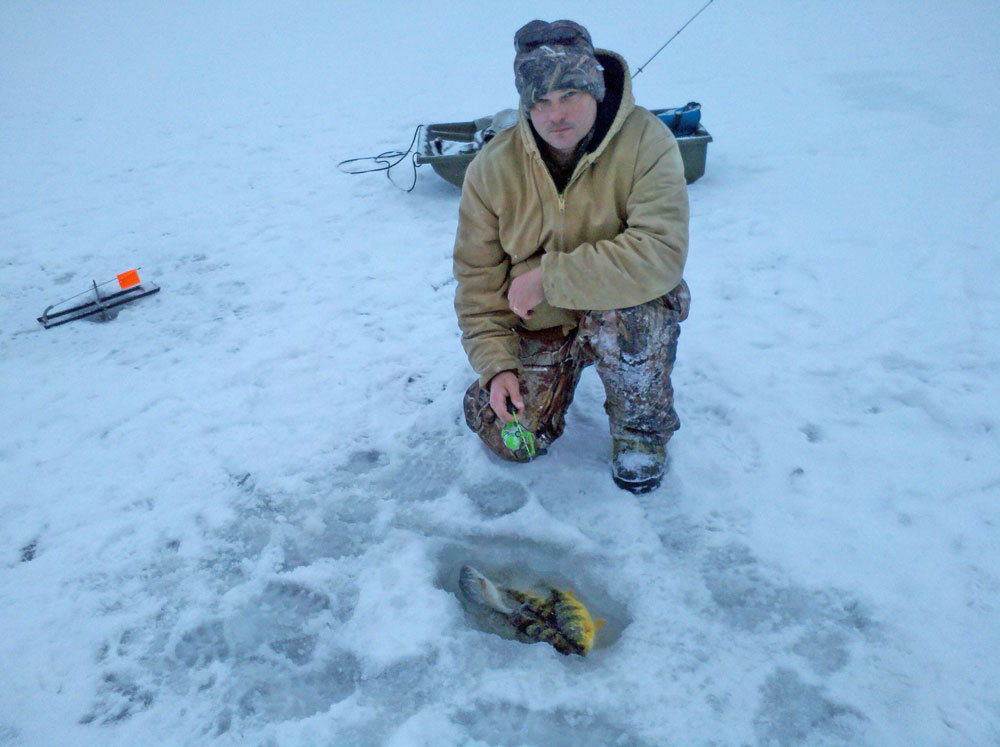
The ice fishing season in the Mid-Atlantic region would best be described as brief, but some other adjectives that apply include productive, exciting, and fun. Sure, we may only have a few weeks of “hard water,” even out in our western mountainous areas. That means most of us don’t want to invest big bucks in ice fishing gear – we want cheap and easy ice fishing. Is this even a possibility? We say heck yes, proving with this quick video that job number one – getting through the ice – can be done quite cheaply and easily, indeed.
If Mid-Atlantic ice anglers get lucky, sometimes the season at lakes and reservoirs just a three- or four-hour drive from major metropolitan areas like Dover, Baltimore, DC, Richmond and Hampton Roads can be measured in months — and just a few years ago the east coast’s deep-freeze was significant enough that we were ice fishing on tidal rivers like the Magothy three weekends in a row (and caught quite a few yellow perch and pickerel, too).

Yet many people won’t experience this sort of adventure because they don’t have the basic gear nor the basic knowledge needed to make it happen. That ends, right now. Keep reading, and you’ll no longer have any excuse (short of basic sanity) for failing to give ice fishing a shot.
Cheap Ice Fishing Gear
The first time I ever tried ice fishing I had nothing to work with other than a spool of line and a tear-drop jig I found in the kitchen drawer of a Colorado condominium. From atop the slopes during a skiing trip, I had spotted an ice angler down in the valley on Lake Dillon. The next day I wound some line around a wooden spoon, tied the jig on the end, walked out on the ice, and used the end of the spoon to pop open the old holes. During the remainder of the week I caught kokanee salmon, yellow perch, and rainbow trout — and skied just one more day. Thus began my career as a tightwad ice-clod. Having advanced in the gear department a bit since then, here’s what you should consider the bare minimum gear to be successful:
- Spud – A spud is basically a pole you can use to chop a hole through the ice. It also comes in handy as a walking stick when wandering across a slick lake surface, and helps you quickly check ice thickness with just a few pokes. Yes, an auger goes through ice faster and makes a much more even hole, but augers also cost money. Instead, all you really need to do it is get an old ski pole or broom stick out of your shed, and duct-tape a regular-head screwdriver or chisel on the end. This sounds simplistic but trust me, it works incredibly well. With a pole-and-driver spud you can chip a fishable hole through five-inch ice in a couple of minutes, through eight inch ice in five minutes or so, and through a foot of ice in maybe 10 or 15 minutes. Cost: 15 minutes rifling through the garage and $0.00.
- Strainer – This is an item that’s often overlooked, and can shut you down fast. You need it to scoop all the ice chips and shavings out of your holes, or your lure and line will get caught up in the slushie. Small metal kitchen strainers will work, but they do tend to turn into a solid block of ice sometimes, as they get clogged up. Plastic strainer spoons with slightly larger holes than a wire mesh kitchen strainer will work better. Cost: Five minutes of rifling through the kitchen drawers and $0.00 (until your wife realizes you stole the strainer).
- Lures – Guess what: some of the best ice fishing lures around are probably already in your tackle collection. Small shad darts are an excellent choice for ice fishing, though you will want to tip them with a minnow (for perch, walleye, bass, and crappie) or a mealworm or Berkley Micro jig tail (for crappie, perch, and bluegill). Cost: 30 seconds of rifling through your tacklebox and $0.00.
- Rods – While a wooden spoon may not be ideal, neither is an ultralight fishing rod. It will work, but they do force you to stand back away from the hole and many anglers using them stick with bobber rigs, allowing them to lay the rod down on the ice and simply eyeball the bobber. Though they’re a bit stiff for the job, the uber-cheap two foot long mini-rods you see in all the tackle shops actually work pretty well, if you can handle giving yourself a $15 ice fishing budget. TIP: Panfish, especially bluegill and crappie, bite incredibly lightly through the ice sometimes. Adding a “spring bobber” (a short flexible extension that clips on the end of your mini-rod) will help you feel a lot of those ghost-like panfish bites. Cost: $15.00.
- Line – The line you choose is more important than the rod you fish it with—heck, you can always just hold the line in your hands and enjoy the ultimate in manual fishing experiences, because you really don’t need a rod to drop a line straight down through a hole in the first place. That said, however, very light lines are usually in order when ice fishing because fish have all the time in the world to decide whether or not to eat the bait or lure, and they’re often eyeballing it through crystal clear water. Two- to four-pound test is in order when targeting smaller species, on up to eight- or 10-pound test for fish like walleye. Cost: $10.00 or so for a spool of thread-like line, unless you happen to have line that light laying around somewhere.
Now add in the obvious stuff: gloves, hats, warm clothing, and a Thermos jug of scalding-hot coffee, all of which you already have. Boom — you’ve got everything you really need to be successful on the ice, and there’s no way it should cost you any more than $30 to put it all together.

The How-To of Basic Ice Fishing
The how-to part of the ice fishing equation is going to be a piece of cake if you already know the basics of angling. Essentially, treat ice fishing exactly like static bait fishing and/or vertical jigging. But, there are a few pertinent items to keep in mind:
- Keep things slow. The fish are popsicles, and will be moving in slow-motion excepting when they actually strike. A sharply jerked lure usually scares the bejesus out of them. (A fact learned the hard way, scaring off fish while watching them on an underwater ice-cam). Keep your jigging strokes short and slow, and try quivering or micro-jigging motions followed by a few seconds of dead-sticking. These are usually what trigger a take.
- Fish just under the ice for trout, and down deep for just about everything else. Walleye, perch, and bass are usually caught just off bottom. Crappie and bluegills will suspend sometimes, especially if there’s structure like standing timber. Bluegills also suspend over weedbeds. TIP: The best way to locate a weedbed is to look for weeds on top of the ice. Other ice anglers will snag and reel in the weeds, which then invariably end up littering the ice. The more weeds you spot atop the ice the more productive the spot is likely to be, since it means the anglers who were there previously were catching enough fish to make it worth sticking around.
- Pop open a number of very widely spaced holes right from the start. Once you find a good hole or two and can get a read on what general area is productive, pop through a few more holes in that zone. If there’s one particularly hot ice hole, try opening another just a few feet away. Basically, cast a wide net with your initial attempts then cinch it down as you locate good areas.
- If you don’t know a thing about the place you’re fishing at, choose likely-looking areas exactly as you would when fishing from a boat. Points, drop-offs, and the mouths of creek arms are all good choices. Old ice holes cut open by other ice anglers are a good sign when you see junk on the ice (bait bits, weeds, potato chips, etc., but hopefully no garbage). Again, if someone stuck around there for a while, they were probably not getting skunked.

Believe it or not, you’re now ready to go ice fishing. Sure, you could go out and buy tip-ups ($100 for five), a sled ($50), an underwater ice-cam ($200), and even a fold-up ice hut ($250 or more). But for now, rest assured knowing you’re fully locked and loaded. And trust me, ice fishing will turn out to be worth it. When you feel a strike it will be utterly electric. It’s like the very first time you watched a topwater explosion, or heard the screaming drag of a tuna bite. To be doing such a blatantly nutty thing as chopping holes through a frozen lake and then experience success is something of a shock. In conditions this tough, victory is just that much sweeter. You will feel like — no, you will in fact be — a fishing pioneer, a brave explorer of the Mid-Atlantic Arctic. No one will ever again question your angling cred, and you, my friend, will be a bona fide (frozen) fish-head.
Ice Fishing Safety
Safety on hard water is just as important as it is when you’re aboard a boat. If you decide to walk out on the ice, always remember:
- Three-inch-thick ice is considered by most people to be the bare minimum to walk on. Cautions people look for four or five inches.
- Clear ice is best, as it’s stronger than cloudy ice (which has air bubbles in it).
- There’s often thin ice around the edges of a lake, especially late in the ice season when the sun warms land and water near the shore accordingly warms up a hair.
- Don’t walk over ice where there’s flowing water, such as a feeder creek or stream, as moving water often means thinner ice.
- Carry a spud at all times (even if you have an auger) and use to top punch small test holes when you first walk onto the ice, or when you see a dramatic change in the ice.
- Always go ice fishing with a friend, and make sure there’s something such as a length of rope or a spud handy, which could be used to help pull someone out of the water in case of disaster.
- Stay away from bridges, especially those with heavy traffic. Those roads get salted, and that salt gets onto the ice under and around the bridge.
For a more comprehensive look at ice fishing in the Mid-Atlantic region, see our Mid-Atlantic Ice Fishing Spectacular.
– By Lenny Rudow


