(March 29, 2017)—In this post I will describe the process of brain-tanning, which I learned last month at Winter Count. I have to admit, though I have seen the process in parts, it always looked like more work than I wanted to do. Still, this year I decided that if I could get into a class I would give it a try.
There were only two tanning classes offered, and there were more than 650 people at the event this year. I was lucky to get one of six spots in Digger’s class. Digger is a professional tanner who specializes in brain-tanning of hides. He provided a deer hide to each of us students. The hides he had this year were Coues deer (a small white-tail deer) from around Willcox, Arizona. My hide was particularly small.
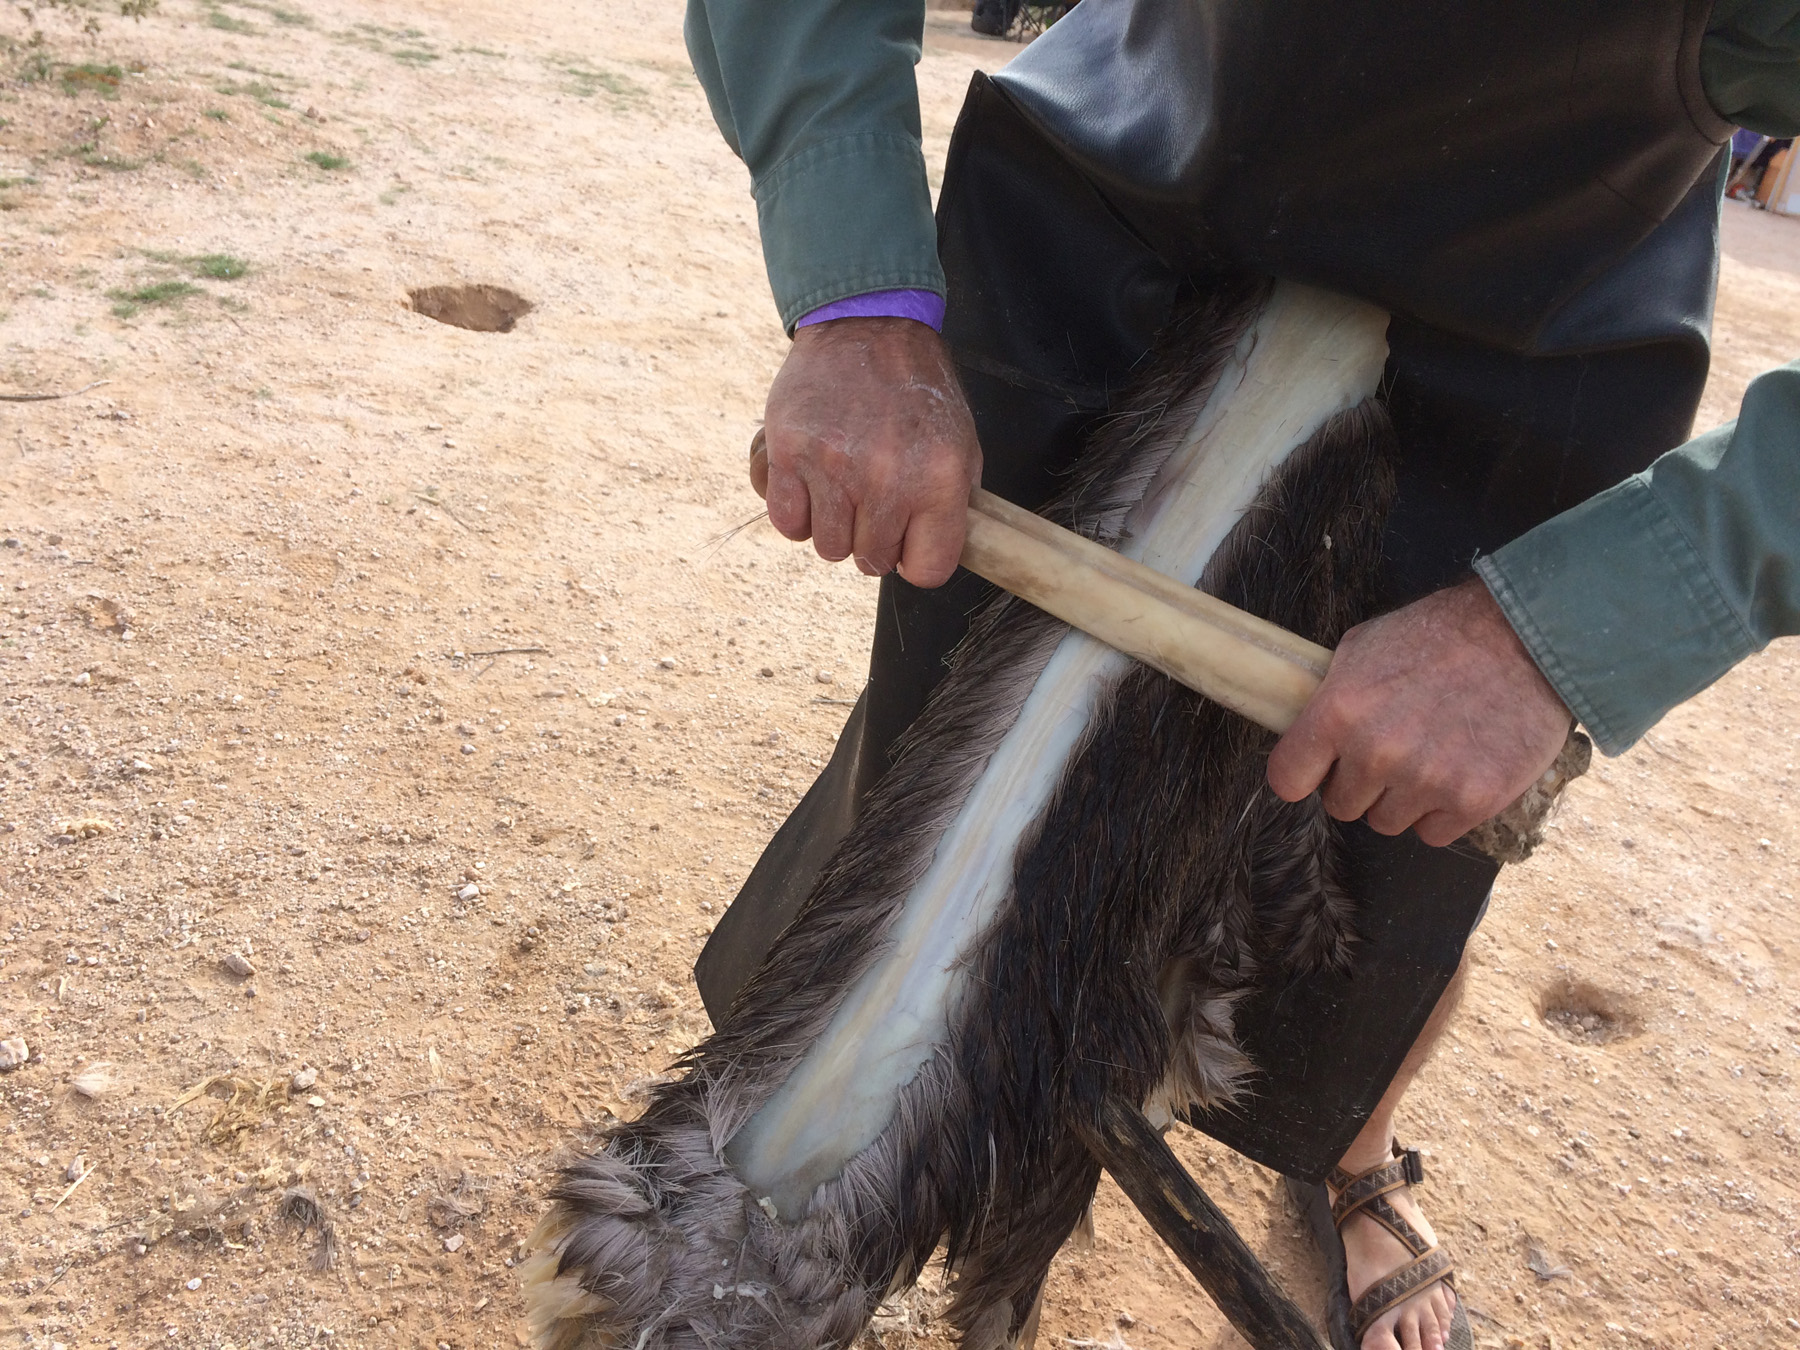
Digger had modern metal tools we could use to do the scraping, but I chose to make a scraping tool out of moose bone he also provided.
The first step in the process was to scrape away any connective tissues on the inside of the hide. This is a relatively easy process, and we completed it the first afternoon. The next step was to soak the hide for a about a day and a half in a mixture of water and mesquite wood ash. The ash content has a high lye content, which helps release the hair and makes the top layer of skin peel of much easier.
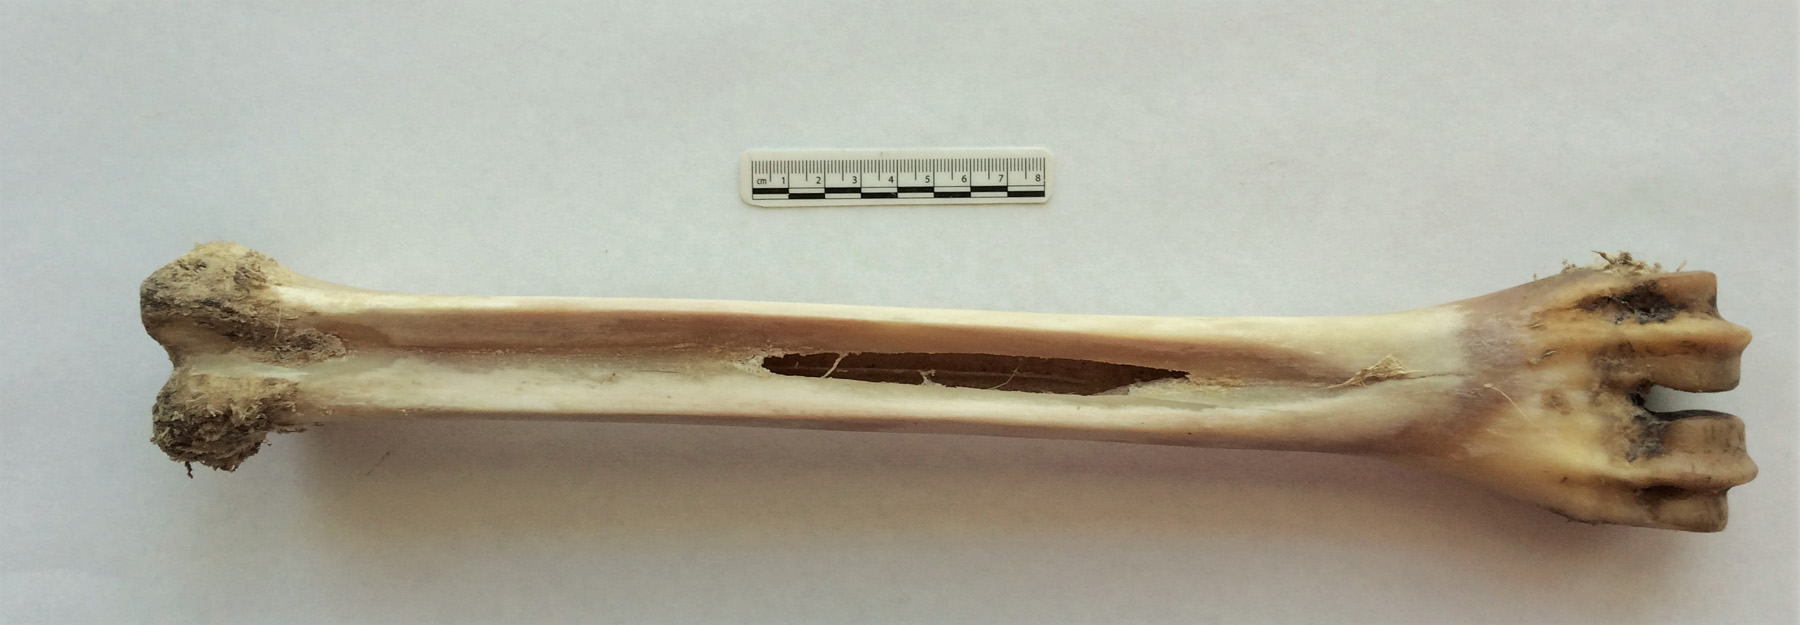
I had an extra day that allowed me to work the moose bone into a functional scraping tool, though it could have used a few more hours of scraping to make it really functional.
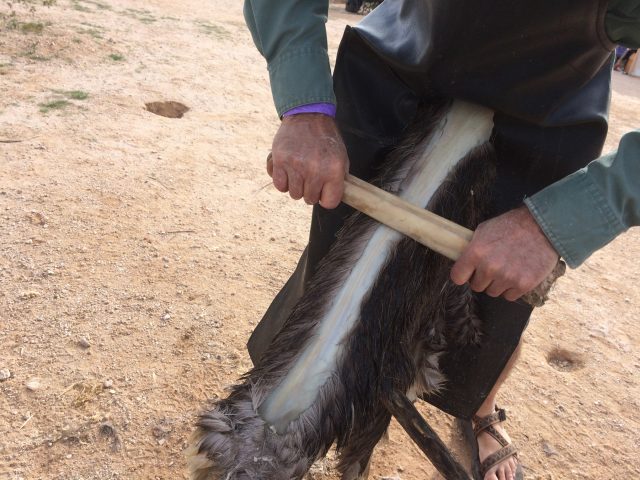
This is the moose bone scraper I used. Using stone tools, I scraped the concave side of the bone down to create two sharp ridges.
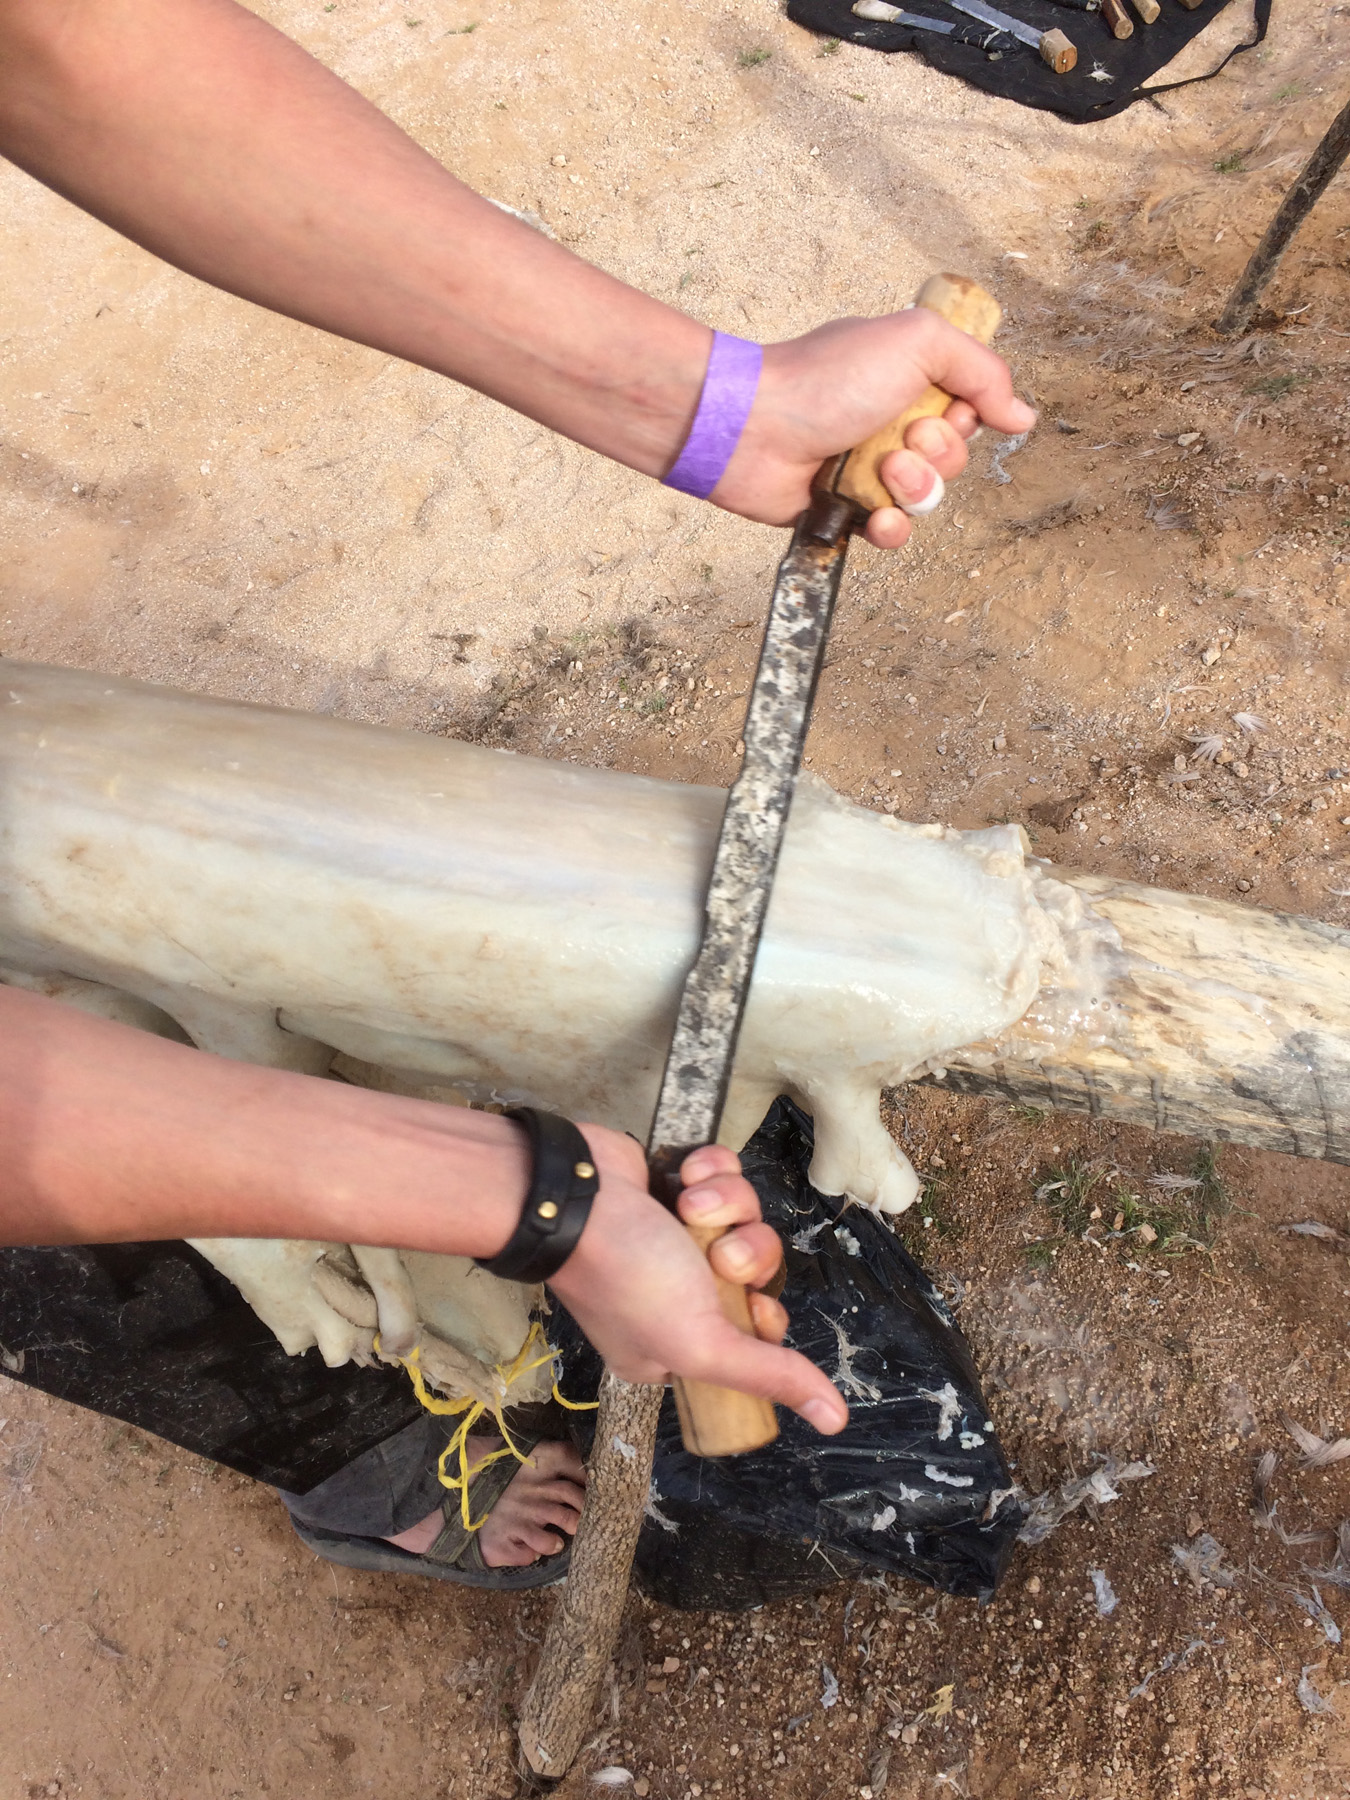
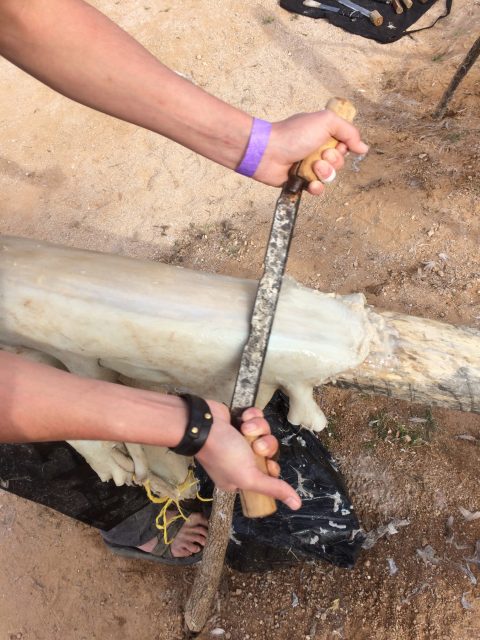
This photo shows the scraping process with a metal tool. This is a final scrape to get rid of the last remnants of that outer skin. It is amazing how much force you can exert on the hide without ripping or cutting it. We draped our hides over small logs (scraping beams about 10 inches in diameter), and we rotated the hides over the log in order to evenly scrape them.
My bone scraper worked fairly well, but I did resort to the metal tool to get the last bits of that outer skin off. I was exhausted by the end of that day! We soaked the hides in clean water that next evening to rinse out the last of the lye and ash.
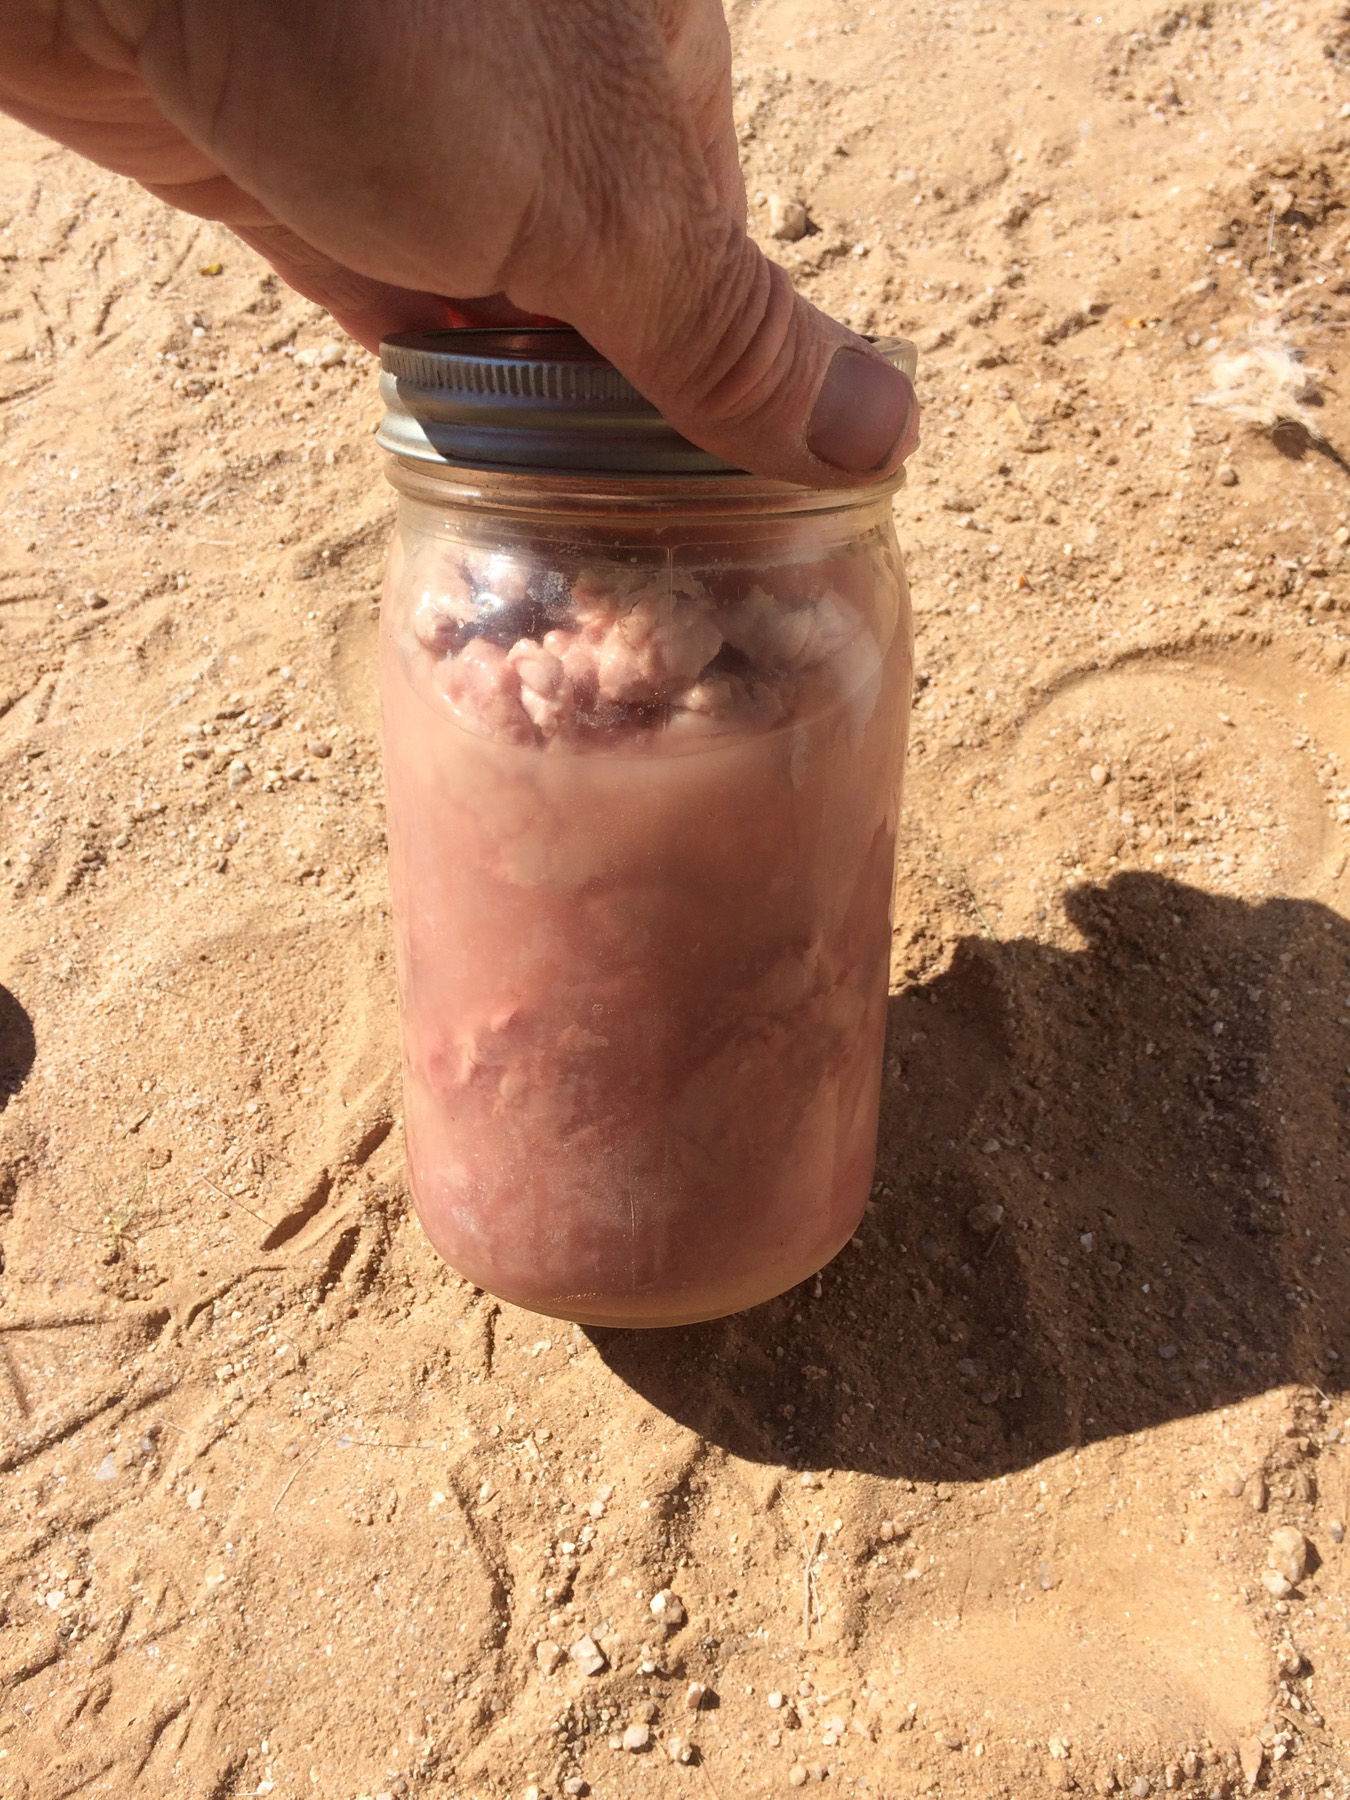
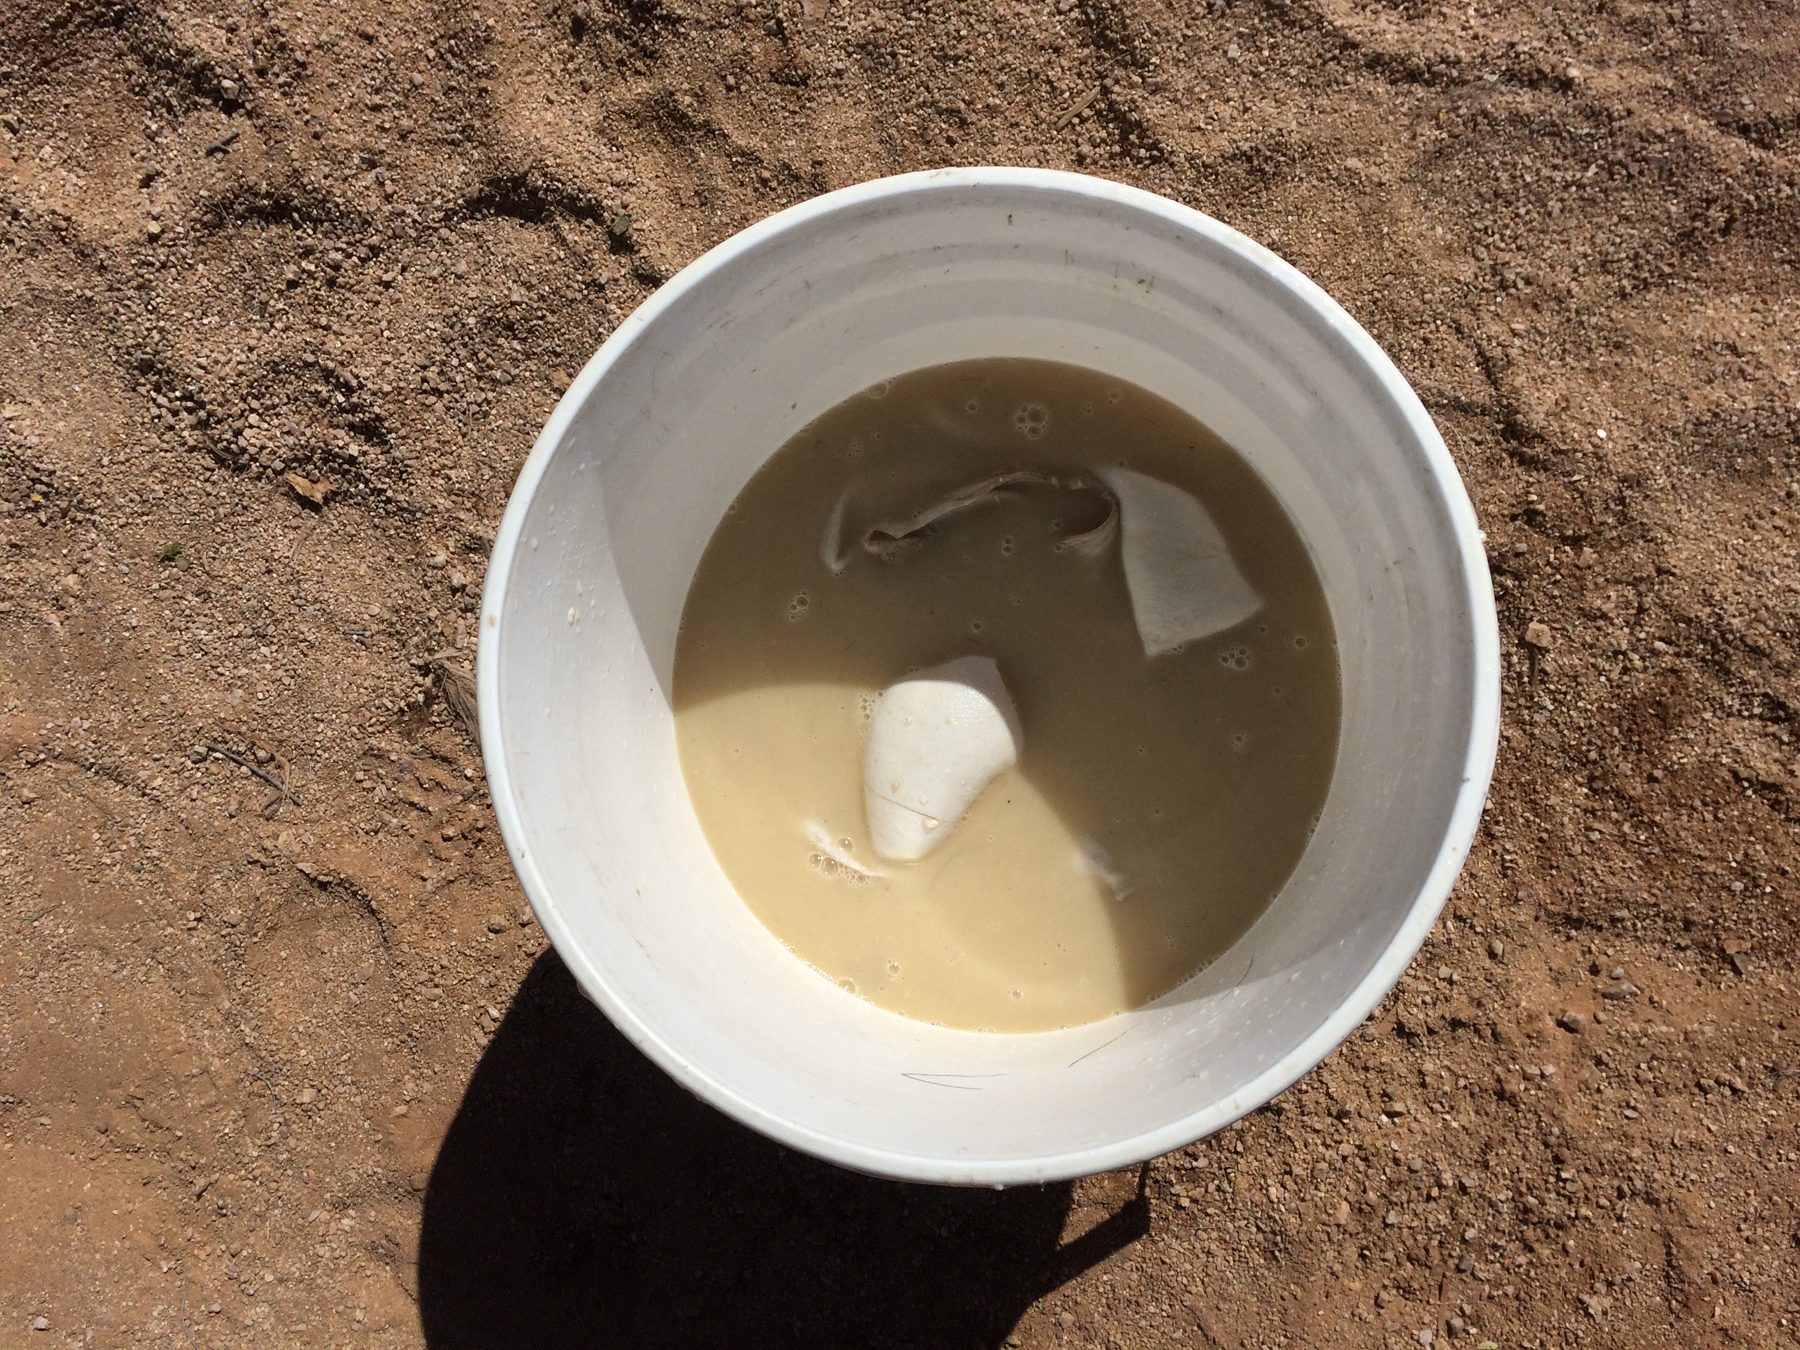
The next step was to soak the hide in a mixture of brains and water. Digger had purchased a batch of fresh pig brains that we smushed up in the water to make a slurry.
We used quart of brains mixed with about four quarts warm water to soak our six small hides.
We soaked the hides in the brain-water mixture for about 15 minutes. Then we wrung them out, soaked them in the mix for another 15 minutes, and wrung them out again.
Next, we washed the hides in clean water to remove the brain mixture.
The next step is stretching and softening the hide. Here the hide has been strung up in a pole frame and loosely hung up inside the frame with bailing twine. In this photo a wooden stretching tool is being scraped across the hide to soften it. The goal is to stretch the hide fibers in all directions; this process takes quite a bit of work, but makes a nice, soft hide. My hide was too small to stretch in the frames, so I did most of the stretching by hand. I still ended up with a fine, soft hide.
In this picture my hide is being smoked after I had sewn it into a bag. The white box below has a bowl filled with small lumps of rotted wood and charcoal. These were to make a lot of smoke, rather than flame. This process coated the inside of the bag with smoke. It smelled nice. Halfway through the smoking process, I turned the hide inside out and smoked the other surface of the hide. Longer smoking makes for a darker hide.
Here is my hide smoking after I turned it inside out. You can see smoke escaping a hole in the bag, and the color the hide has turned from the smoke.
And here is my finished hide, ready to be made into clothing.


