There is something inherently satisfying about shooting an arrow from a bow. For beginners, drawing a compound bow can seem intimidating. But don’t worry—we’ll walk you through the process step-by-step so that you can start shooting arrows like a pro in no time!
The first step in properly drawing your compound bow is to make sure that you have the correct draw length. The draw length is the distance from the nock point (the notch at the end of the arrow where it sits on the string) to the pivot point (the point on the grip where your hand goes) when the bow is fully drawn. You can usually find your ideal draw length printed on the side of the bow or in the owner’s manual.
If you don’t have access to those measurements, don’t worry—there’s an easy way to measure it yourself. All you need is a tape measure and a friend to help you out. First, extend your arms out to your side with your palms facing forward and have your helper measure from the tip of your middle finger to the other. This is your arm span. Next, divide your arm span by 2.5. This measurement is a great starting point for your draw length but may need some fine-tuning to find what’s comfortable for you.

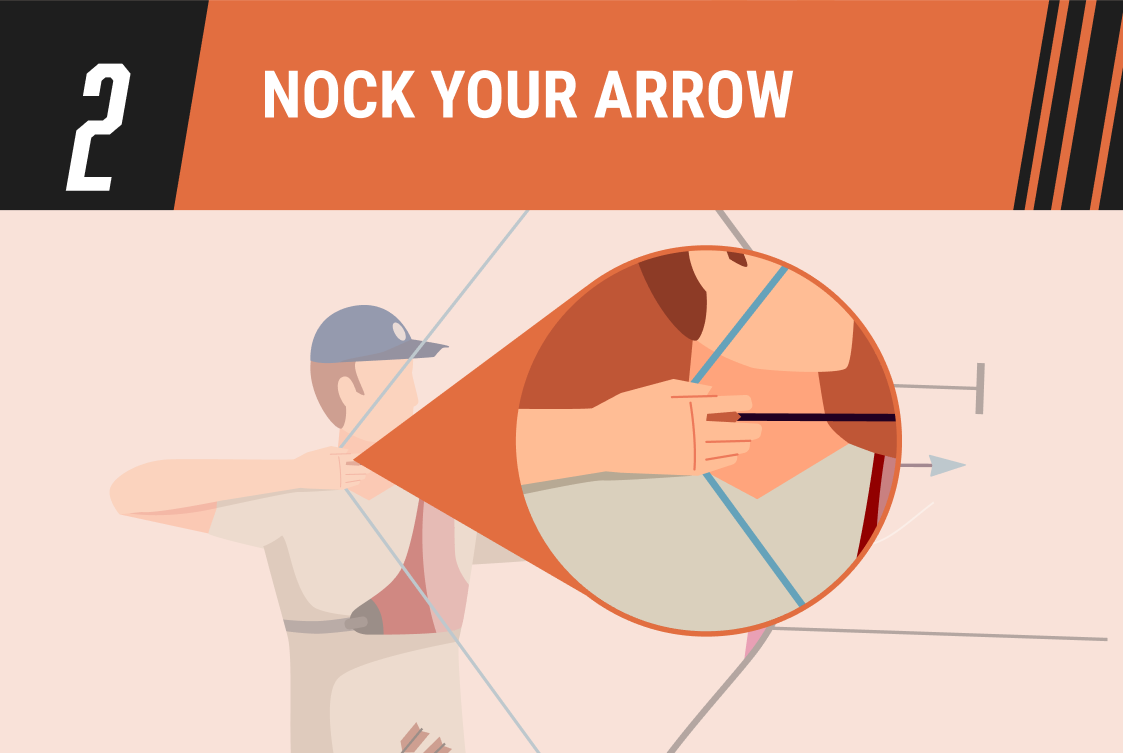
Now that you know your draw length, it’s time to get ready to shoot. Start by nocking your arrow onto the string—this simply means placing the arrow so that it is sitting on the string and lined up with the rest of the arrows in your quiver (if you’re using one). There are two ways to do this: either place your index finger above and your middle and ring fingers below the arrow, or use an arrow rest. Whichever method you choose, just make sure that the arrow is sitting snugly against both the top and bottom of your fingers or rest.

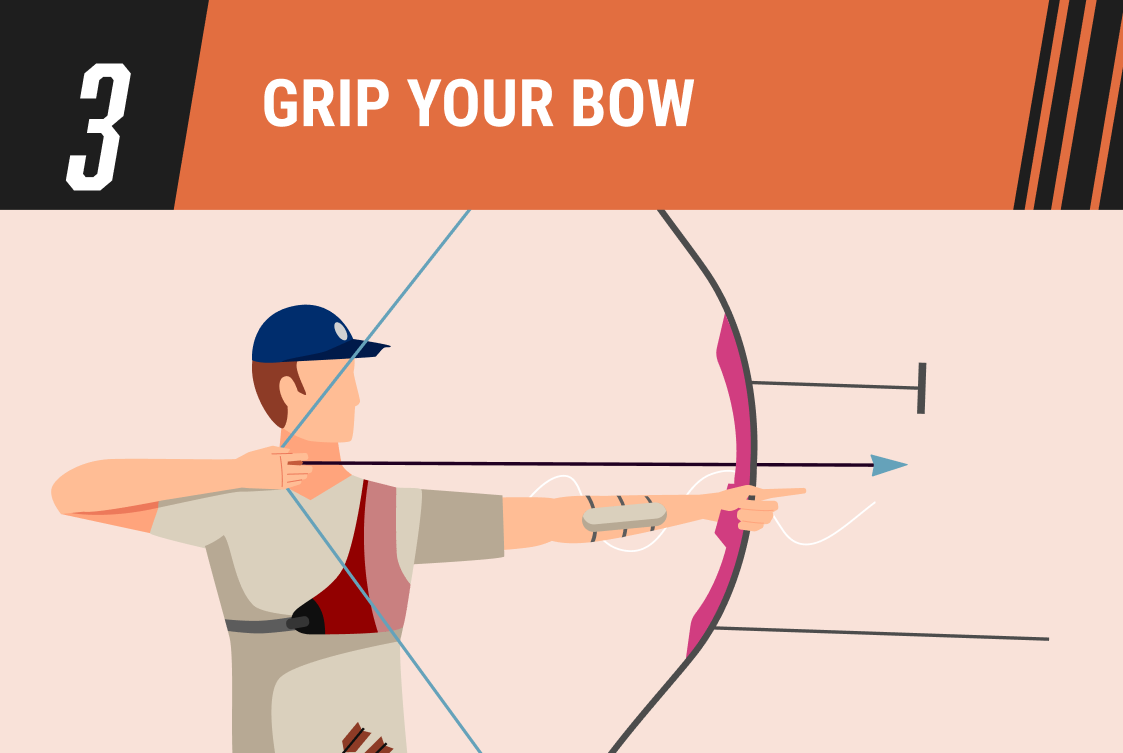
If you’re just starting out with archery, one of the most important things to learn is how to hold the bow correctly. Not only will this help you to shoot more accurately, but it will also prevent injuries to your arms and shoulders. Here are some tips on how to hold the bow correctly:
To start with, you need to find a comfortable grip. You can experiment with different grips until you find one that feels right for you. Once you’ve found a grip that works for you, make sure that your hand is positioned in the middle of the grip – this will help to produce more consistent shots.
Once you’ve chosen a grip, hold onto the bow lightly but firmly with your non-dominant hand—you should be able to slide your hand back and forth along the grip without losing control of the bow.
Now comes perhaps the most important part: drawing back on the string! Starting with your elbow at 90 degrees, begin pulling back on the string until your hand reaches your face near your cheekbone or earlobe (whichever feels more comfortable for you). This is your anchor point. A kisser button can be added to your bow to assist with providing a consistent reference point. As you pull back on your bowstring, make sure to keep four things in mind: first, keep your shoulders down; second, squeeze your shoulder blades together; third, keep looking straight ahead at where you’re aiming; and fourth, breathe! It might sound silly, but remembering to breathe will help keep you calm and focused as you aim your compound bow.
You’ll know that you’ve drawn back far enough when there’s no slack left in either arm—in other words when both arms are fully extended. If you find that you’re straining as you draw back, you may need to adjust the bow’s draw weight. At this point, take a moment to hook one finger around each side of the trigger before aiming. Finally, when you’re ready to shoot, make sure that you exhale completely before releasing the arrow. This will help to steady your hand and produce a cleaner shot. And that’s it! You’re now ready to release your arrow and watch it soar through the air toward its target. Just remember to practice regularly, and be sure to check out this post if you need some help perfecting your aim.
Now that you know the basics, it’s time to put them into action. Practice at a target and gradually increase the distance until you are comfortable with shooting your compound bow in the field. And when you’re not shooting, make sure to store and protect your bow with a reliable case that can last you a lifetime. We suggest these SKB cases.


