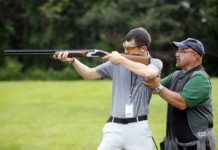
It may be surprising to some, but even in this day and age there are still places Americans can go to shoot for free. This writeup isn’t going to give you every answer (that would ruin all the fun) but I’ll do my best to give you a basic understanding of what’s needed to find that secret honey-hole of a shooting spot. All it takes is research and willpower…and usually, at least a half-tank of gas.
Let’s start with the two types of land you’re most likely to be successful with:
BLM Land
Land managed by the Bureau of Land Management is the least-restrictive as far as recreational shooting is concerned. Unfortunately, if you live East of the Mississippi you probably won’t have many BLM opportunities.
National Forests
Land managed by the United States Forest Service (USFS). Like BLM land, National Forests offer large tracts of wilderness open to recreation. However, they can be more restrictive. Most National Forests allow recreational shooting if you follow a basic set of rules, but some won’t let you possess a firearm unless you are legally hunting.
For me, the fastest way to find these places is to head to Google Maps and switch to “Map” view. Zoom out and take note of the green areas as you go. These green areas are public lands – National Forests, State Parks, Wildlife Refuges, etc. In addition to Google Maps, the BLM also provides online tools you can use to find land near you. Websites like GoHunt and the app onX Hunt can further expand your public-land-recon capabilities.
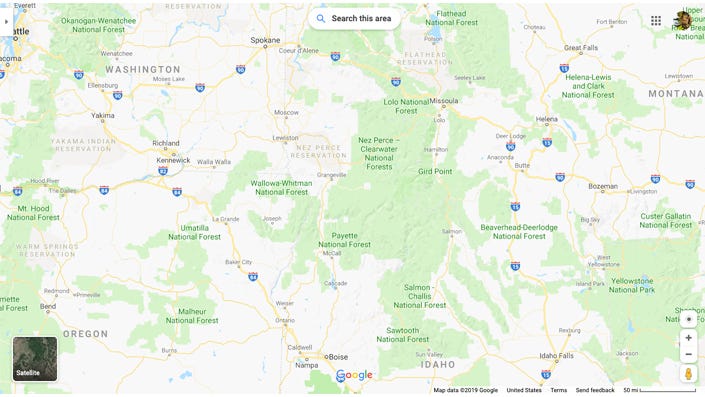
Once you’ve located an area, check the associated website. Look for notices, current updates, and established rules. If you still aren’t sure whether recreational shooting is legal there, give them a call – that’s why we pay taxes! Now the real work begins.
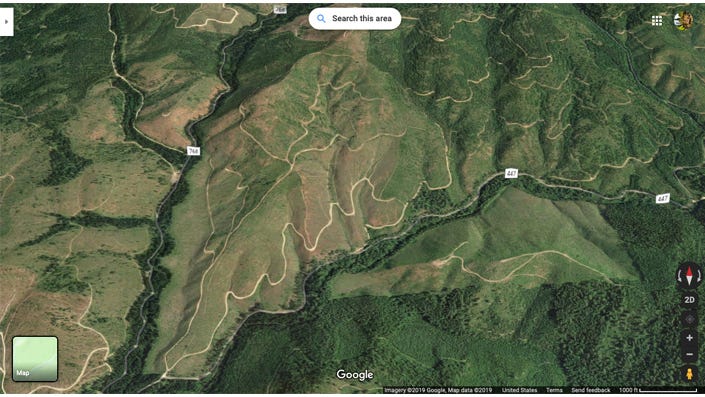
Switch to Satellite view on Google Maps (or Google Earth – worth the download) and start looking for terrain conducive to shooting. Switching to 3D (in the lower right corner) is totally worth it by the way. Basic requirements are as follows:
Safe backstop. Mountains are the best backstops nature has to offer. That said, you must consider what would happen if a negligent discharge (ND) were to occur. Is there a house or campground on the far side of the mountain? I have watched NDs on public land and it’s scary.
Isolated entry points. If someone can roll up on your DIY range from behind that seemingly-perfect backstop, you don’t want to be shooting there. Always be aware of your surroundings and use common sense.
Accessibility. Use the Street View function to check your route if possible. Check for gates at intersections and turns. Check for signs. Anything that might stop you from getting in. A clear-cut in a National Forest is a great place to shoot long distances for free, but they are usually owned by somebody and you need to be sure they’re open to the public. Those online land-management tools (like GoHunt) can show you exactly where the property boundaries are. Don’t be deterred if all you have is a small sedan – I’ve taken a Hyundai Sonata places it ought not have been.
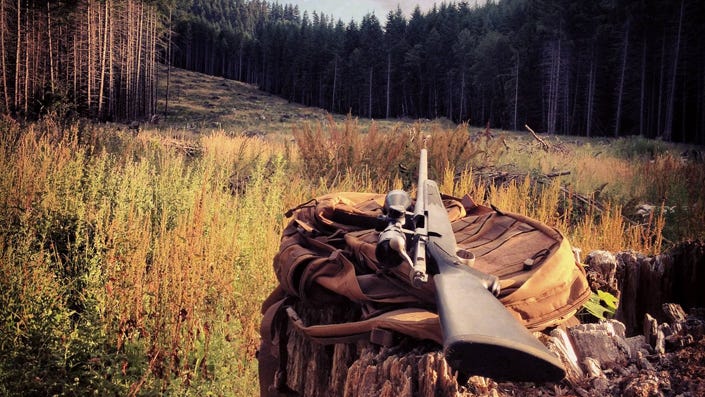
Look for features like clear cuts for long-range shooting, and mountains for nature’s best backstop.
Before you go…
An open-mind is essential. Bottom line, be excited to head out and explore your public lands – regardless of the outcome of your expedition! Before you hit the road, re-check closure information. Make sure there aren’t any new restrictions related to fire-hazard (steel targets and dry grass don’t mix well).
Aside from the usual phone + charger loadout, here are a few more things to consider bringing other than your shooting equipment:
- Wet wipes…….and a small shovel…
- Tools – vice grips, hammer/mallet, etc.
- Paper map of the area you plan to be exploring. Sometimes you can get them for free online. Helpful but aren’t mission-critical.
- Medical plan. I don’t carry a large first-aid kit and I don’t believe in carrying band-aids. However, massive blood loss can be quickly stopped with a tourniquet. Carry at least one and know how to use it.
While you’re there…
You get to your clear-cut/valley/desert/canyon/mountain and it’s time to start setting up! Out in Idaho, we would need to hike everything in a few hundred yards up a hill to get access to our “spot.” After setting down our rifles and shooting gear, we’d then carry 30lb plates another 600-1,400 yards!
Most of the time, we would just lean the plates against stumps. You won’t hear the impacts as easily, but you won’t have to carry anything to hang the plate with. That said, a 2′ length of chain and some bolts occasionally helped us hang targets from deadfall (don’t use live trees as target stands; it’s usually against regs).
If you’re not climbing a mountain with your targetry you can use steel fence posts or 2x4s with some sawhorse-brackets to hang your steel. Creativity goes a long way here – One time I snagged a busted kitchen chair from the side of the road and hung a 12″ plate off it. Whatever you use, be sure to pack it out. Thick leather gloves are great to protect your hands from shot-up metal and splintered wood. Here’s another list of other equipment to help:
- Spray paint. The cheap $0.99/can stuff gets it done, but the more expensive paint sticks better and doesn’t run as much. Black paint can be used to add a “waterline” to your plate (a horizontal line halfway up the plate, edge-to-edge). This provides a better point of reference when you’re shooting.
- Wind flag materials (if you’re going long). Surveyor tape or caution tape works great for this. Just don’t leave it behind.
- An old backpack. That mangled pack in the garage is perfect for hauling sharp, lead-covered steel and chains. Just make sure to trip and fall to either the left or right. Not forward. Lest your targets get some revenge.
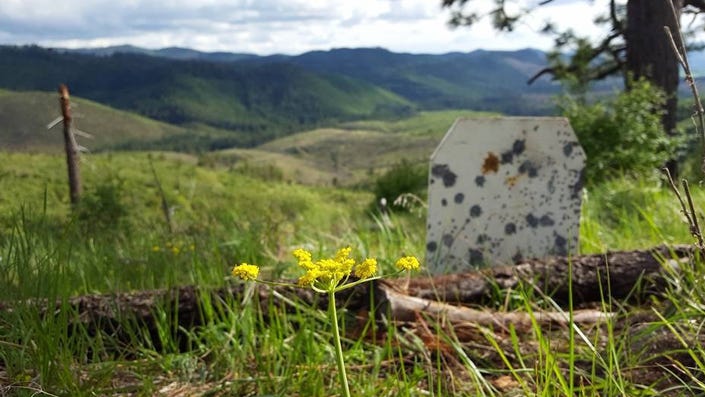
By flipping this 66% torso upside down, I can slam the “head” of the plate in the dirt and use some logs to prop up the back.
When it’s time to leave…
As always, leave no trace. Shooting over a tarp, especially if there’s snow or long grass, makes brass cleanup easy. If you can pick up extra litter, even better. Range trash is usually covered in toxins. Wear gloves and wash your hands in cool water as soon as you can.

Time to pack up.
Photo Credit: Zhen Yang (Instagram: @captain_zhen)
Don’t forget to reach out to your fellow Americans and spread the love of shooting. Join local clubs and become an active member in your shooting community! It’s not just about shooting for free; it’s about exploring and enjoying land that has been protected for hundreds of years by countless individuals. Get out and shoot!
BIO
I grew up in Western WA, shooting was never on my radar until I inherited my grandfather’s 30-06 on my 17th birthday. I paid for my first rifle a few months later (a CZ 452 Trainer in 22lr) and spent the next two years mastering iron sights and how to use milliradians. Eventually I got an AR15 and found a clear cut near Greenwater, where I learned to shoot out to 600yd. From there, I moved out to Pullman, WA for college and continued the plunge. I enjoy shooting PRS-style matches almost every month, and I’m lucky to know a local farmer with a 2,000yd shot on his property. Networking pays off! Instagram: @earthyandwild

