This article will go through the process, step-by-step, of how to flat tan a squirrel skin using the Advanced Tanning Solutions Tan-a-Fur Skin Kit. We are demonstrating on squirrels, but the process is similar for other fur skins.
The Tan-a-Fur Skin Kit includes everything you need to tan a life-size mountain lion, a medium bear, or several small animals. It’s a perfect kit for beginner or experienced home tanners and DIY taxidermists. You’ll get a professional-quality result with a simple, all-in-one experience.
The kit includes:
- Fleshing/Shaving Tool
- Degreaser
- Pickle Tan
- Fur Oil
- Softening Stone
- Silk Powder
- Dust Mask
- Non-Latex Disposable Gloves (2)
You will need table salt, bleach, baking soda, a plastic bucket, and hot water.
Table of Contents
Before You Begin
The skinning process should already be done. We like to say, “treat it like you’re going to eat it.” Meaning, get your animal dressed, skinned, and on ice (both meat and hide/skin) as soon as possible after the animal is harvested. This will prevent bacteria from starting to grow which will cause hair slippage, specially with small game, like squirrels.
Step 1: Fleshing a Squirrel Skin
The following process is basically the same for any of your small critters with fur. Even though you’ve skinned your squirrel, there’s likely a little bit of membrane and flesh that remains attached to the skin. The first step is to remove as much of that as possible to achieve a soft and supple tan.
Since you’re making a flat skin, you won’t need to do any face turning. Face turning is the process of turning the face inside out to flesh that area. It also involves splitting the nose, ears, and lips and then turning the ears inside ou (for larger animals)t. This is done for taxidermy purposes if you were going to mount your tanned hide or fur skin.
Using the fleshing tool that comes in the kit, gently scrape, peel, and pull away all the little bits of flesh and fat that remain on your skin. Fleshing always works best when you go with the grain of the hair, so start at the head and work your way to the tail. Feel free to also use your fingers to pull off loose pieces. Use the pointed edges of the fleshing tool to get into tighter areas, like the tail, especially for smaller rodents, like squirrels.
☞ This type of fleshing is called “table fleshing.” The rounded edge you see on the tool is for pipe fleshing. With pipe fleshing, you would lay your skin over a pipe, stretch it tightly, and then use that rounded edge to scrape the flesh. That type of fleshing isn’t necessary with squirrels, but you can use pipe fleshing for beavers, raccoons, possums, and other greasier, fleshier animals.
Removing the musk glands
Removing the musk glands
Most fur-bearers have little sacs, called musk glands near the tail. They are oily, greasy, and don’t tan well so they need to be removed. Simply pull them away using the edge of your fleshing tool as shown.
How do you know when your hide is clean?
You’ll know your hide is clean when you see a blue color on the skin. If you see the blueing, it means there’s no flesh there to scrape off. But dark areas and white areas are flesh and fat — those need to be removed.
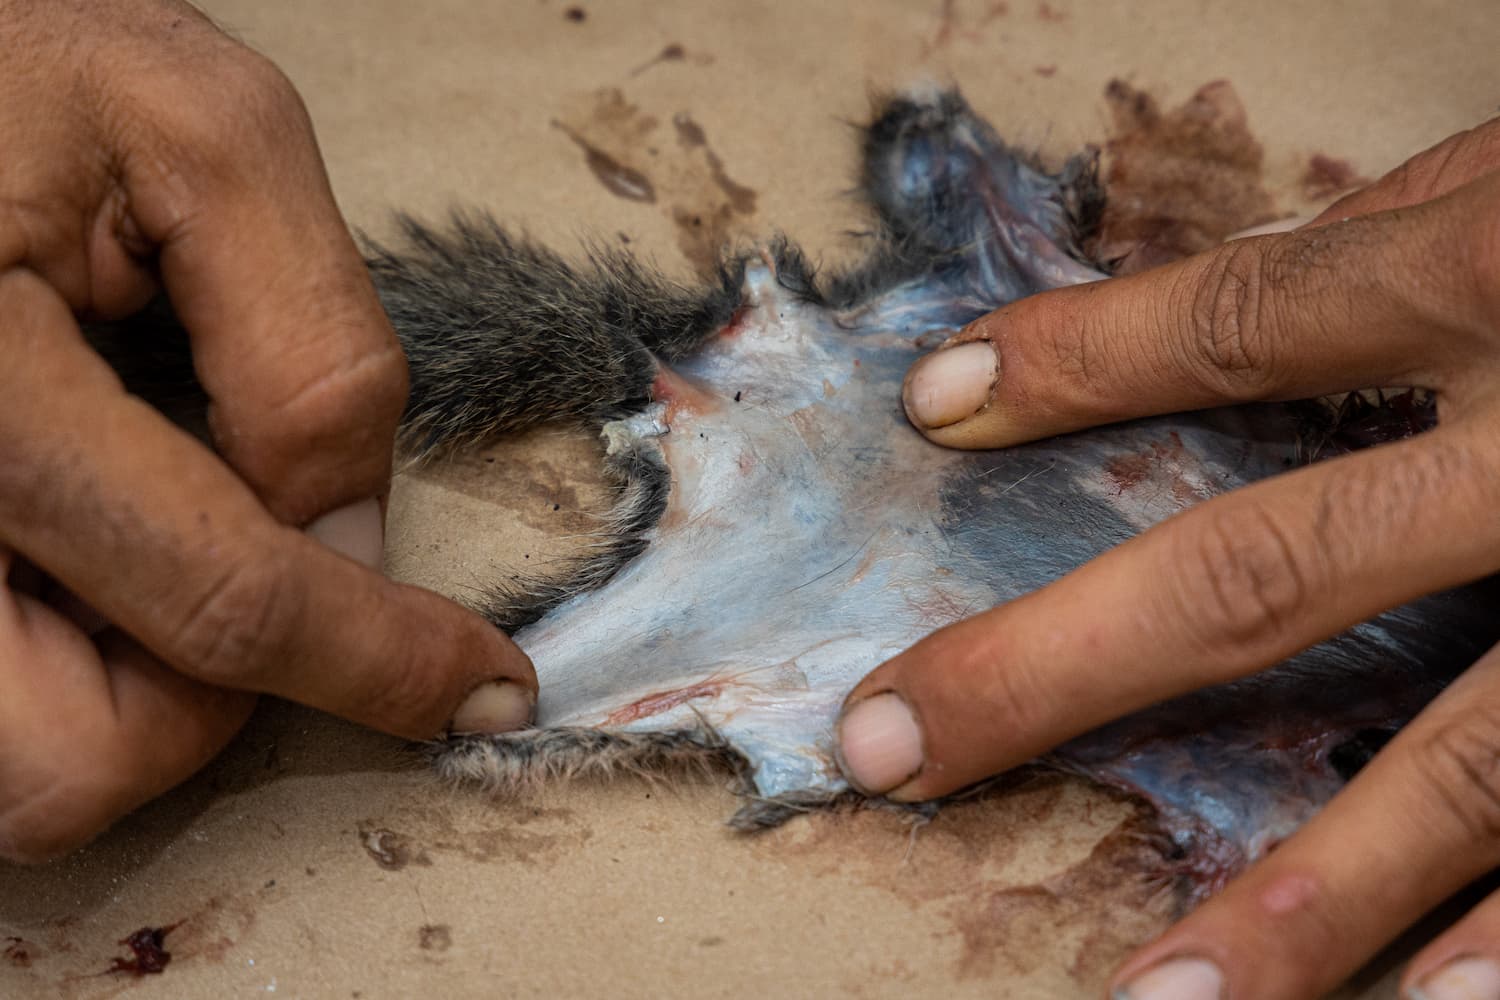
Once you’ve removed all the flesh, the musk glands, and all the membrane from your hide and you’re happy with it, you’re ready to move on to the next step — salting.
Step 2: Salting a Squirrel Skin
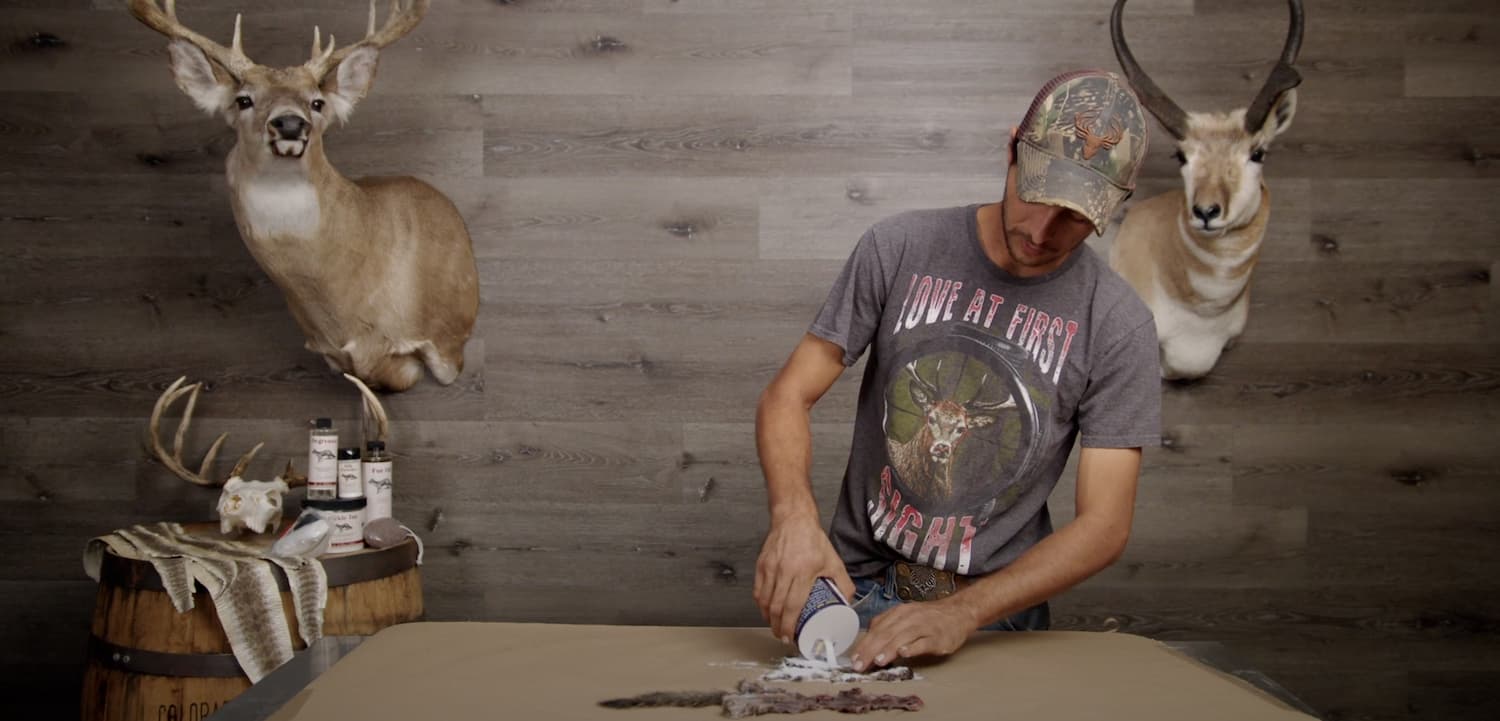
The salting process removes all the fluids, oils, fat, and non-tannable proteins from your skin. It will dehydrate the skin and help to lock the fur in to prevent hair slippage — nobody wants a bald squirrel!
To salt the skin for a flat tan, flip the face open and add a generous amount of salt to this area then fold the lips in. Next, apply a heavy layer of fine table salt over the entire skin so you can work it into the edges. Make sure every bit of the flesh areas gets salted. If you’re worried about staining, use non-iodized salt.
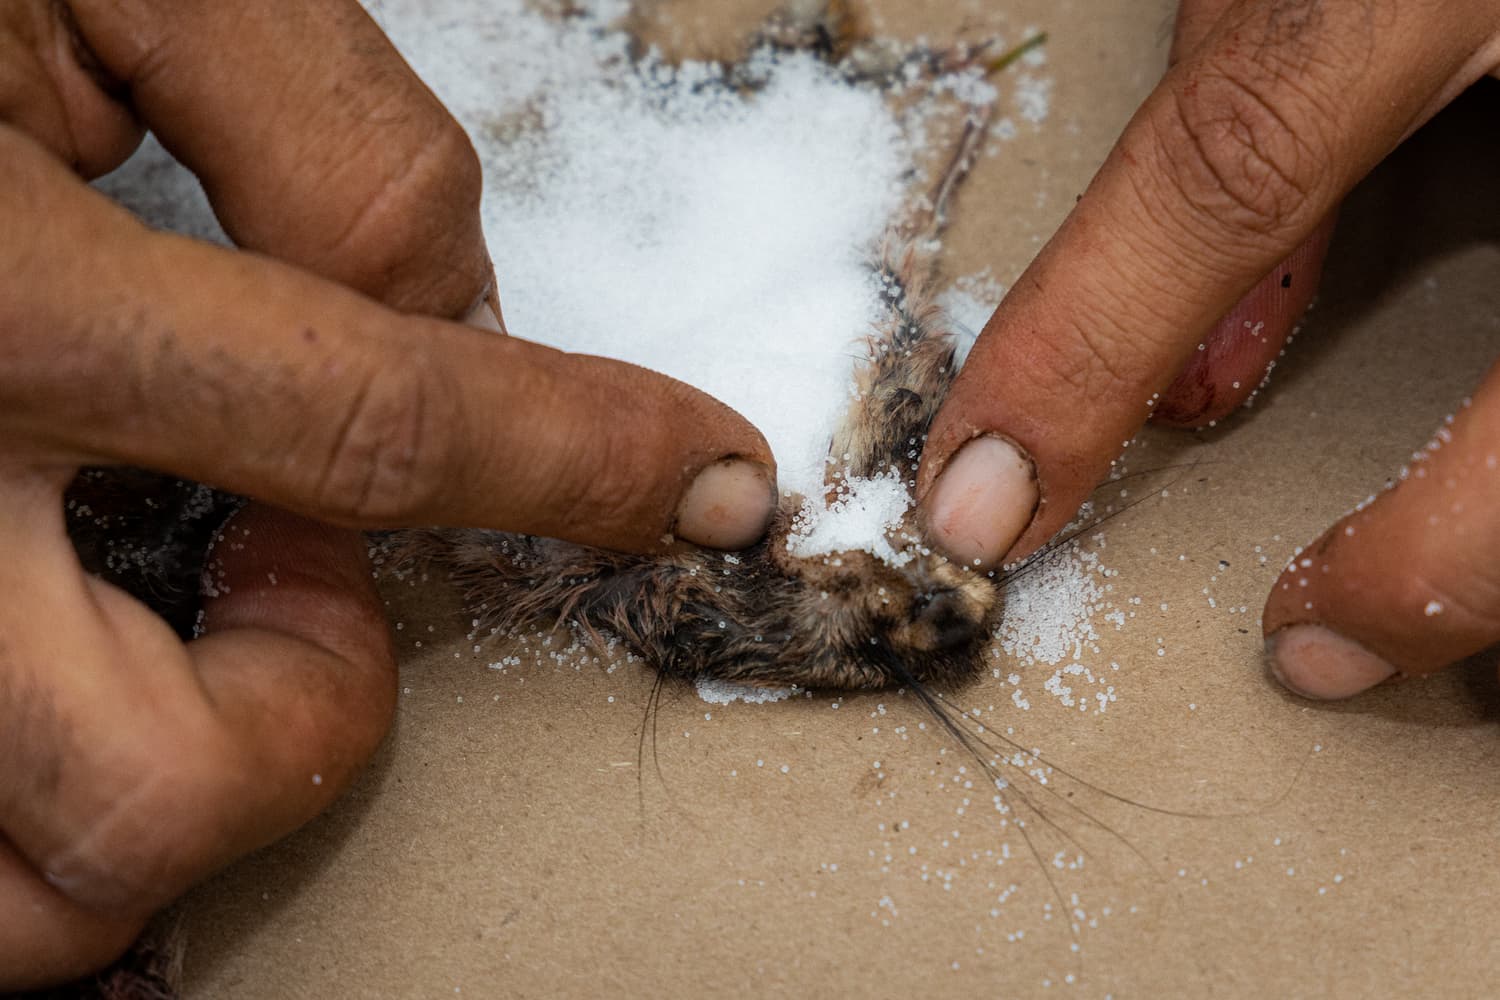
Salting the tail
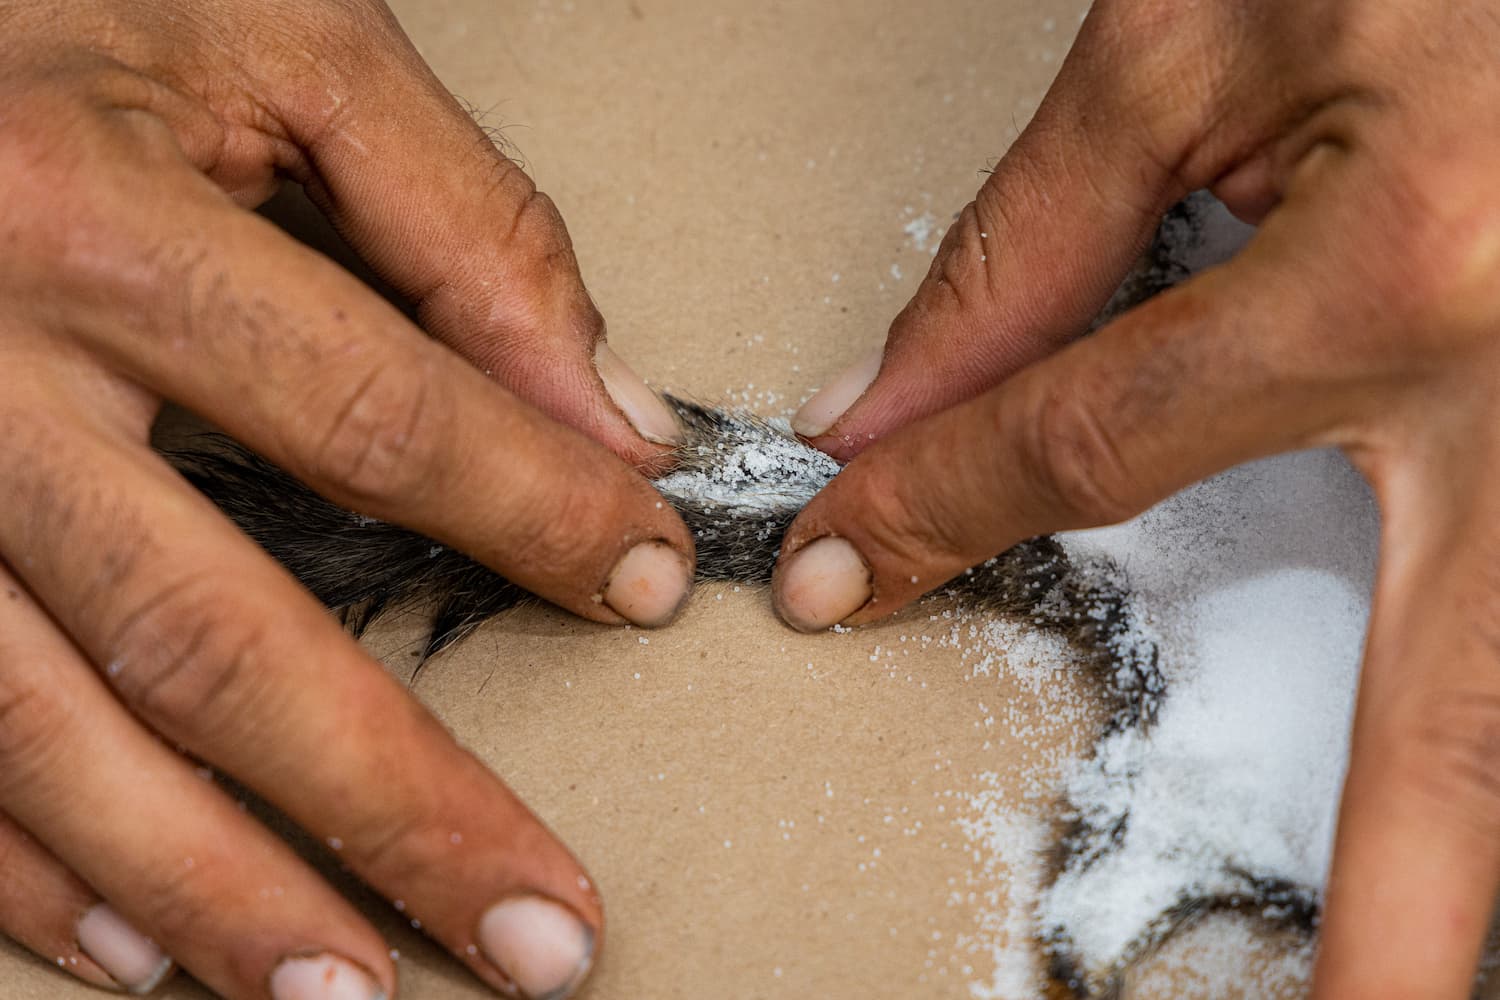
After you’ve salted the squirrel’s body and face, open the tail all the way down and apply salt to fill in the crease. Next, pinch the tail together, just to keep all the salt in the tail. After that, you’ll flip the tail so that it rests on top of the body. Finally, add additional salt to cover the tail, just to make sure the whole tail gets nice and dry.
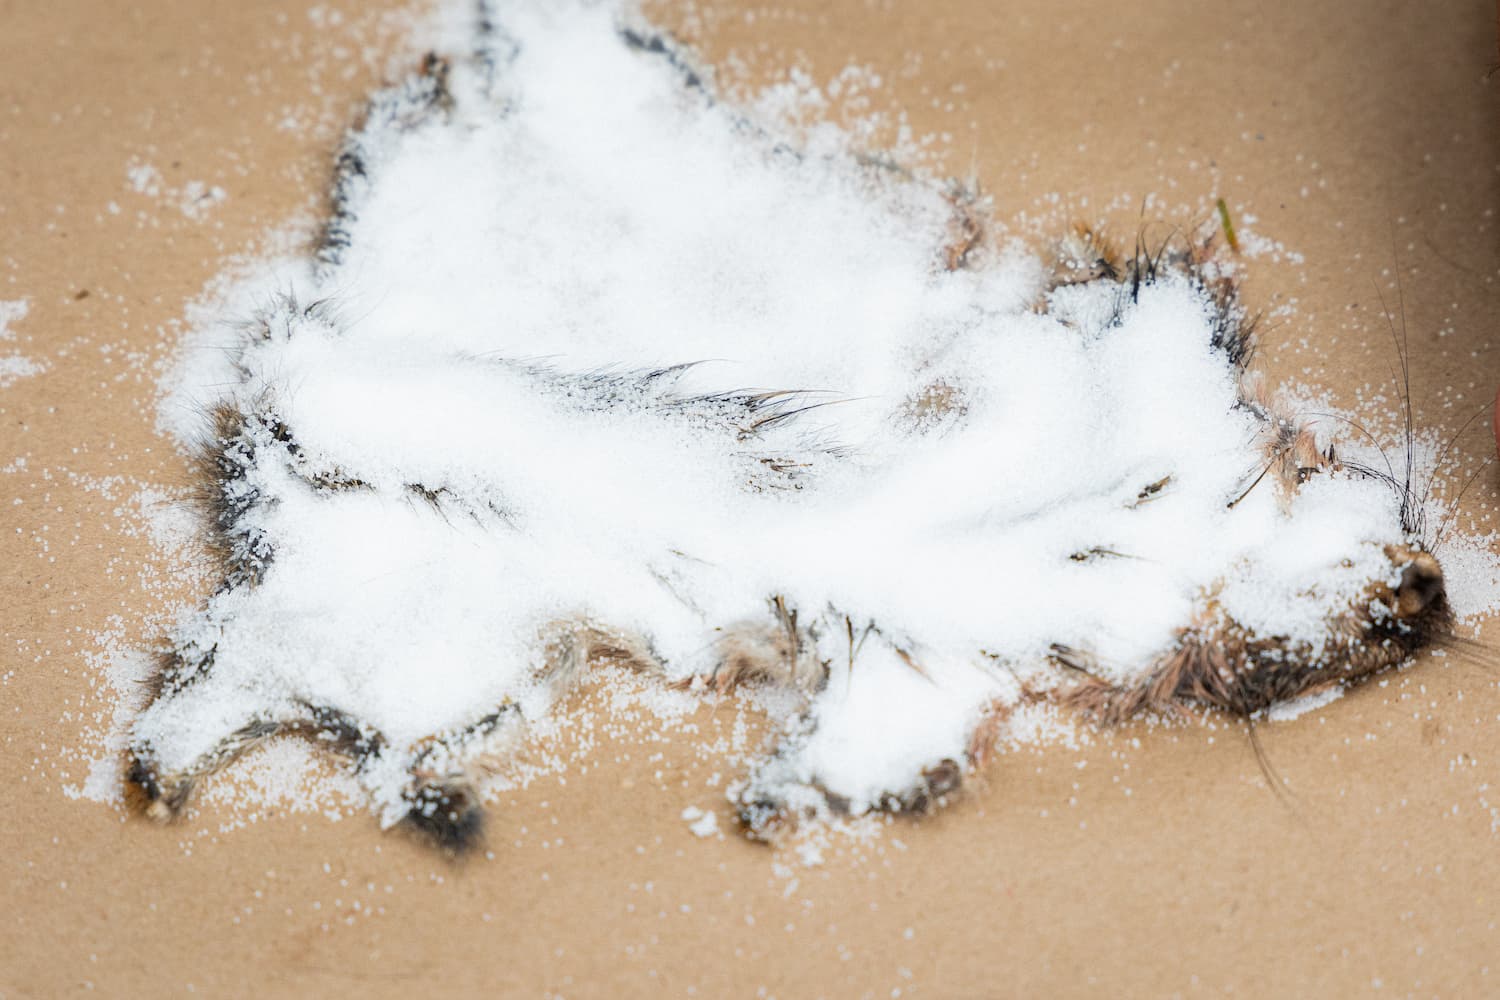
Let your skins dry in salt overnight for about 12 hours. Larger fur skins need 24 hours to dry. The next day, shake off the excess salt and if the skin still feels damp, re-apply another layer of clean salt and let it sit again overnight.
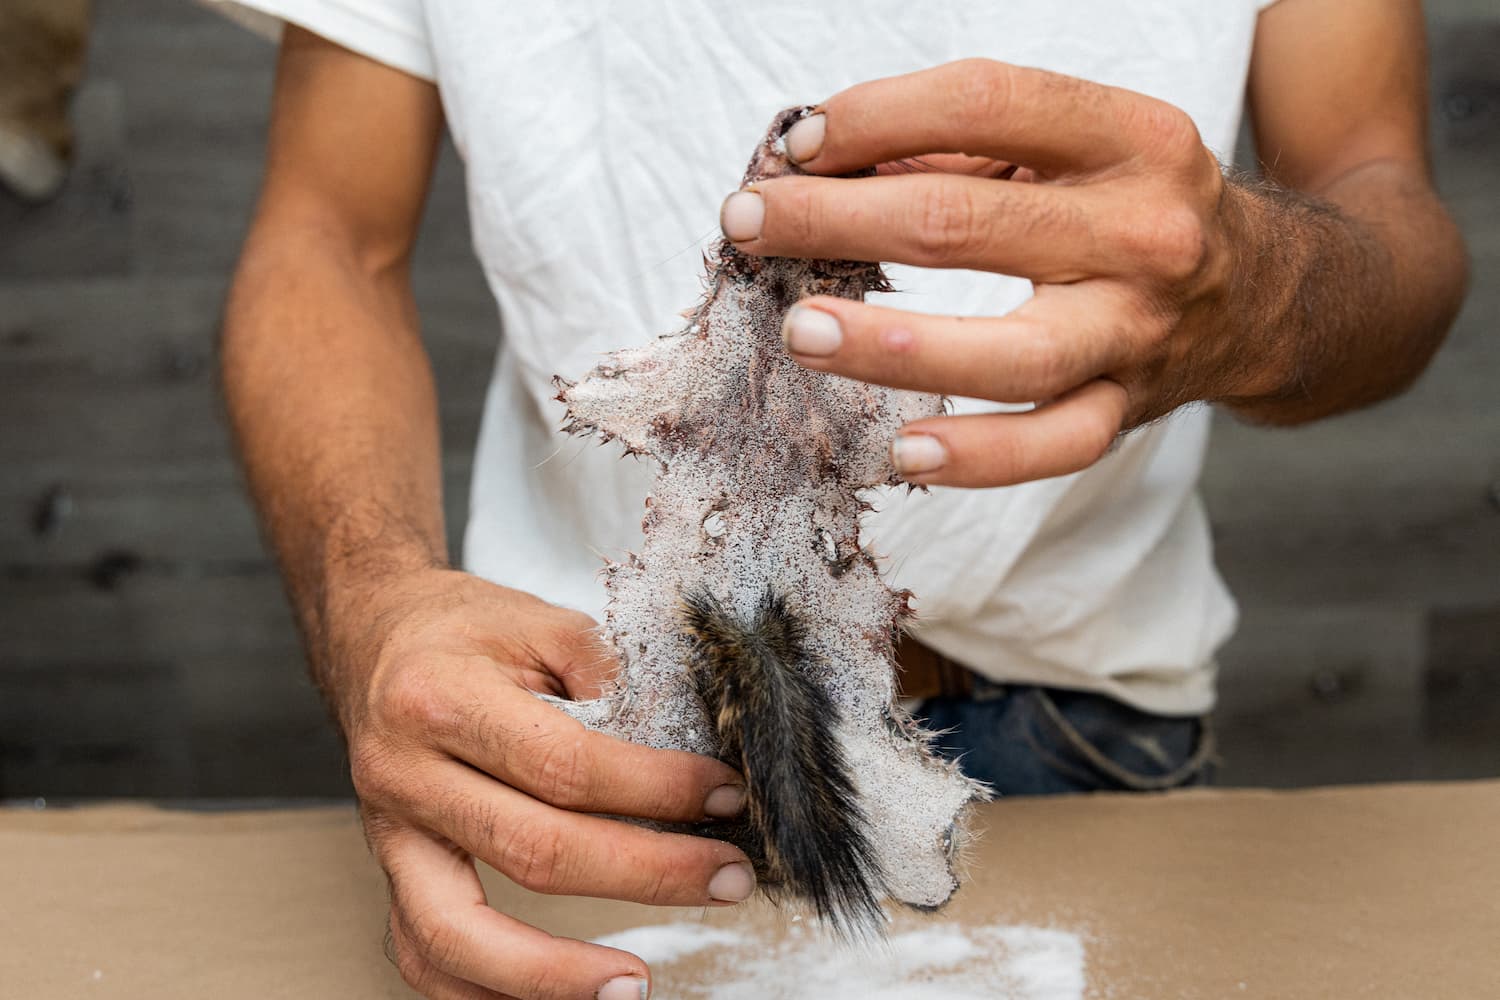
When your skin is dry, you’re ready to move on to the next step, rehydrating your squirrel skin.
Step 3: Rehydrating a Squirrel Skin
Now that your squirrel is dry salted, it’s time to rehydrate it. You rehydrate your hide by putting it in a rehydration bath that consists of the following items PER gallon of hot water. Since the squirrels are small we mixed just 1 gallon of rehydration solution, but larger skins will require a bigger bath:
- ¾ cup of salt
- 1 teaspoon of Advanced Tanning Solutions Degreaser (in the Tan-a-Fur Kit)
- ½ teaspoon of bleach
Mix to dissolve the salt and let the bath cool to room temperature. Do NOT put skins in hot water as this will cause bacteria to grow resulting in hair slippage.
Shake off the loose, excess salt. Don’t grab any chunks of salt and pull them, you will risk pulling out fur with it. Instead, crush or pinch the salt, and it should fall off easily. This goes for the salt that’s packed into the tail and face area, too.
You’ll notice the hide is dry and stiff. Next, dunk your skin in the rehydrating bath, much like you were dunking a cookie in milk. When it starts to soften and bend, you can let your skin gently sink into the bath.
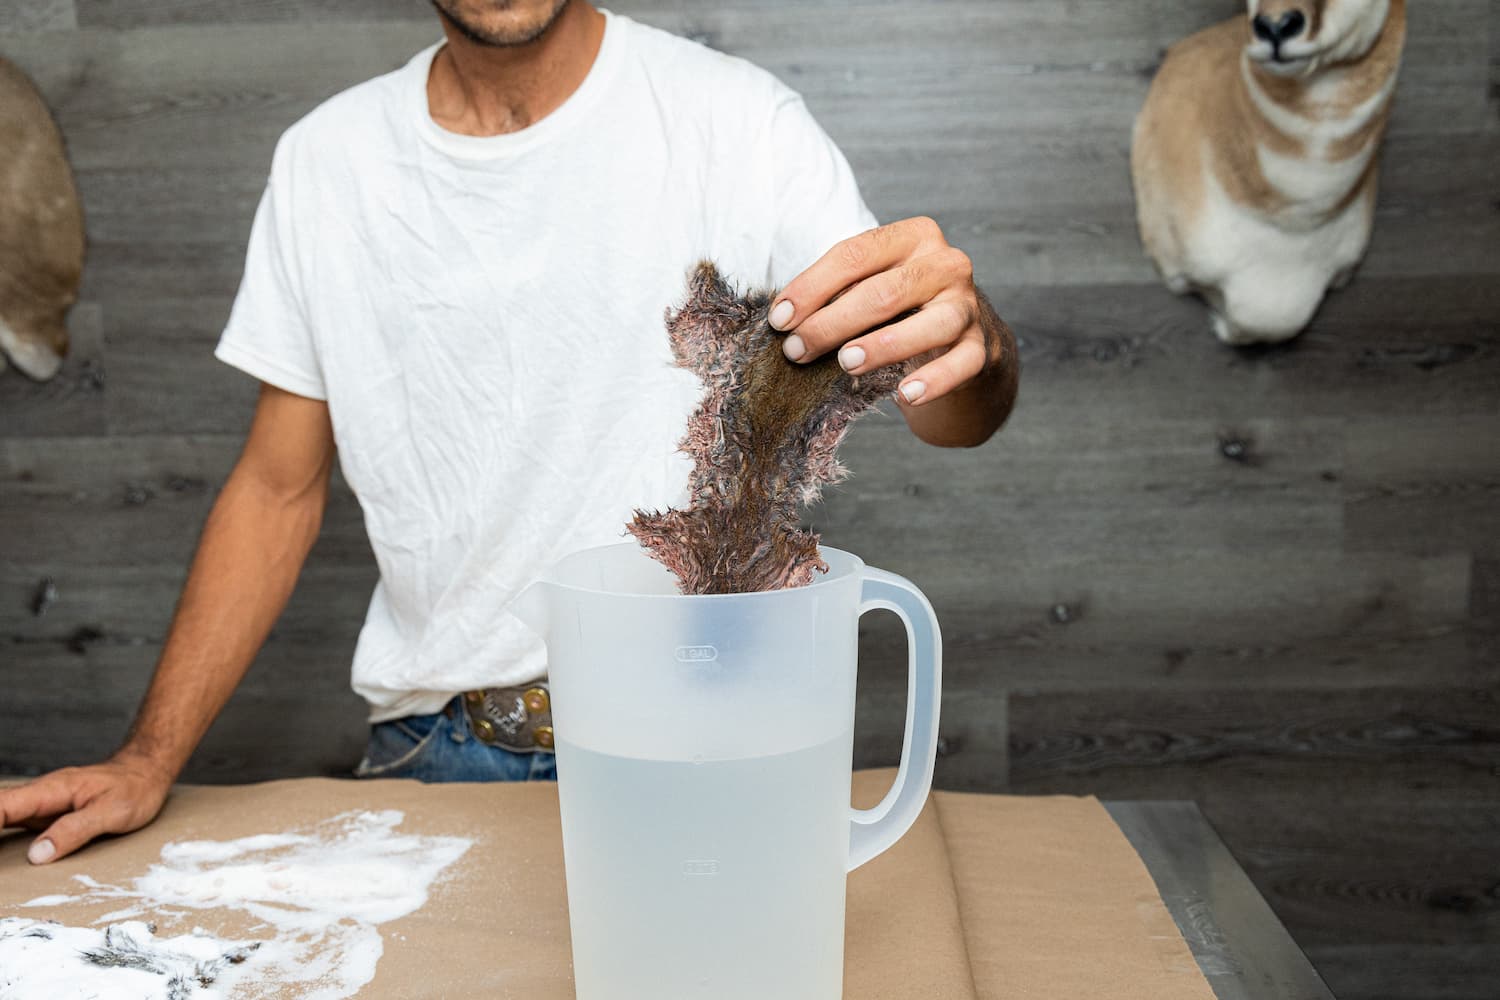
Soak your skin in the rehydration bath until it is soft and supple. You’ll notice some layering of color in the water as a result of the degreaser working as it pulls the dirt and blood out of the skin. The result will be a soft, fluffy fur rather than greasy fur.
After rehydrating
When the skins are relaxed, remove from the rehydration bath, give it a very gentle squeeze to remove excess liquid, and then hang it — fur side out — over a bucket to drip dry.
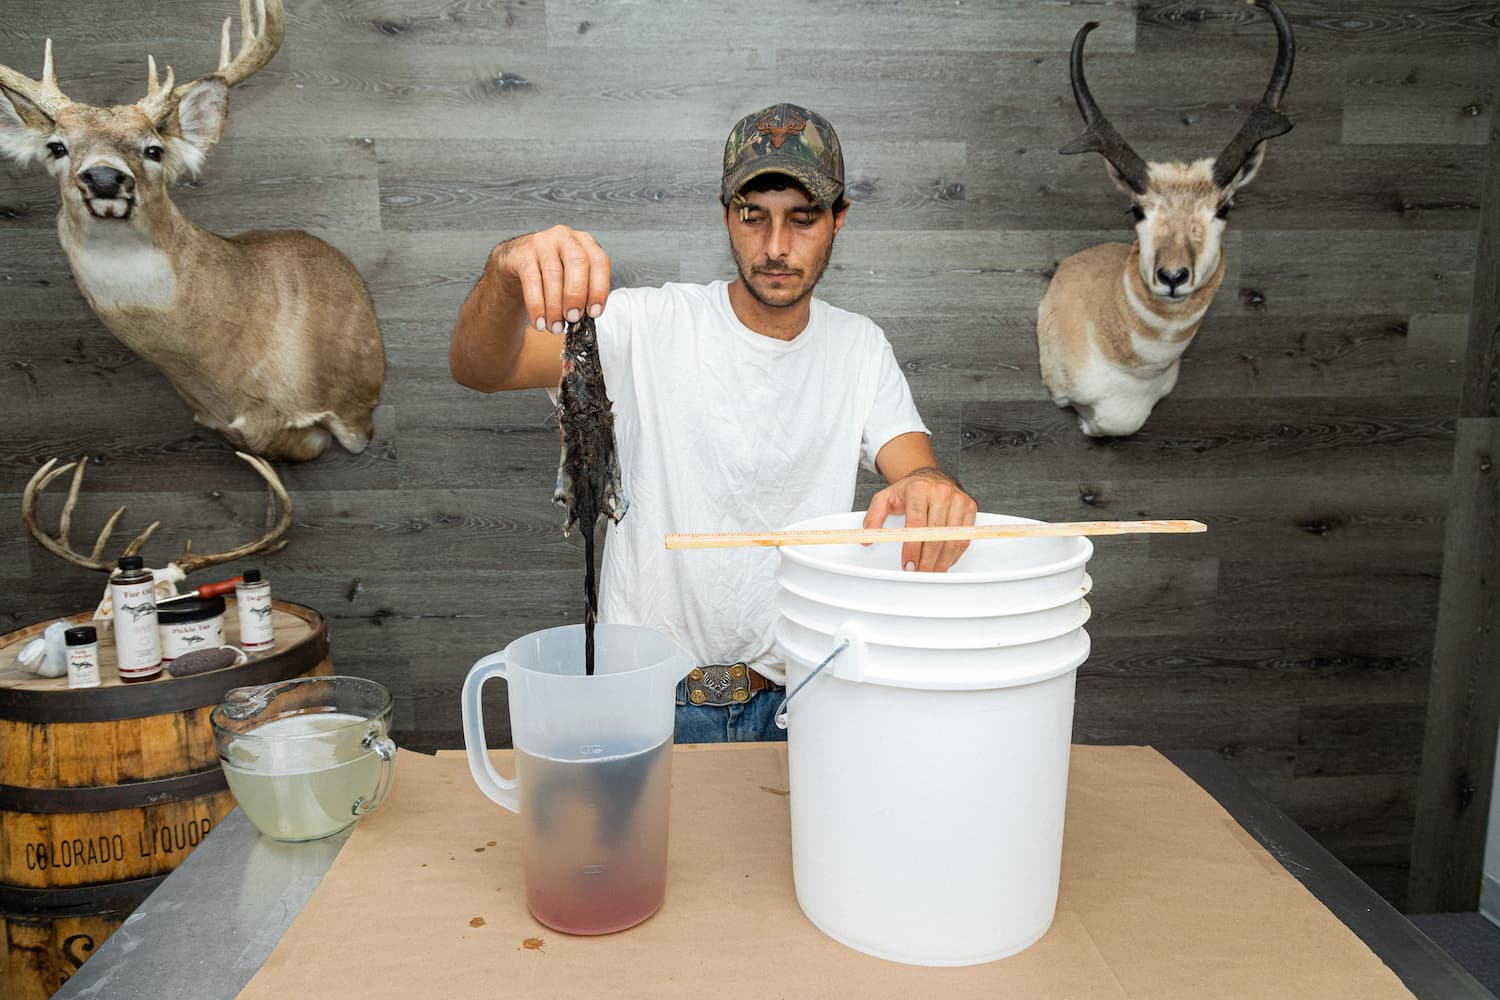
You can see the Degreaser working as it pulls the dirt and fluids out to the bottom of the rehydration bath.
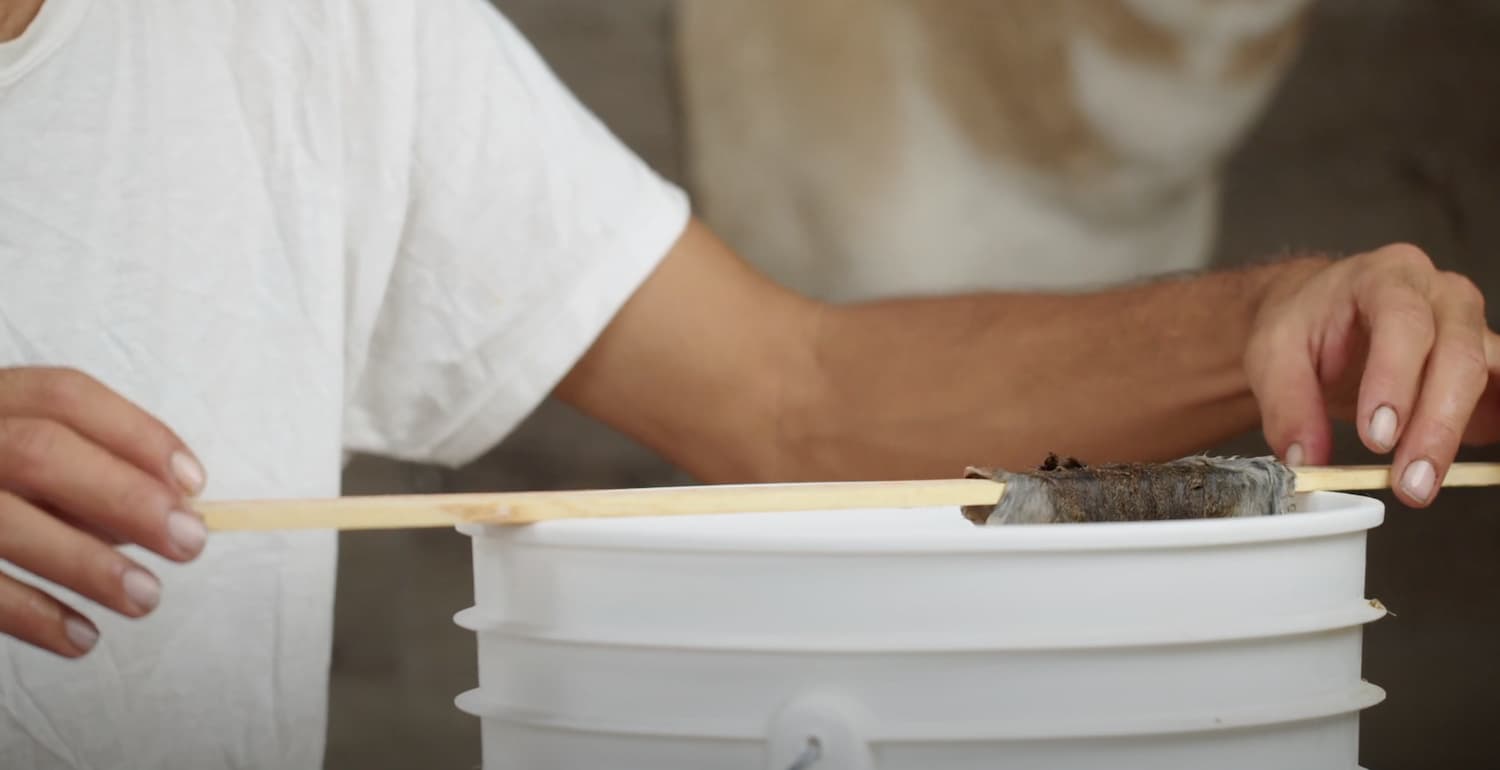
In about 15 minutes, your squirrel skin will be ready for pickling. To continue, see the next guide in our series How to Tan a Squirrel Part 2: Pickling and Shaving.


